As you may have seen from Monday's post, we built a new piece of furniture. Our new entry bench. And as promised, I have a tutorial on how to cover cheap plastic (dollar store) baskets with fabric to make it look a little more expensive and chic. (okay, maybe chic is a long shot)But it's a huge improvement.
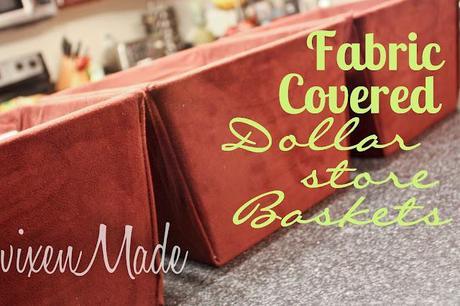
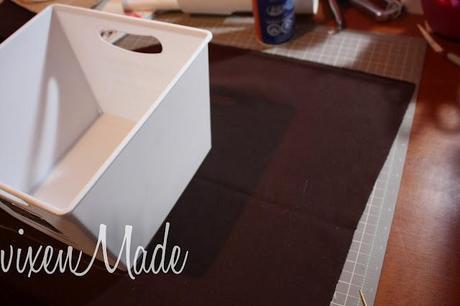
Start off with some baskets. These are plain square plastic bins that are smaller on the bottom than the top. If you're using a basket that is the same size all throughout, it may work a little differently, but generally the same.
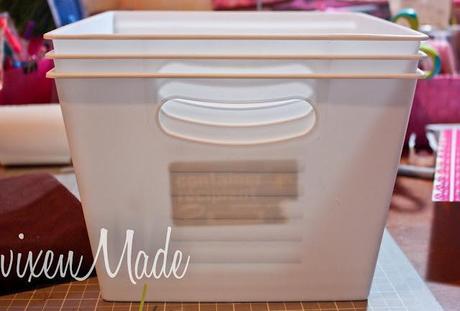
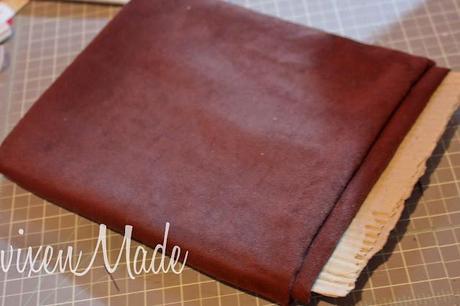
And lots of fabric. For each basket I used a 2.5x2.5 foot square piece of fabric.Luckily, for me, I bought this fabric for dirt cheap years ago for a bedspread. So I didn't have to buy more.
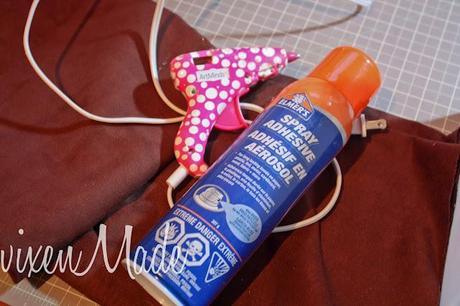
You'll also need spray adhesive and a glue gun.
First off, lay your fabric flat and place your basket on top, measuring out the sides to be sure they cover each side of the basket.
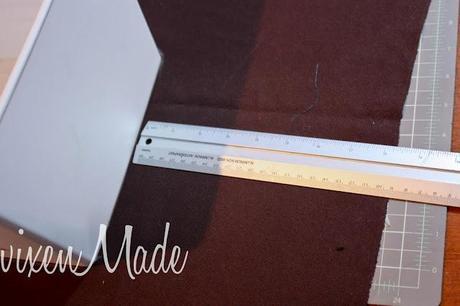
You'll want to add extra to each side so your fabric and wrap over the top. Adding about 1 1/2 inches works best.
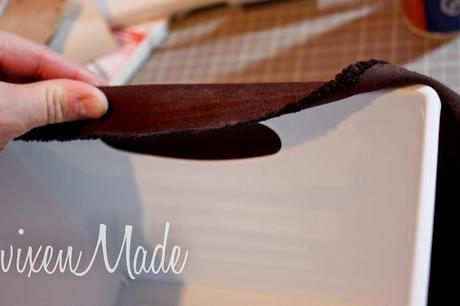
Once you have each side measured and cut, draw the base of your basket out (this should be the wrong side of your fabric) with chalk or a pencil. That way if your basket moves around, you'll still have your starting point.
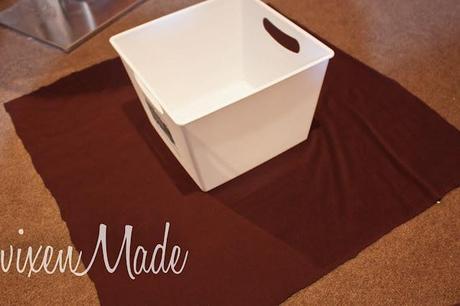
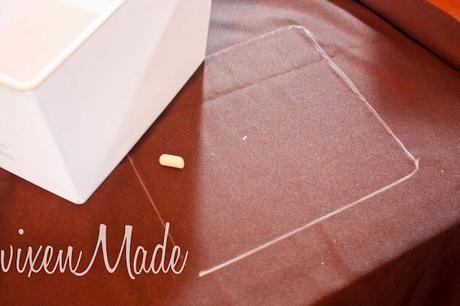
Now take two rulers and create a square at each fabric corner. It should measure about an inch away from your basket.
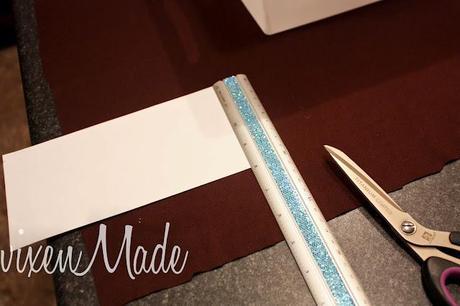
Mark them out with chalk and do this to all four corners.
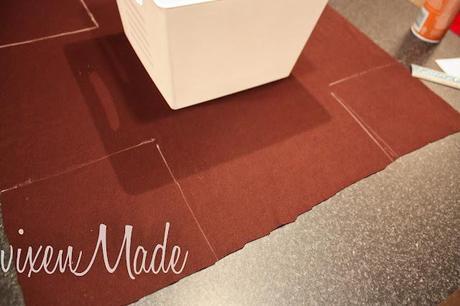
Cut those pieces out.
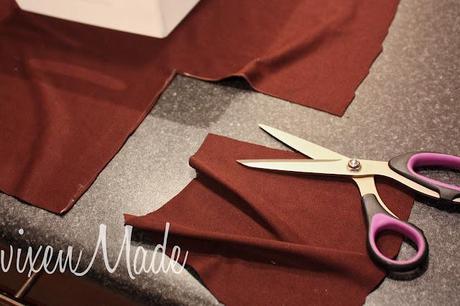
Cut a slit from corner to corner of where you just cut out from. Like shown below.
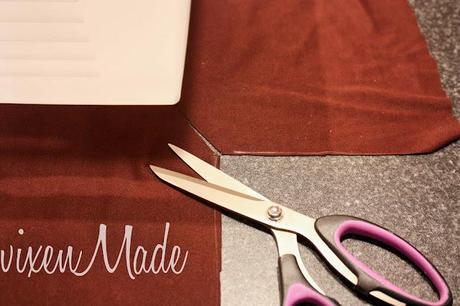
Do this to all four sides. Now get your spray adhesive and start at one side and spray and stick your fabric.
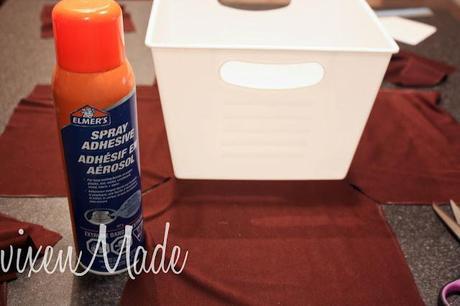
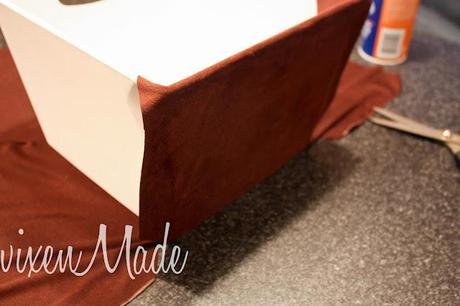
Now stick on the opposite side to be sure it's on snug.
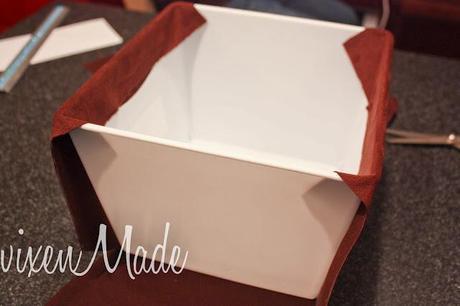
Move to one side and using a hot glue gun, glue the side flaps on.
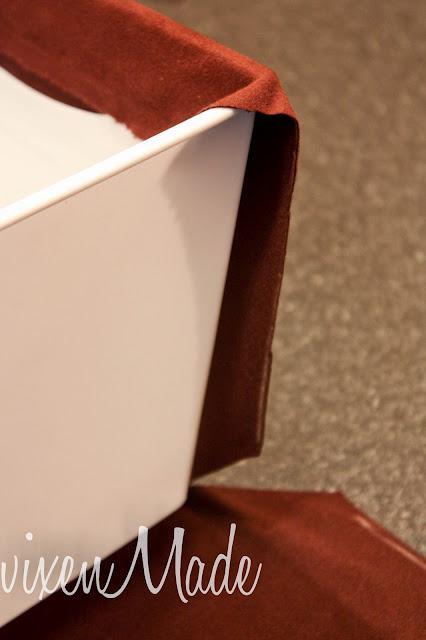
Do both sides of that piece.
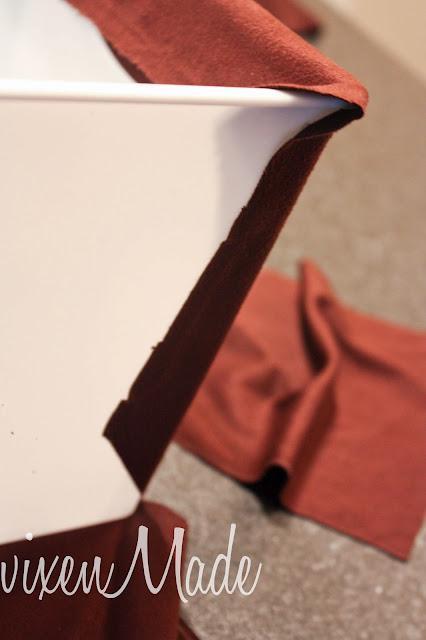
Next, do the top. (You don't have to do this next step, but it does make it look neater.)Using hot glue, make a hem by folding over the edge about a 1/4 inch. That way your edge is not raw and won't fray.
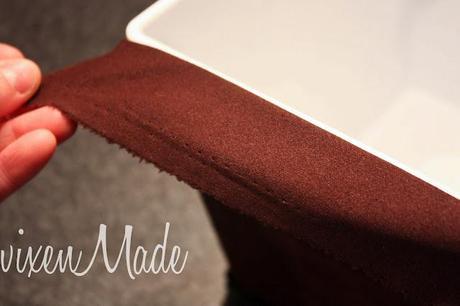
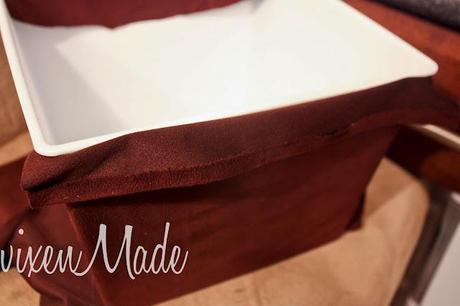
Now you can fold over the corners of the top and glue down.
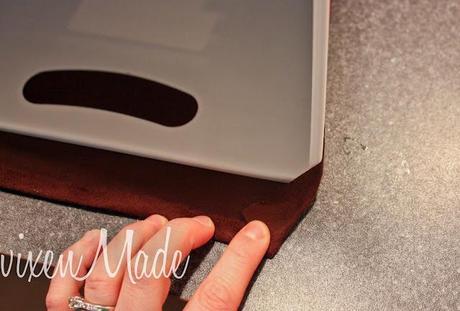
Fold it over your top and hot glue in place.
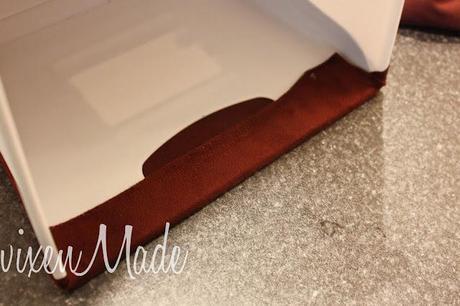
See, nice and neat.
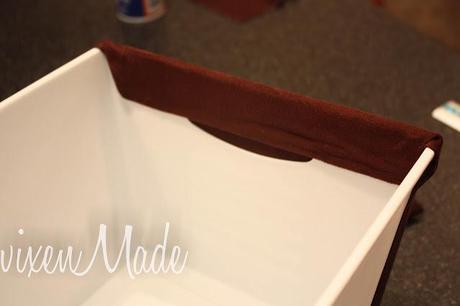
Do the same with your opposite side.
Now on the other two sides, you'll need to glue down the two sides of each piece like this. Again, this will prevent fraying and will help so it lines up with that side.
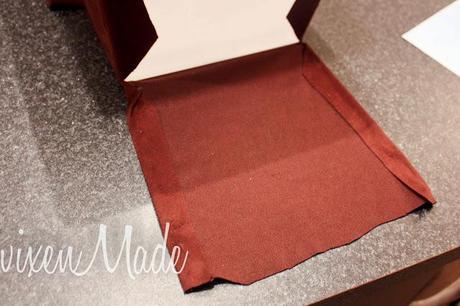
Spray on your adhesive and smooth the fabric onto the basket. Since you already folded those sides down, you don't have any flaps to fold down. (does that make sense?)
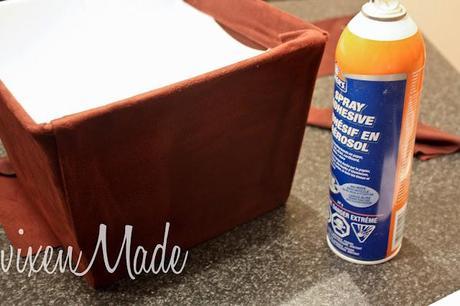
For the top, do the same with those other sides. Glue a hem and then glue it over the top of the basket.
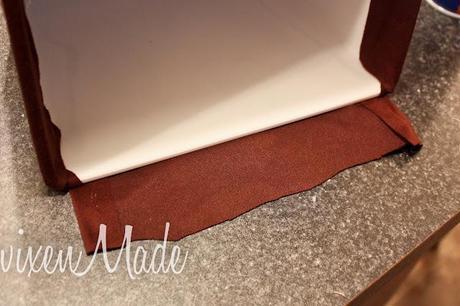
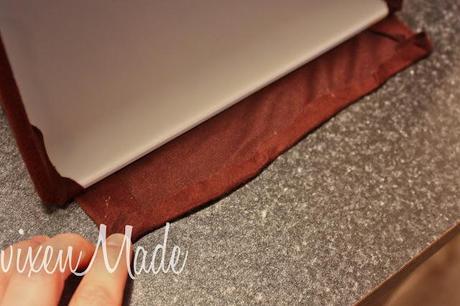
Like so.
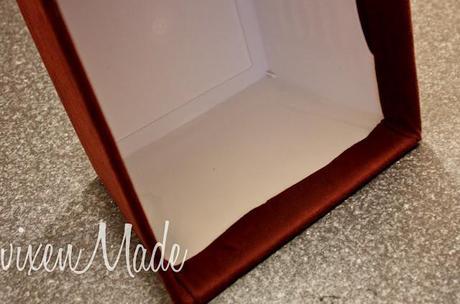
Do the last side and you're finished!
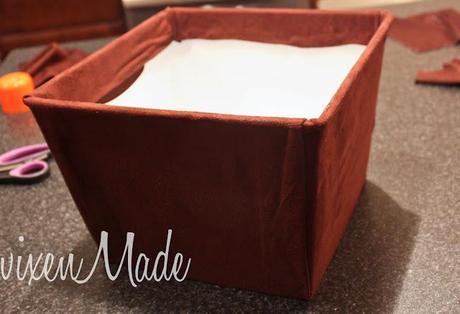
Now do some more.
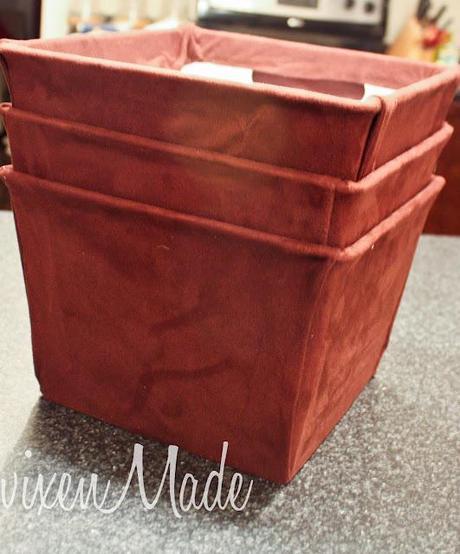
You could add the fabric on the insides as well, but I chose not to.
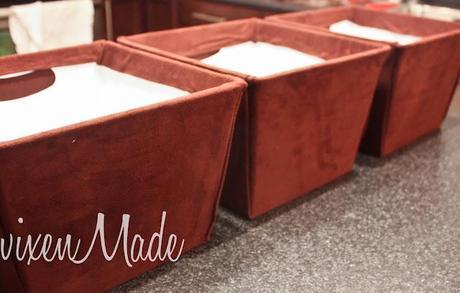
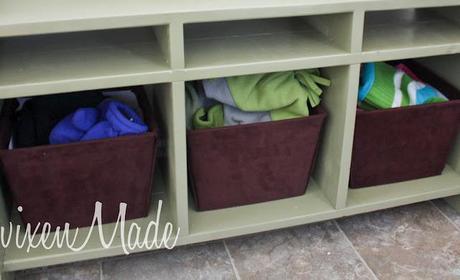
I'm loving my new 'faux' fabric baskets.
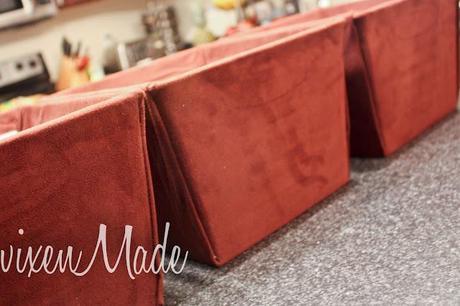
And I think they look pretty decent in my new bench, too.
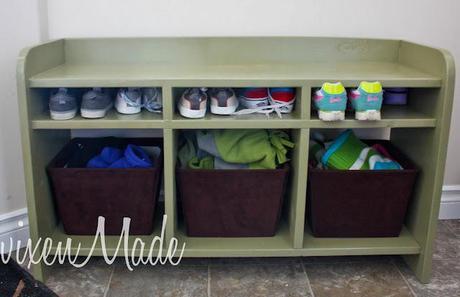
But mostly I love how they only cost me $3.
Have a great day!!
 I link up here!

