Last week, I found some time to tinker and experiment with the dust extraction setup for my bandsaw. For the last few years, I’ve been using a setup that allows you to connect a vacuum hose to an angled port that surround the blade just below the table. It’s often worked well, collecting a majority of the sawdust and also leaving less to settle on the lower blade guides.
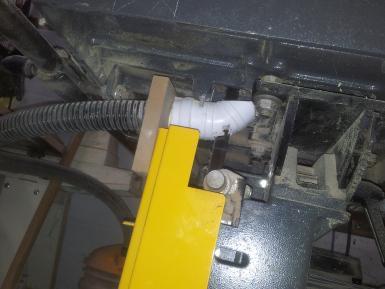
But it’s not always been as effective as it used to be and I think the change occurred once I added a simple dust separator in to the system, which has always been the Triton DCA300 Dust Bucket. Don’t get me wrong; I’m sure that another separator (particularly a cyclone) would give better results but the Triton one seems to offer an airflow that’s greatly reduced from the force drawn in by the vacuum on its own.
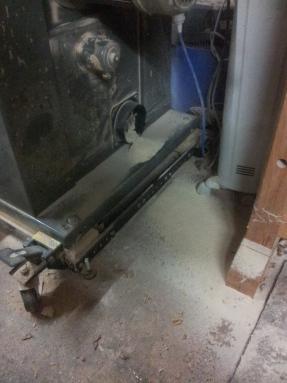
Like most bandsaws, mine has a large extraction port in the bottom right-hand corner of the lower cabinet. On this saw (with 16in wheels), it has an outside diameter of 120mm and, over the months and years, I’ve noticed that a large amount of dust does spill out through this hole and on to my floor. So, after the success of making a plywood fitting to connect my vacuum to my random orbital sander; I decided that I would now make a reducer fitting here for the hose from my dust bucket, just to see how that would work.
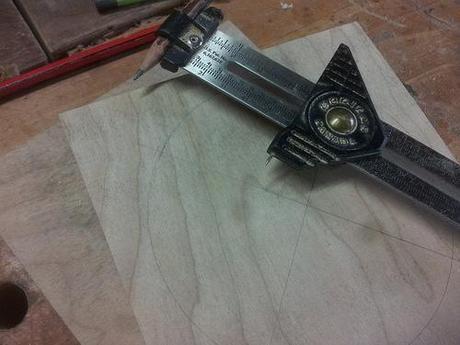
Starting off with a square blank of 18mm birch plywood.
I used a compass-type tool from Veritas to draw a 120mm circle and this is one tool from Lee Valley that I’ve only been a bit disappointed with. The given scale doesn’t appear to relate to anything. I had to set it to a radius of 62mm to draw a 60mm circle. Have you used one of these? I don’t get it.
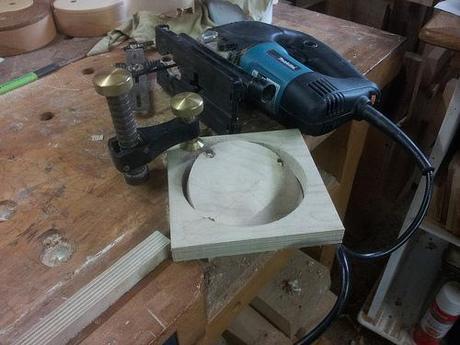
The circle was drilled and roughed out with my jigsaw.
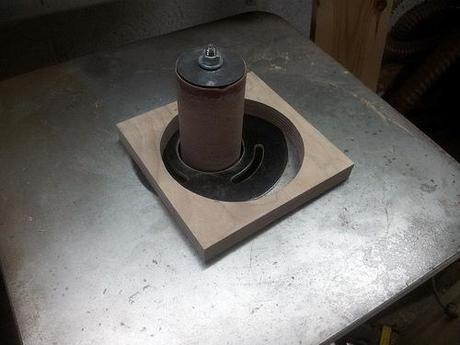
I then used my bobbin sander to clean it up to the lines, checking occasionally for a snug fit over the plastic outlet.
Then, I took a second blank of plywood to the same dimensions and glued it on to the face of the other. Once that was dry, I rounded off the corners before returning to the pillar drill.
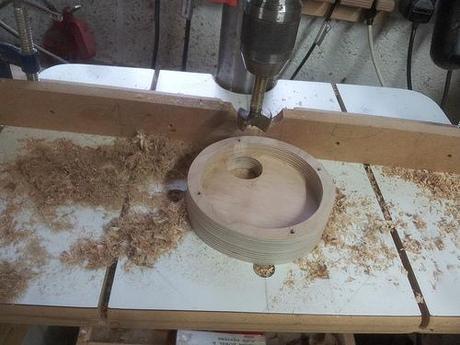
Drilling a 35mm hole for the hose to fit through (with a bit of sanding as I didn’t have the correct bit).
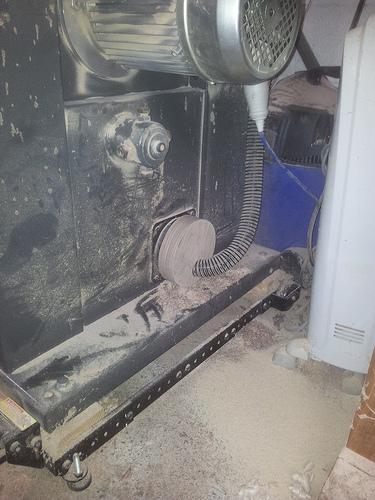
I managed to get it in to position but, as you might be able to see, the hose was being forced in to a near-90° bend.
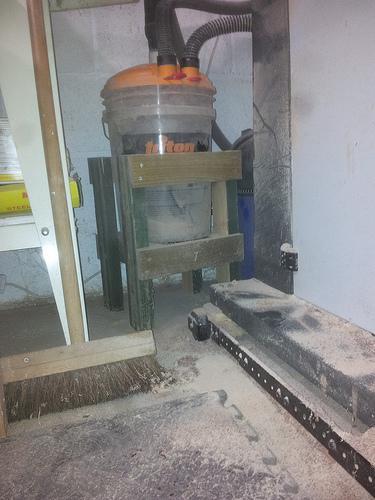
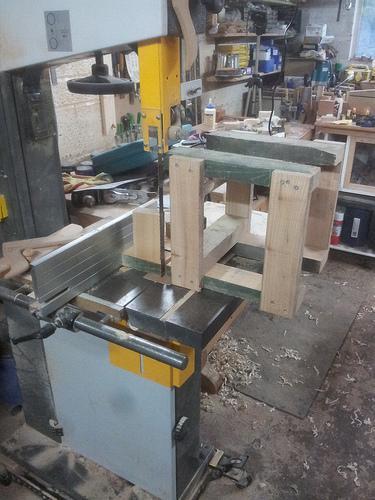
This is where it pays to have a bandsaw with a large cutting capacity!
To counteract this, I decided to cut a few inches off the legs of a stand I made for my dust bucket, earlier this year.
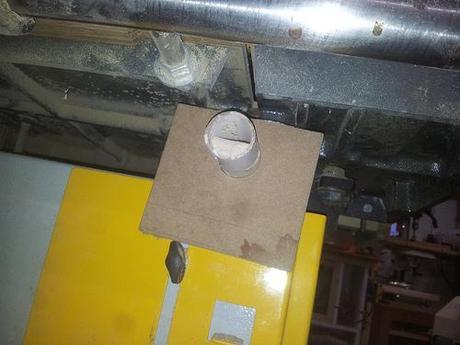
If it ain’t really broken…
But after a bit of a trial run, I decided it was anything but an improvement over my previous setup, extracting from the area just below the table. I could just reconnect my vacuum directly to this but the whole point in having a dust separator is that you keep your vacuum and its filters clean. Otherwise, you’ll soon notice a drop in suction.
Out of curiosity, I then decided to drag my chip extractor out and to plug its 100mm hose inside the large outlet on my bandsaw.
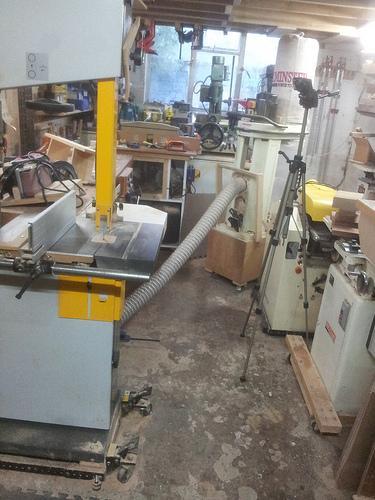
This is far from ideal as it means running the 2m long hose diagonally across my workshop.
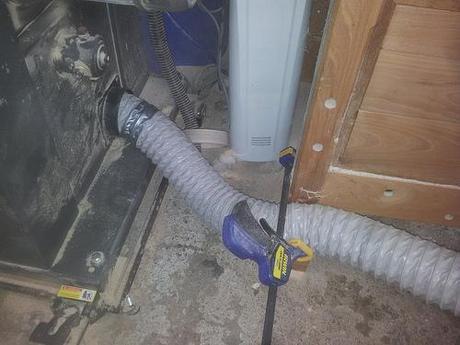
I also had to use a quick-grip clamp to hold the hose loosely in place against the leg of my workbench.
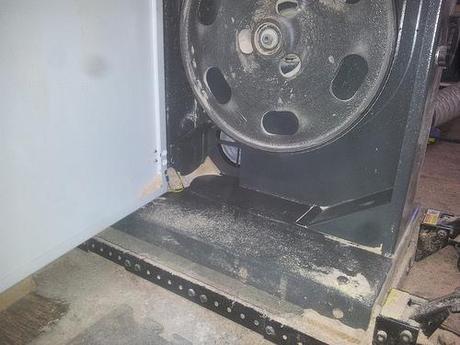
It may not help to keep those lower guides clean but it has to be said that this setup leaves very little dust inside the saw. Neither did I notice the usual ‘recycling’ of dust, raining down over the table while the machine is running. An HVLP extractor like this is also much quieter than any vacuum.
If I was staying in this workshop for longer, I’d consider running a plastic pipe (ideally 100mm in diameter) along the underside of the roof joists, simply that I could use this setup more frequently and without the trip hazard presented in one of the photos above.
If you have one of these extractors, give it a try on your bandsaw. If you have a vacuum and you don’t mind changing or emptying the bag, I reckon you’d benefit even further from installing a setup similar to the one at the top of this page.
Thanks for reading.
