 photography by Trisha Zemp
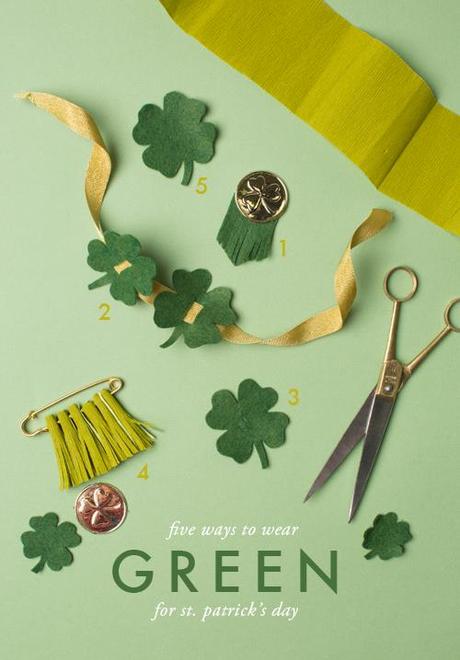
This post could also be called "How not to get pinched" on St. Patrick's day. As you know, I'm a dresser upper for holidays. It used to be a lot worse but I'd say I'm a bit more toned down in my more, shall we say, "mature" years. Mostly because I work from home and I don't leave the house much. Sometimes you just need to show that you're not a Scrooge so you'll add in a bit of red for Valentine's Day and a dash of green for St. Patrick's day. Amiright? And usually you don't want to spend much time on it, so here are 5 easy (nearly glue gunless and sewless) ways to add in that dash of green for St. Patrick's day.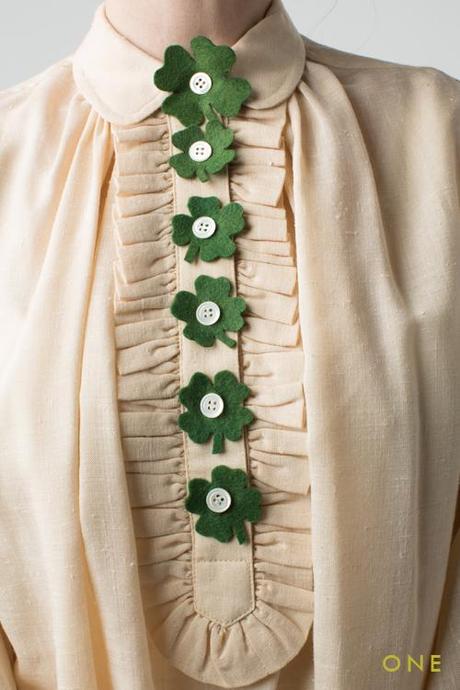
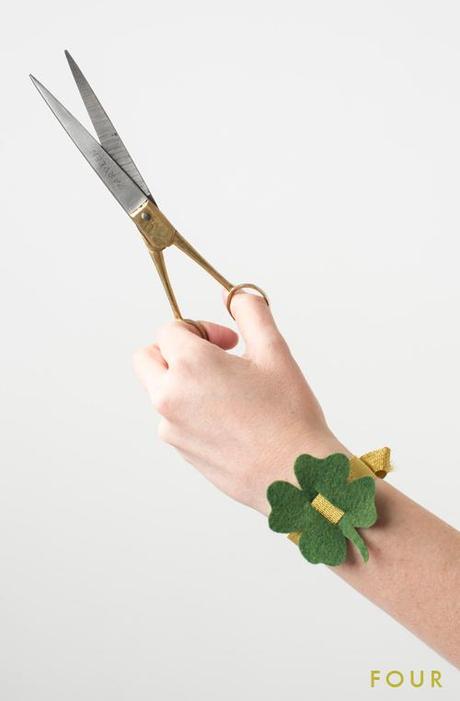
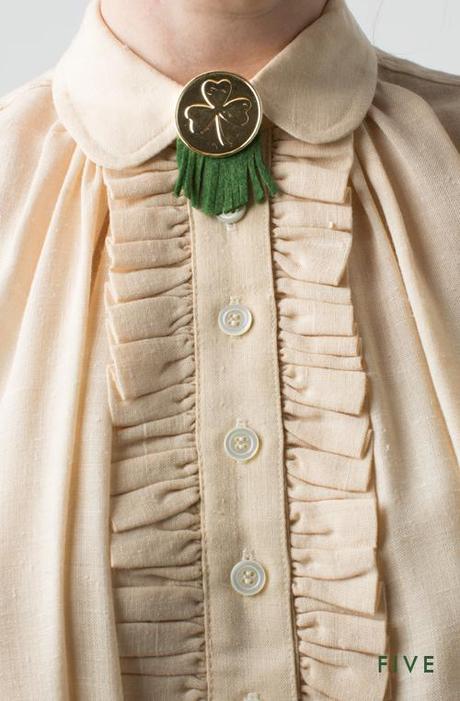 See below for full instructions
MATERIALS: green felt, gold ribbon (for bracelet), gold coin (for medallion), scissors, pin backing (for medallion), glue gun (for medallion), green crepe paper (for tassle), gold pin (for tassle), shamrock template (download here)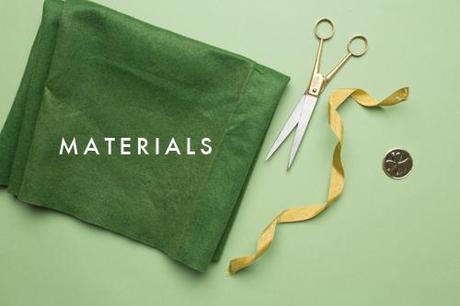 GOLD COIN MEDALLIONStep 1: Cut out a shape like a house out of felt. I cut mine to the width of my gold coin.Step 2: Cut fringe into the bottom of it, about 1/2" inch from the top.Step 3: Glue the gold coin on.Step 4: Gold the pin backing to the other side.
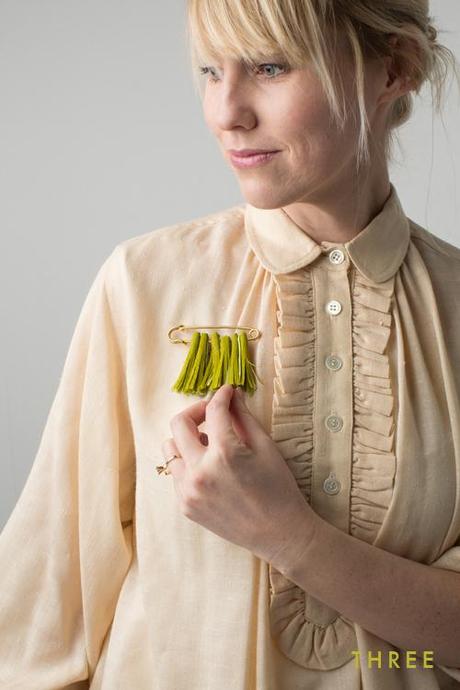
VOILA. Easy breezy.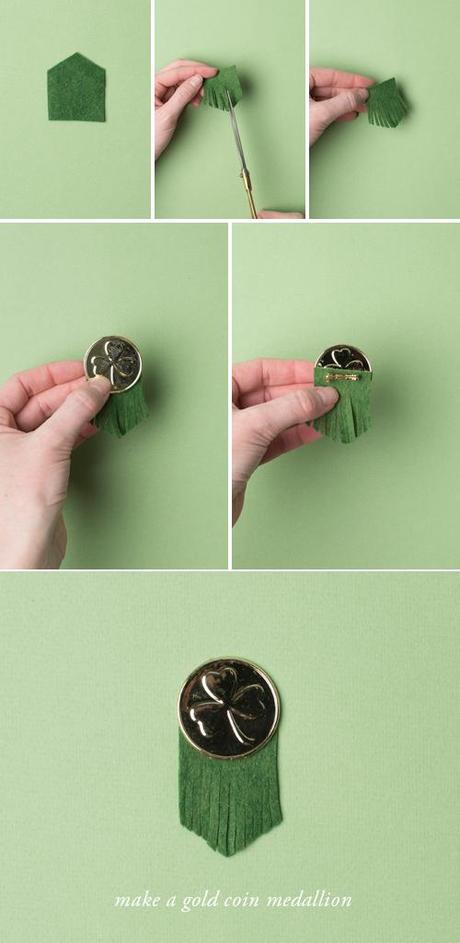 GREEN TASSEL:
Step 1: Cut a piece of green crepe paper about 4" wide going against the grain of the crepe (meaning that the crepe will go vertically once rolled).
Step 2: Fold it in half a few times.
Step 3: Cut fringe into it leaving about 1/2" gap from the top.
Step 4: Roll it up. Like a joint. And that's the only metaphor I have.
Step 5: Puncture the tassles and place them on an oversized gold pin.
Step 6: Cut the tassels off to leave a nice clean edge.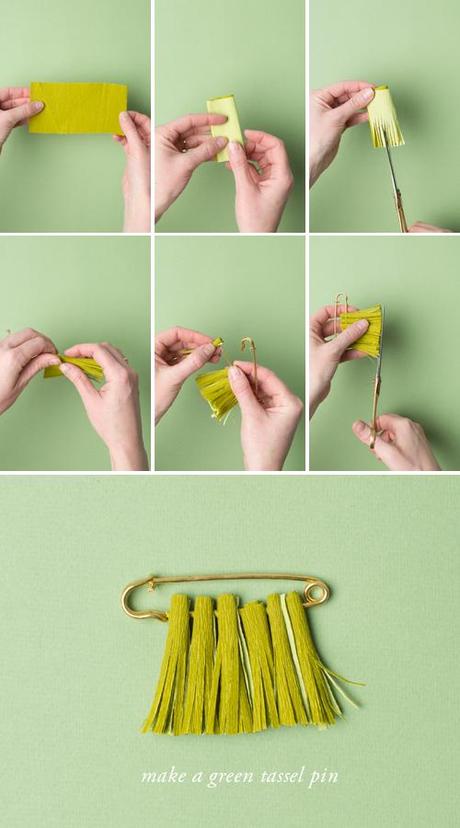
MAKE SHAMROCK ACCESSORIES
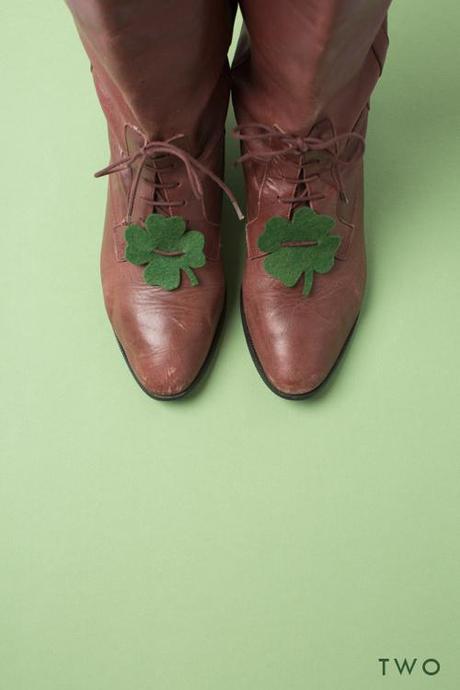
I made a shamrock button cover, shoe accessory, and bracelet
1. Cut a shamrock shape onto chipboard (download template here. Size if necessary) and use as a template.
2. Cut this shape onto a piece of felt.
3. For a button cover, fold the shamrock in half and cut a vertical cut according to how long your button is and place it onto button.
4. For a bracelet, cut two vertical lines and slide a gold ribbon through.
5. For a shoe accessory, use a hole puncher to cut two holes on either side and slide it onto a shoe lace.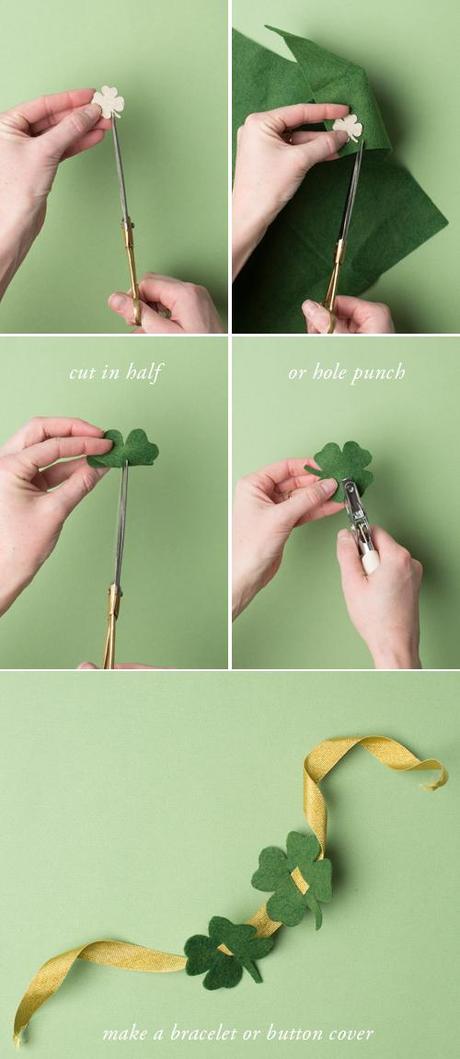 photography by Trisha Zemp
additional crafting by Erica Urry

