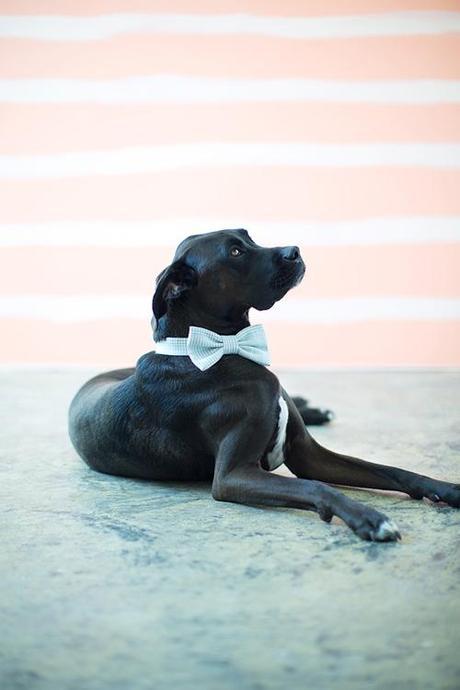
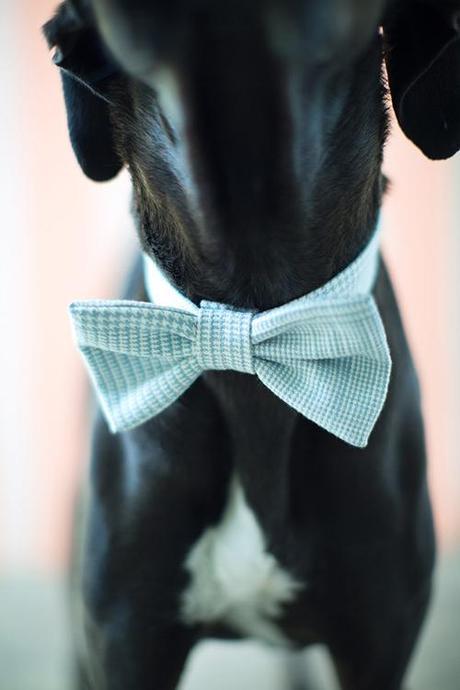
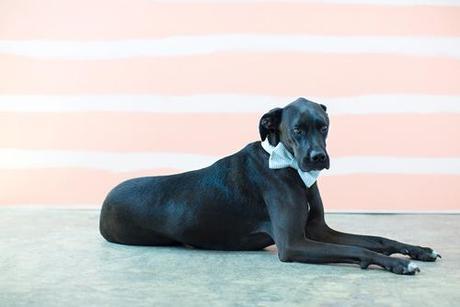
 We interrupt the holiday madness to bring you adorableness in the form of Banksy, the sweetest of all pups. This guy was kind enough to model the latest craze in K9 style, the bow tie, my latest DIY for the Laura Ashley blog (see more pics here). I don't have a dog, but if I did, he and/or she would certainly don a tie.
 See below for more adorable photos of Banksy being a good sport.
Photography by Jordan Huntington
Sewing by Carli Randolf
Art directed and styled by Brittany Jepsen

Materials:
Fabric (this Laura Ashely pattern here)
Sewing Machine
Thread
Ruler
Seam Gauge
Scissors
Buttons
Hot Glue Gun (optional)
Pins
Step 1: Depending on the size of your dog, figure out what size you want the bow tie to be. The dog I was making the bow tie for is a bit larger so I chose to make the bow tie a 8”x 3” rectangle. Add 1” to the width measurement to account for seam allowances.
Step 2: Cut out your fabric. I cut mine out 8”x 4” (an extra inch for seam allowance).
Step 3: With right sides together, fold each end into the center, then sew each long side at a ½”. Press seams open and then turn right side out.
Step 4: For the strap, cut out a long strip of fabric 3” wide. With right sides together fold in half and press. Sew along the edge forming a tube. Turn right side out and press. Optional: Edge-stitch the strap.
Step 5: At the center of the collar strap, attach the bow tie by sewing a line through the center of the bow tie and strap.
Step 6: Cut out a small piece of fabric about an inch wide and 3” in length. Press under the raw edges. Scrunch the bow tie at the center and wrap the small piece of fabric around the bow tie and collar strap. You can either hand sew or hot glue the end of the fabric to the back of the collar.
Step 7: Using your dog’s neck for reference, figure out where to place your buttons and buttonhole. Then, sew on buttons and add buttonholes.
Donzo! It’s so simple! Now go adorn your cute pup!


