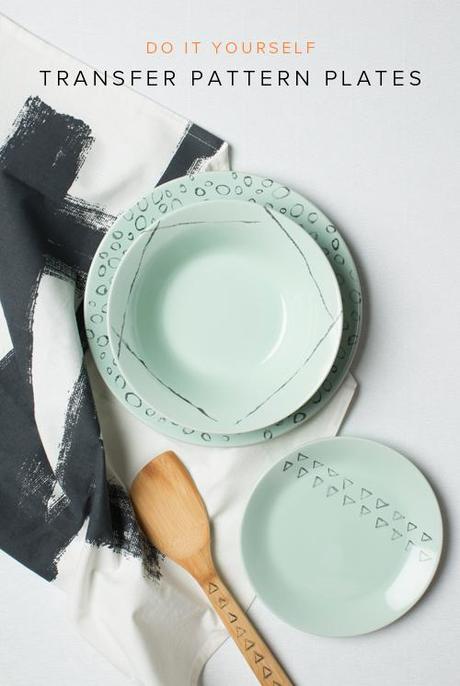
 If you're still like me you're just now starting to think about gifts to give to your loved ones. Amiright? No, you're probably much more prepared than me. A handmade gift is always a winner in my book, but I don't like the ones where they look TOO homemade, you know? I like a homemade gift that feels like something the recipient would actually use and would love to display.
Victoria came up with this rad transfer method on plates and I thought it would be great to use as gifts for the holidays. Plus, it's so so easy, anyone can do it, whether you consider yourself artistic or not. I think it would also be fun to do as a plate for Santa's cookies. We provided a free printable download with some fun designs that you can apply onto it! See below.
Note: this technique is a temporary design and cannot be washed.
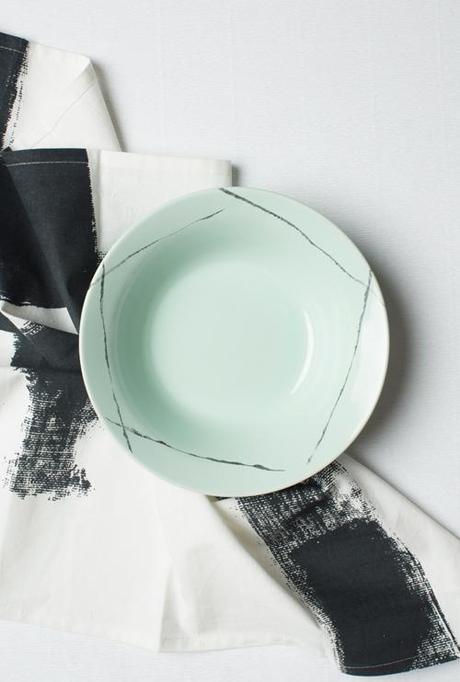
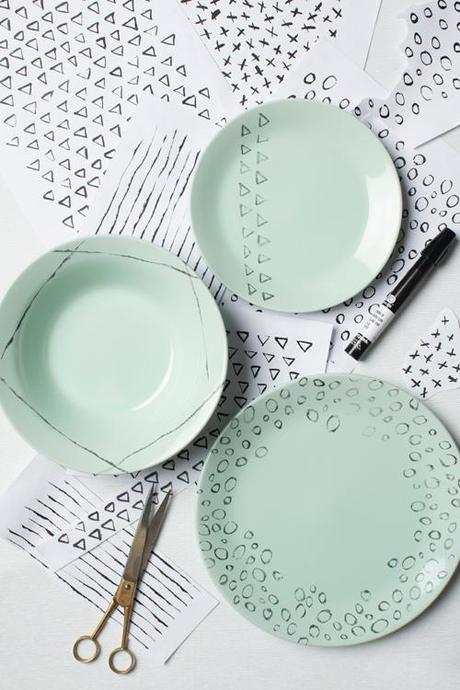
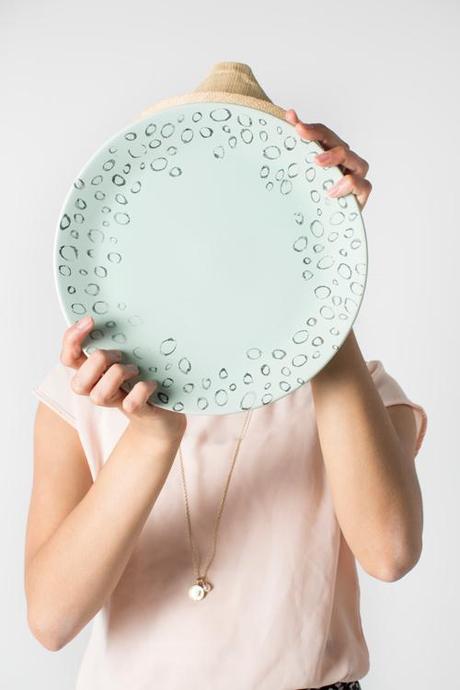
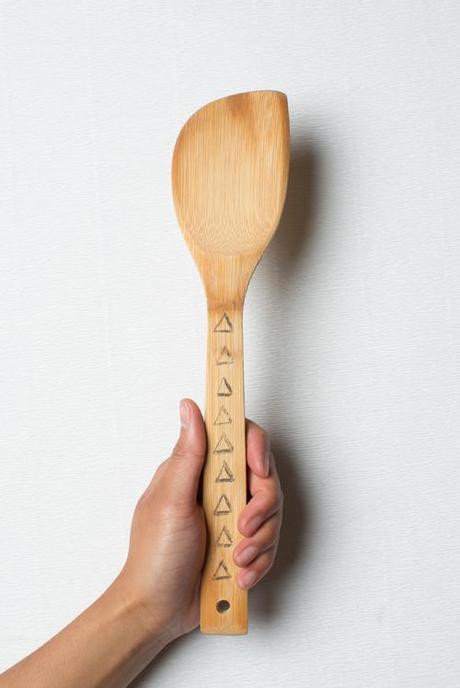 Photography by Trisha ZempCrafting by Victoria RizaArt directed by Brittany Jepsen
See the full tutorial below
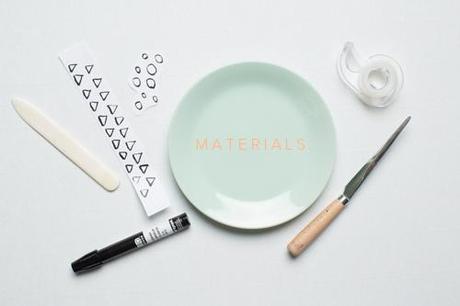 Materials:
 - plates (we used a mint set from Ikea for $14.99)
- bone folder
- tape
- Illustration, type, or design that has been printed via laser print. If you're using type or have a specific orientation for the illustration, print it in reverse or mirrored. Kinkos has self printers that meet these requirements.
- Click here for the dot pattern PDF
- Click here for the stripe pattern PDF
- Click here for the triangle pattern PDF
- Click here for the X pattern PDF
- Chartpak blender marker (this is the most important tool for this project!)
- Christmas cookie plate design PDF (free download!)
Steps:
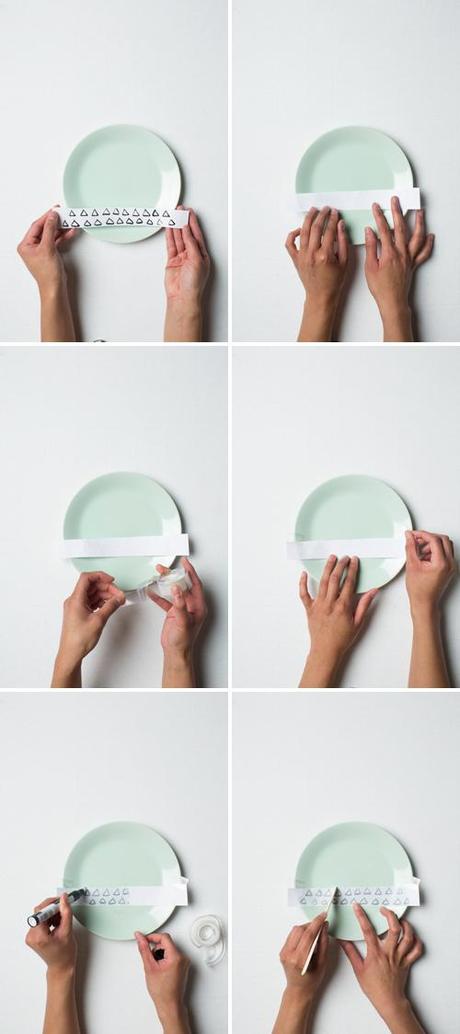
- Make sure the dish you are making your transfer on is clean.
- Cut out your design and tape edges of your design face down onto your dish. Make not to cover your design with tape.
- Take blender marker and rub onto the design. Paper should become transparent as you apply the maker. At this moment, the ink is transferring from the paper to the surface of the dish. Make sure that your design doesn't move during this step. With big mistakes, you'll have to start over, but small mistakes can be fixed.
- Take bone folder and rub the back of the design. This will help the ink transfer onto the dish.
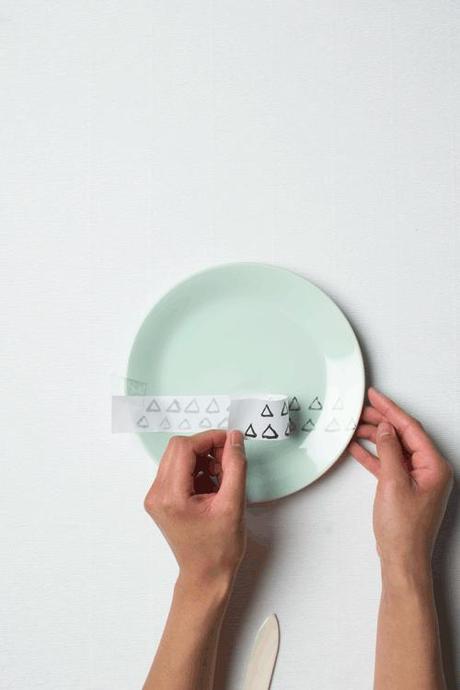
- Let it dry for a couple of minutes or until paper is no longer transparent. Carefully and slowly remove paper.
- If you notice some small mistakes, no worries they can be fixed by "erasing" with the blender marker. The marker reactivates the ink and you simply take a Q-tip to remove unwanted ink.
*Scratching with a metal utensil will remove ink. To remove completely, just wash with water and soap.
