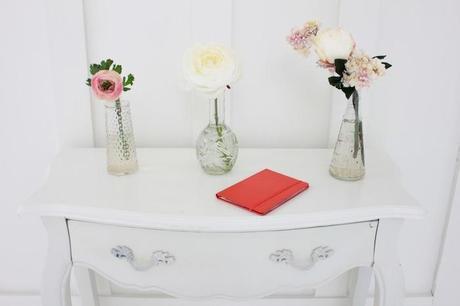
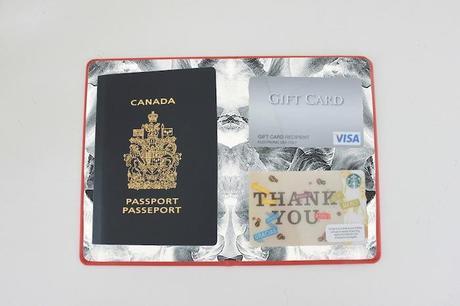
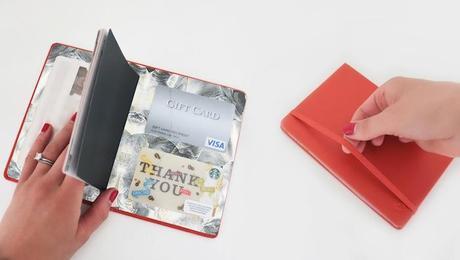
Today’s DIY was a product of necessity, I just left for vacation and needed an easy, compact way to carry my passport, tickets, money and obviously a Starbucks card.
I could have gone out and bought one, but that’s just way too easy!
I used a leather notebook which I was about to throw away, cut out the pages, added a pattern background and clear pockets for my travel essentials! You can do this yourself with any old notebook with a nice cover.
Tools:
- Notebook
- Craft blade and scissors
- Patterned paper (or print a background like I did!)
- Clear PVC (I purchased mine at Industrial Plastics and Paint, look at craft stores or online)
- Spray adhesive
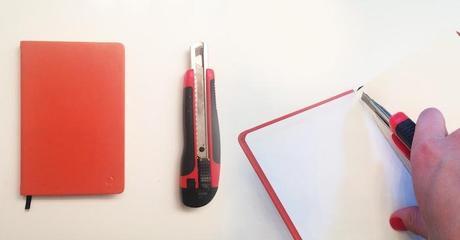
1. Take your notebook and cut out the pages.
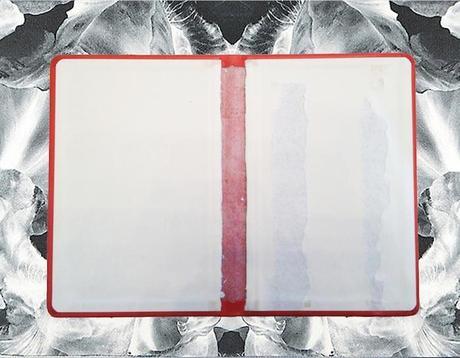
2. Get patterned paper and use the notebook as a stencil. Trace the notebook then 5 cm inside the line. Use the spray adhesive to coat the backside of the paper, then carefully stick it to the notebook.
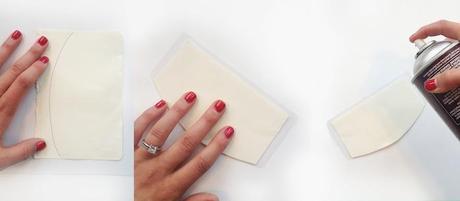
3. Take one of the cut pages and use it as a guide for cutting the PVC. I created a slight arch in mine, but feel free to cut it as you like. To attach the PVC to the paper I cut 5 cm from the cutting guide, sprayed the exposed PVC with adhesive and stuck it to the paper
4. Put something heavy like a book onto of the newly assembled passport holder and let the adhesive dry for 24 hours.
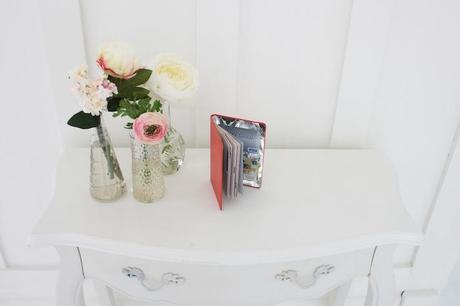
I used a pattern inspired by my favorite designer: Alexander McQueen, but I’ve added a few other patterns below that you can print and use!
xo Alana


