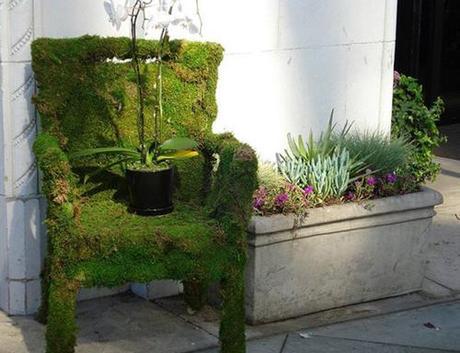
Moss can be used to cover a variety of items, from chairs to brick walls to garden art.
“Moss. Huh. Good God, ya’ll…what is it good for? Absolutely everything.” [To the tune of "War" by Edwin Starr]
If you haven’t already discovered that my brain’s neural pathways are fraught with lyrics and useless pop culture then you obviously haven’t been reading my mindless drivel often enough.
Besides Starr’s groovy 1969 Motown hit, the other thing that popped into my head when I was researching how to make moss-related stuffs was Moss Man from He-Man and The Masters of The Universe.
My best friend from childhood had pretty much every awesome toy that was made for boys back in the 80s. Along with my slightly more condensed She-Ra collection we ruled the neighborhood, taking down Skeletor and his nasty brother Hordak, all before the street lights came on.
Now back to the moss.
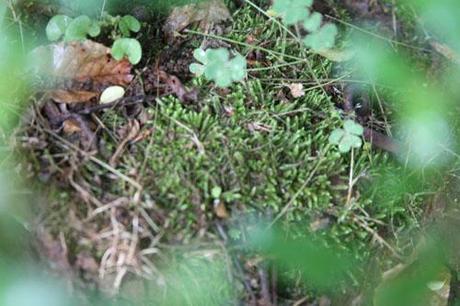
Moss from my shaded backyard.
I love moss.
Everything about it.
It’s texture, smell and color are so…mossy!
It will cover almost anything, from bricks to roofs to rock-covered forest floors. I have always wanted to have a moss garden of my own, but I never really thought about how that would happen. I just thought it was something that only nature could do — until now!
I stumbled upon a couple of recipes for making moss paint using milk, buttermilk, dry milk, beer and yogurt. Considering that none of these products would be useful in our home after the moss paint was made, I opted for the beer.
What’s DIYing without a little alcohol, right? Especially on the weekends.
The recipe I used came from green art maven Helen Nodding and it is nothing more than moss, 12 ounces of beer, half-a-teaspoon of sugar, and a paint brush.
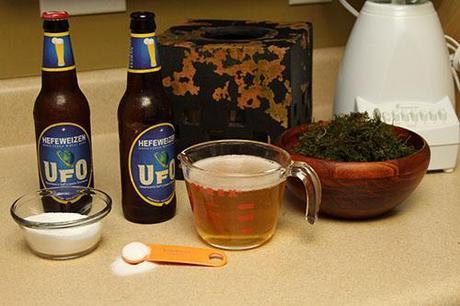
The acid pH of the beer helps create the perfect environment for moss to grow.
Just wash the moss with water to remove as much dirt as possible (a rinse in a colander was enough for me) then throw into a blender with the sugar and beer.
You may want to start on a low setting and gradually work up to the highest. It seems that the more you incorporate into the mixture, the better. It forms a kind of foamy slurry that sticks to the surface of the objects you wish to paint.
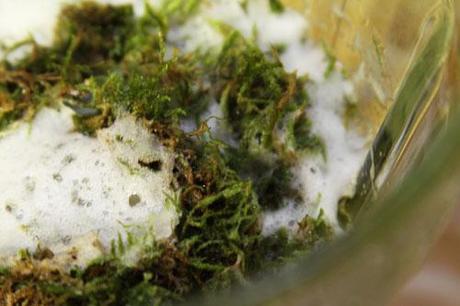
Be sure to break up the moss into small chunks before adding to the blender.
I chose to paint one of my terracotta torchiers.
I had originally planned to scrape and repaint them, but somehow a moss-covered piece seemed more interesting. It hasn’t had enough time to grow yet, but I’m hopeful that in a few weeks I’ll have some fluffy greenness sprouting.
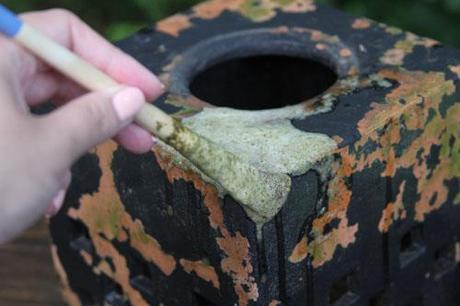
Choose a paint brush to match your application. The slurry is easy to wash out and shouldn't harm the brush.
I’ll share pictures when the moss is growing.
Now get out there and get to mossin’!


posted on 24 December at 00:53
Where is the "After" photo you said you would post? I'd love to see it. Thank you