Behold: Mirrored Mercury Glass Contact Paper (or "f*ing magic" as I call it)
Let me explain why I am so excited...
See, being creative for O'verlays is my job. Trying to figure out how add mirror to a flat drawer front or beveled cabinet door has had its challenges and driven me crazy. Regular mirror adds 1/8" of depth, and when you put an O'verlay on top you can still see the edge of the mirror. I researched very thin mirror, and came up empty.
Then I thought, what about a "mirrored contact paper"? Guess what... it is hard to find, expensive and it shows every lump and bump under it's surface. I even tried mirrored tint for windows and had the same failed results.
What if I could find something thicker to hide the bumps yet thin enough to go under an O'verlay and not add any depth.
Well after a little research and experimenting, this is what I came up with:
 We have all seen thousands of hurricanes and glass turned into mirror/ mercury glass with the above
Krylon alchemy in a can.
What about plastic?
I was all about finding out.
We have all seen thousands of hurricanes and glass turned into mirror/ mercury glass with the above
Krylon alchemy in a can.
What about plastic?
I was all about finding out.
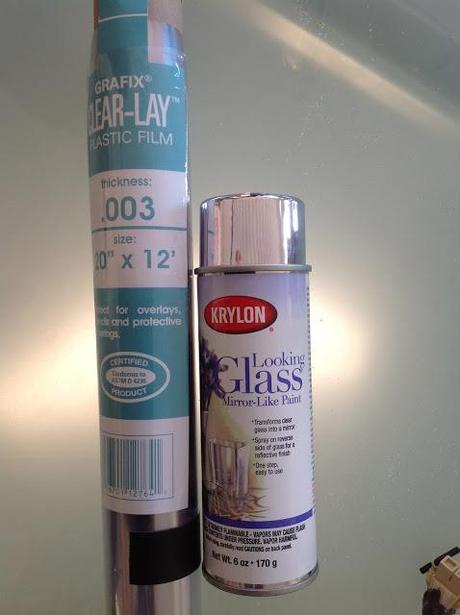
I found some Grafix Clear Lay at AC Moore in .003 thickness to test on. If you want to do this right, get thicker clear lay.
Here is a link to all the thickness and sizes available, and you can buy them here as well. I say go with at least .01 thick. I used .003 since that was all AC Moore carried, and I felt it was a bit thin & wimpy and crinkled easily. Still did an OK job, but you'll need kid gloves. I have used .01 mylar in the past to make heavy duty stencils and it would hold up much better. You can also use thinnest plexiglass you can find!
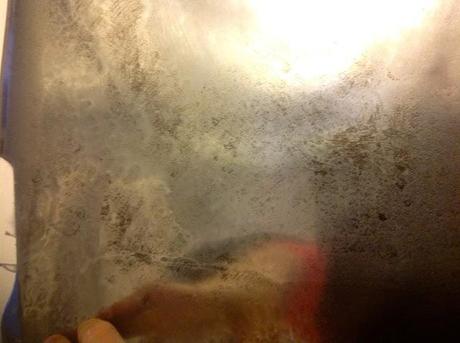
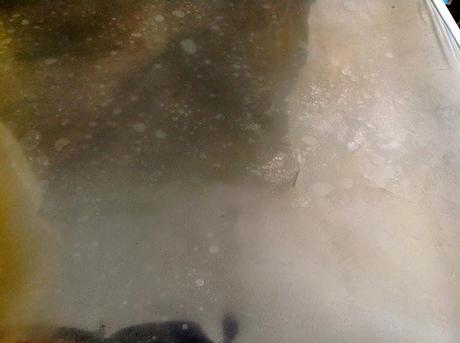
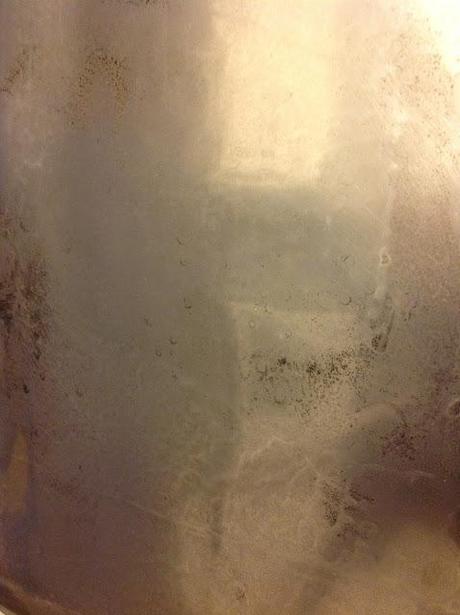
Other materials you will need+ and some good to know info*: +gold spray paint +black spray paint +bowl of water, paper towel, and a scrubber sponge +hair dryer +tape +spray adhesive *I first attempted this outside in 35 degree weather (since it smells like acetone x10) and also in a heated room with doors open. Both times I used a hairdryer to dry the layers. Heated was better, the cold got runny. Here is the cold sample... not terrible, but I couldn't get the water drop marks to show up well and you can see runny silver marks :
*VENTILATE ventilate VENTILATE, its smelly stuff and you need your braincells *do a test sample first to get the hang of the technique before doing a large piece *I did this for use on cabinet doors/ drawers, but I am sure you can find tons of uses for this
Here is how:
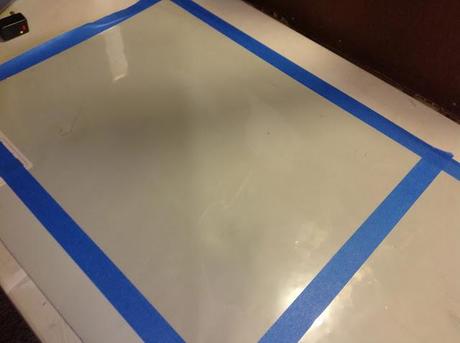
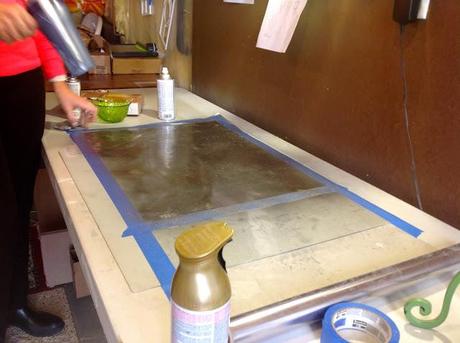
1) I taped down a good sized piece of the clear plastic lay...
 2) applied one coat of Krylon Looking Glass Spray..
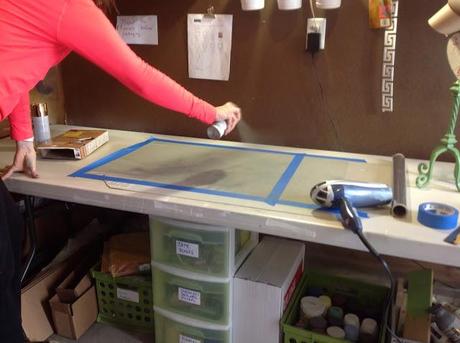 3) dried it with a hair dryer on low heat so not to melt the plastic, and repeated another light coat...
 4) sprayed it lightly with gold spray paint and blow dried...
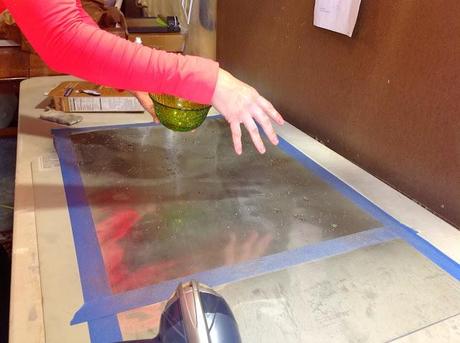
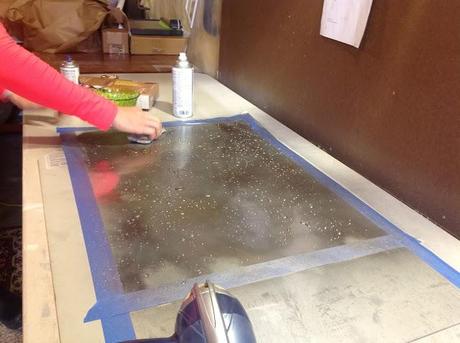
 5) Now splash the surface with water
 6) and spray with Krylon Looking Glass Spray:
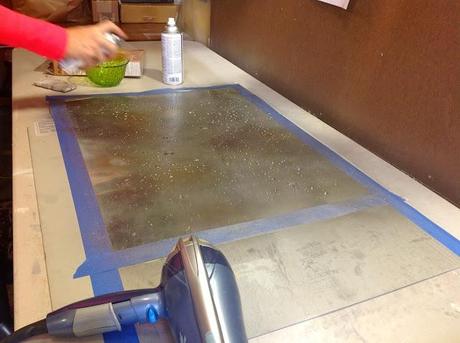 7) quickly hit the area for about 10 seconds with a hairdryer to set the paint...
 8) and blot the water drops with a damp sponge to absorb "drop marks", and blow dry...
and repeat steps #2-8* (*gently rub with a Mr. Clean Magic Eraser after each blow dry to make the mirror more distressed, this is where you need to play around and test out. I found that right after the paint would set I could gently press the Magic Eraser into the surface and twist to remove a bit of paint.)
 Once you are getting a good level of patina, add a final light coating of the mirror spray and dry.
Flip the plastic over, (the painted side is the "Backside")
There is still one more step, but you need to see how it looks and if you are happy with it.
You will possibly need to add a final light coat of black spray paint for step #9
( keep reading to understand why and if you do).
Once you are getting a good level of patina, add a final light coating of the mirror spray and dry.
Flip the plastic over, (the painted side is the "Backside")
There is still one more step, but you need to see how it looks and if you are happy with it.
You will possibly need to add a final light coat of black spray paint for step #9
( keep reading to understand why and if you do).
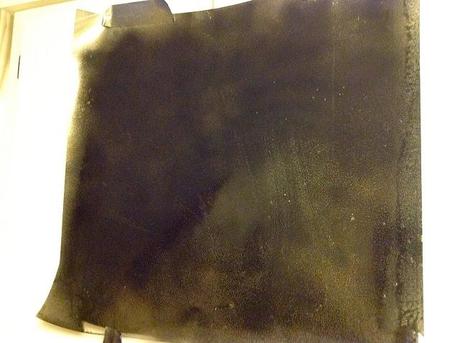
Lay the plastic on a black surface to see how it looks. Here is the comparison of spraying the plastic with just Looking Glass Spray (on left, looks like aluminum foil) to doing the distressed mercury glass process (on right):
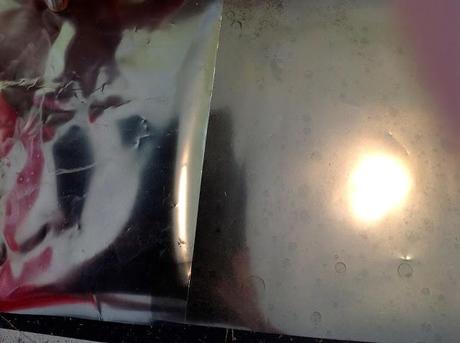 Please note the crinkles with the thin plastic on the left, you have to be so careful when handling, so I really recommend using a thicker plastic since it is harder to wrinkle.
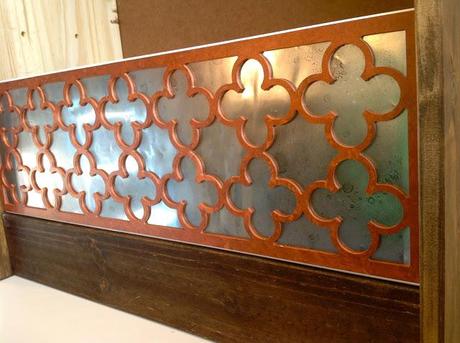
Another thing... The mirror takes on whatever color you put it on since it is slightly transparent. Can be a good thing if you are after that look, so you wouldskip step #9. When placed over a gold background it definitely picked up the tone:
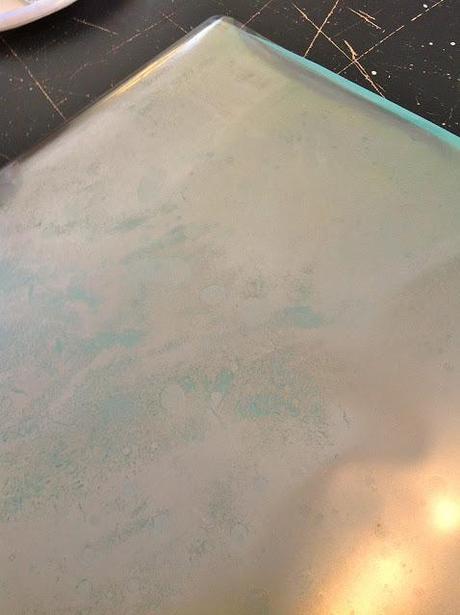
 Here it is on a turquoise folder:
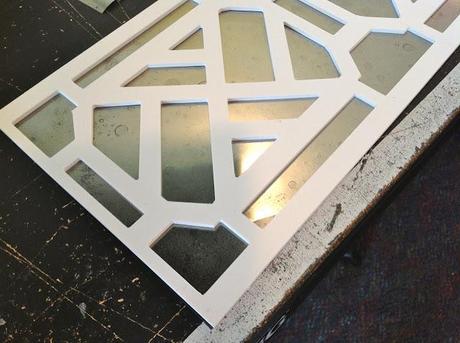
And when put on a black table all the definition and distressed detail popped and looked the best, giving it the appearance of old silvered / smoked glass:
 So this led to the idea of painting the area it was being applied to black, which worked here:
 But that is a lot of work to have to paint another surface black.
Instead just paint the backside of the finished mirror black...
But that is a lot of work to have to paint another surface black.
Instead just paint the backside of the finished mirror black...
tested it, and it works great!
Flip it over and all the drop marks and distressed marks stand out... The mirrored plastic is now ready to be made into contact paper and applied where ever you'd like.
To do this first cut the plastic to a size you want and simply spray the backside with spray adhesive like 3M Super 77 or Krylon Spray Adhesive. Let it set up for a minute to get tacky.
Next apply to your surface of choice.
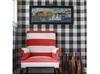
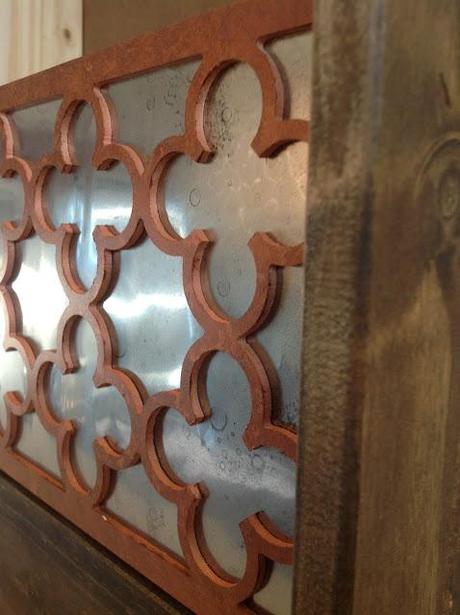
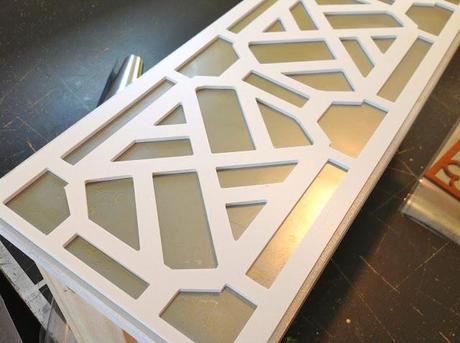
Here we did some IKEA Malm drawer fronts and added Fiona O'verlays:
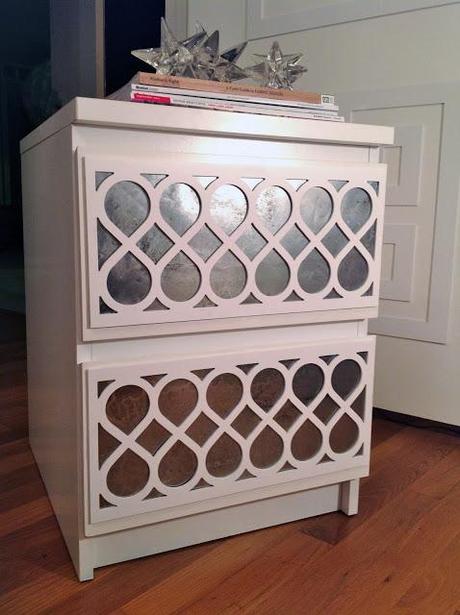 Click here for a more detailed "how to use with O'verlays" demo on our blog.
We are going to be running a series of ways to use it over the next week.
Click here for a more detailed "how to use with O'verlays" demo on our blog.
We are going to be running a series of ways to use it over the next week.
But the applications are endless. You can now add a silvered antique mirror anywhere without adding any extra thickness or depth, or having to worry about breaking glass. And if you get tired of it just peel it off.