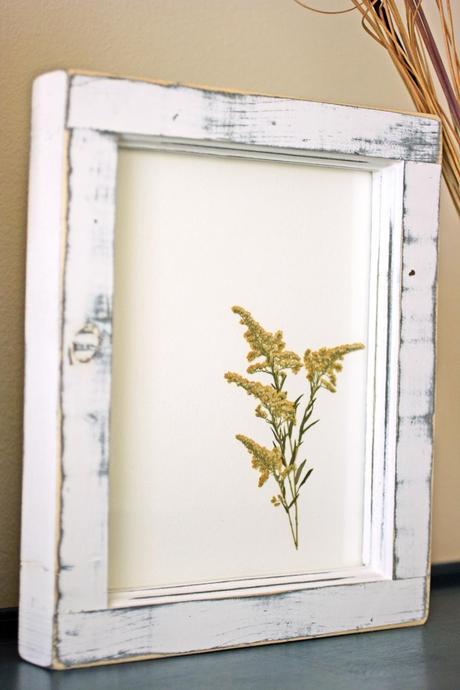
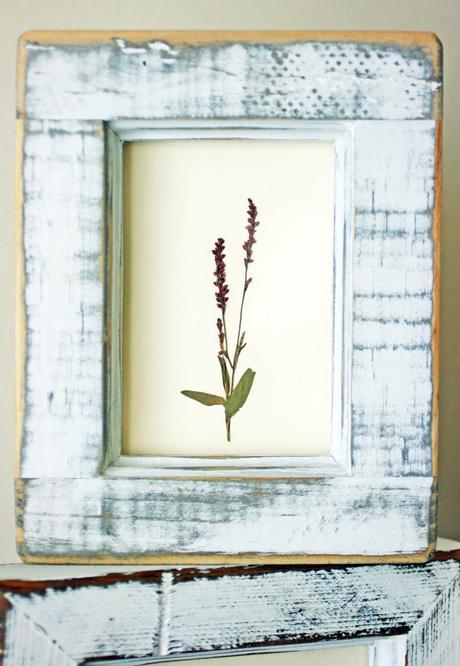
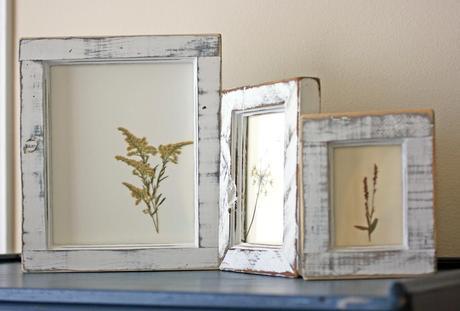
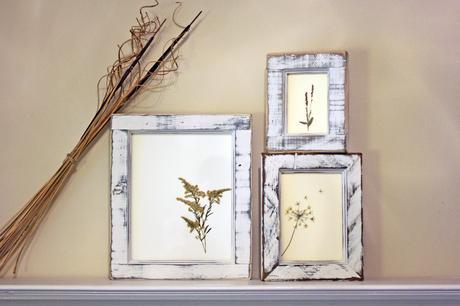
A couple months ago, I did a guest post on Pamplemousse!, which featured a tutorial on how to press and frame flowers. I thought I’d share the full tutorial with y’all today. It’s a great way to preserve flowers from bouquets (from those birthday or anniversary flowers!), or the pretties from your back yard. 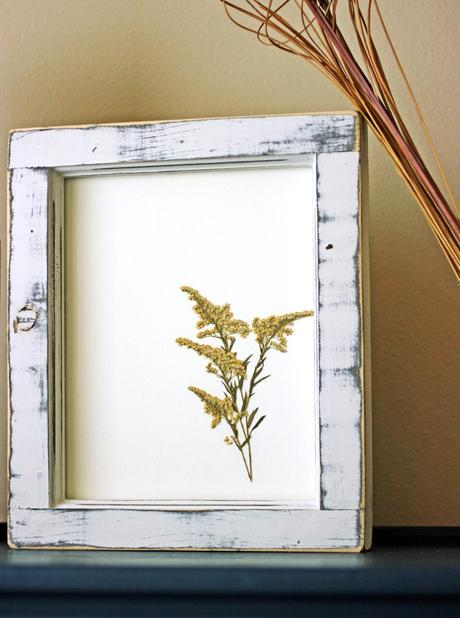
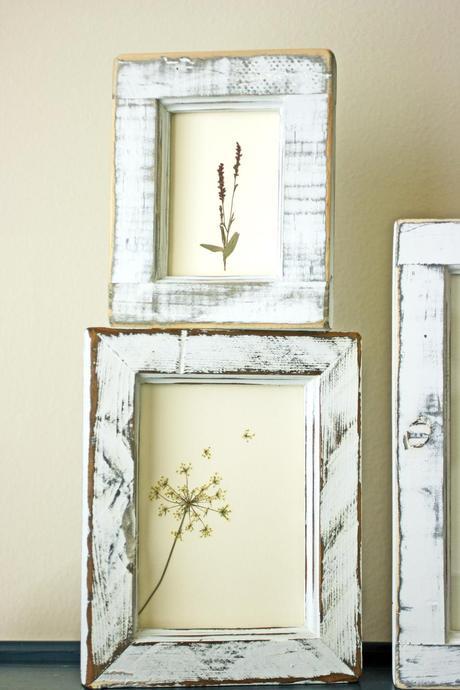
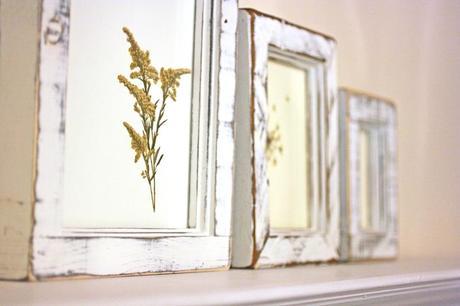
DIY Framed Flowers
For this project, you’re going to need:
-picture frames (the size is up to you)
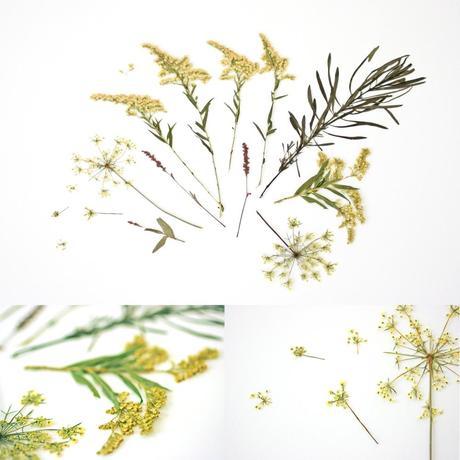
-dried flowers (I used flowers from the back yard and pressed them inside heavy books for a couple weeks)
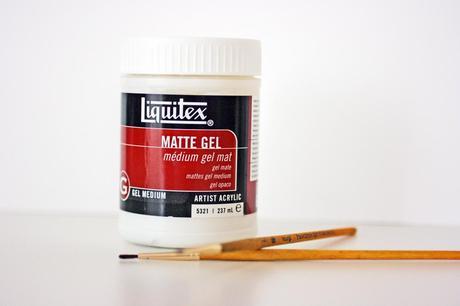
-gel medium (or Mod Podge/glue)
-a small paintbrush
-Thick card stock (**A great alternative to using plain card stock is to paint the page with watercolors first. Then you’d have a lovely and subtly color to complement your flowers.)
Steps
one
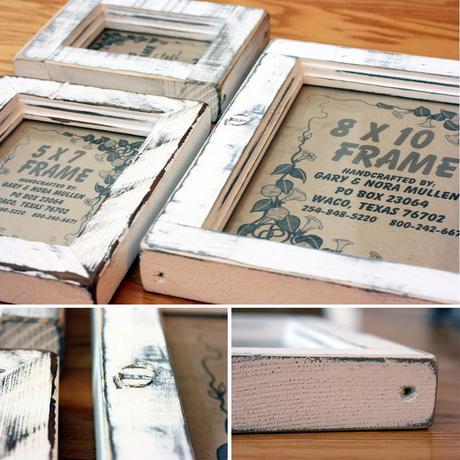
Cut your card stock to the same size as the glass in your picture frames.
two
Assemble your flowers before glueing.
three
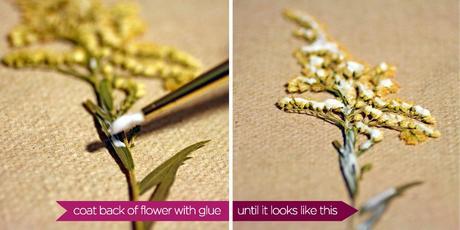
Glue! Use your small paint brush to put the adhesive on the back side of the flowers. It’s best to put the flowers on top of a paper towel so that the glue doesn’t get everywhere.
four
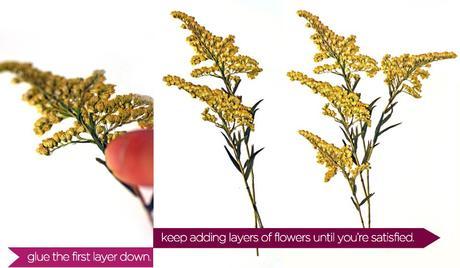
It’s time to adhere your flowers to your card stock! Do this layer by layer and make sure to press down on all areas of the flower after you’ve laid it on the card stock. This is when that pic you took in Step two comes in handy.
five
Let the glue dry, then place the card stock into its frame. You’re done! Now go hang up your frames and enjoy!
