Do you remember my report about the Retro Cruise in Kyiv this September? Lots of people there were wearing bow ties.
Bow tie is a kind of a men’s necktie, which is actually a ribbon of fabric tied around the collar in a symmetrical manner such that the two opposite ends form loops. One day I will try to sew a classic bow tie. But today I wanted to share with you how to make a fake bow tie. This means you won’t have to tie it over and over again.
So here’s what you gonna need to sew a fake bow tie in no time.
Materials:
- Wool or tweed fabric- Scissors- Pins- Ribbon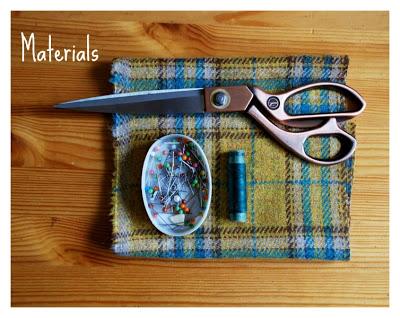
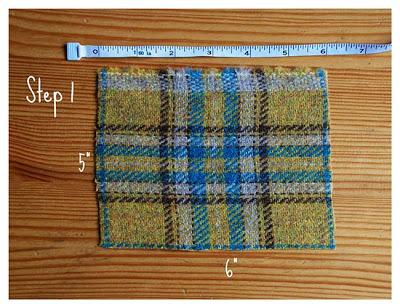
Step 1. Cut out a piece of fabric 6×5 inches ( 15×12 cm) large.
Tip: If the fabric has a pattern make sure that the center of the pattern matches the middle of the rectangle.
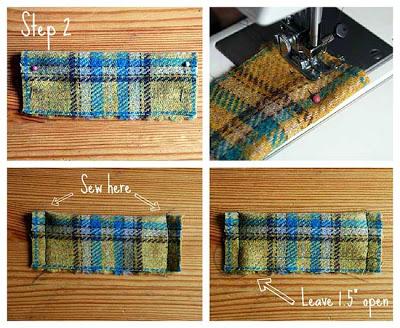
Step 2. Fold the rectangle in half on the short side with the wrong side facing out. Fix the short sides of the rectangle with pins and then sew them together. Afterwards, make a sew at the longer side of the rectangle as shown at the photo. Leave about 1.5 inches ( 3 cm) open for turning.
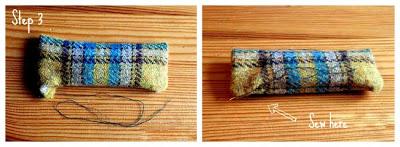
Step 3. Turn the rectangle right side out and press it flat. Bend inside the fabric and hand stitch the open gap.
Tip: You can use a pencil or a sharp stick for turning the rectangle right side out.
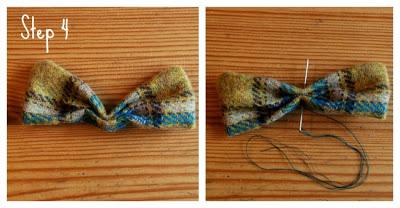
Step 4. Fold the rectangle at the long side and then fold the ends towards the middle. Now your rectangle looks like a butterfly. Fix it with the pin and hand stitch the rectangle in the middle.
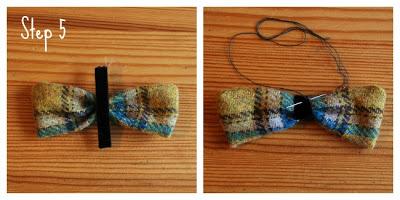
Step 5. Cut 2.5 inches (6 cm ) of velvet ribbon. Wrap the ribbon around the center of the rectangle and fix it at the backside.
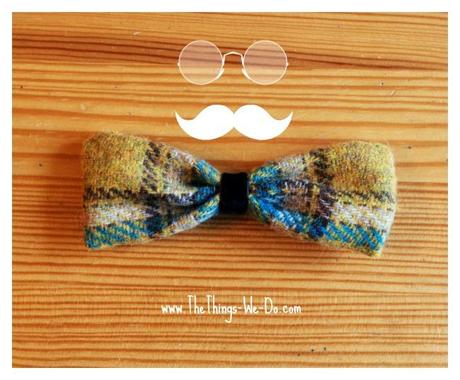
And you’re done!
I also have a blog post coming up showing you all the ways to wear the bowtie.
Take care.
