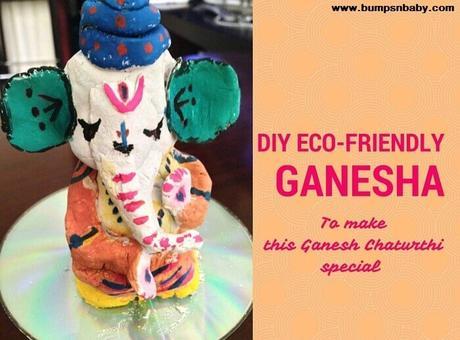
Today I bring to you a step by step DIY clay Ganesha at the comfort of your home.
Just a few days more and I am excited beyond words. Ganesh Chaturthi is almost here and every year, we look forward to celebrating Ganesha Chaturthi at our home with all the fervor this festival calls for. But, all the excitement comes down when I think of the downsides of the festival.
Ganpati Bappa Morya Pudchya Varshya lavkar ya!It says Oh Lord Ganpati, bless us and come back sooner next year. But instead, the idols made of plaster of paris are washed back to the seashores within a few hours after they are immersed. This causes a variety of issues.
So this year, I have decided to celebrate it a bit differently. I have decided to go green.
I am making an eco- friendly clay Ganesha at home, for my little one.
Why make an eco friendly Ganesha?Ganesha idols that we generally buy for this festival are made of plaster of paris, which harms the environment. Idols made up of Plaster of Paris pollute the water, when immersed in water. By making eco-friendly Ganesha using clay, you can easily make your kids understand the concept of going green. You can explain the disadvantages of plaster of paris and colors that are used, which are harmful for the eco system.
Ecofriendly idols made up of clay degrade in water faster and do not cause much harm to the environment.
Disadvantages of plaster of paris:Though they are magnificent to look at they have way too many harmful effects.
Plaster of Paris does not degrade fast. It contains harmful chemicals like magnesium, phosphorous and sulphur. When the idols are immersed in water, they release these chemicals thereby polluting our water bodies.
- Contaminated water poses a threat to marine life:
The chemicals in plaster of paris are detrimental for the plants and fish in the sea.
Plaster of Paris has harmful effects on your body too. It affects lungs, eyes and even cause allergies.
DIY clay Ganesha - step by step pictures:
In today's post, I bring you the DIY clay Ganesha Tutorial - a perfect way to teach your kids how to make a Ganesha idol, using clay.
The items required for the making of the idol are: Let us see how to make clay Ganesha at home step by step:Making Ganesha with clay is not too difficult as you can see from the pictures. The pictures given are self-explanatory.
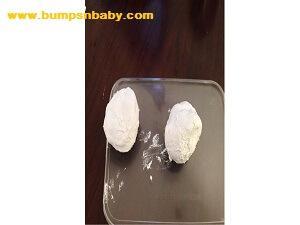
- Mix the clay with water to form a dough that is firm but pliable enough to make the idol. Split the dough into different parts of the idol. Take two round balls for the face and the stomach.
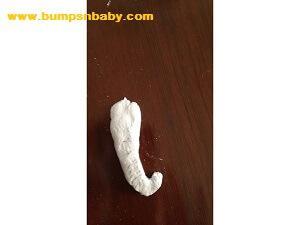
- Next comes the elephant trunk. Let's paste the ears on the sides of the trunks.
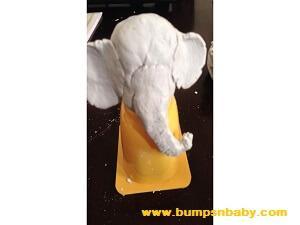
- Make the hands. The right hand should be aashirwad pose (palm facing outwards, for we need his blessings) and the left hand has modak. Roll the long clay into a thread like shape for the turban.
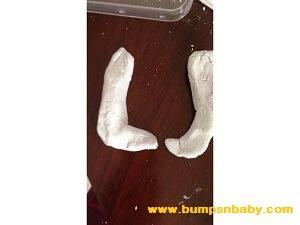
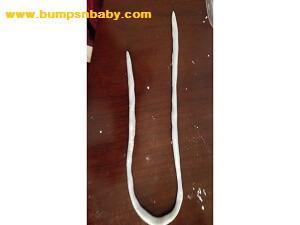
- Make a small mukut to keep inside the turban. Roll and tuck the turban around the mukut and place it in the head.
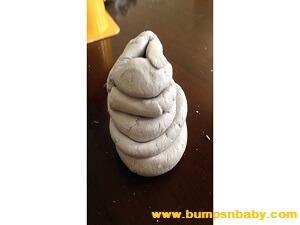
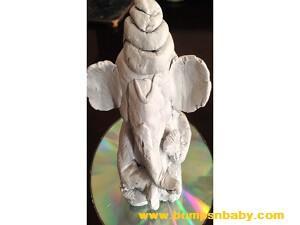
- Moving on to the body of the lord. The lower part of the abdomen and the legs of the lord should be molded into a shape that resembles a sitting pose. (Refer the pic).
Using the tooth pick draw some lines on the trunk. This is how the Ganesha looked after finishing. You can take a small dough of clay shape it into a modak as and place it in his left hand.
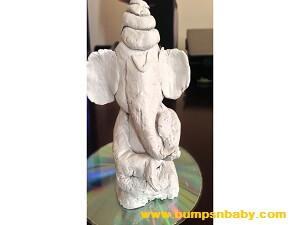
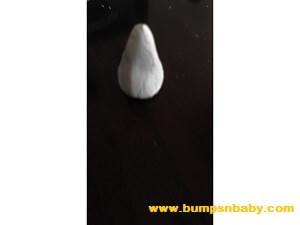
- Once the clay is dry, paint the Ganesha with colours of your choice. When the colour dries, the idol will look like this.
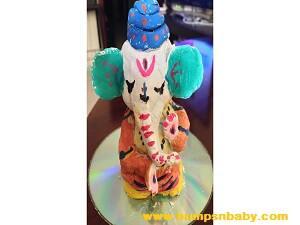
Using proper techniques and procedures, you can make an ecofriendly Ganesha that does not leave behind any toxic waste. Hope you have fun trying this out with your little one.
Save mother earth, use an eco-friendly Ganesha. Let him return to a greener earth next year.
Do not forget to check out the steamed modak recipe or ukadiche modak.
So are you going green this year? How are you planning to make this year's Ganesh Chaturthi environment friendly? Do share with me in comments.
