Brent and I have been brainstorming what to do to add some curb appeal to our home. We weren’t in love with the front of the house with the wrought iron covering on the window. We thought it made our home look like we live in an unsafe neighborhood, when in fact we live in the cutest little golf course community.
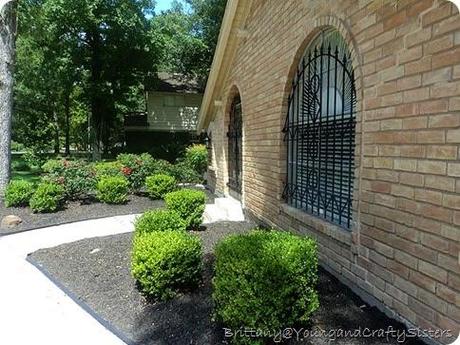
So we took the wrought iron grates down and decided to build our own board and batten shutters. Below is the before photo with the wrought iron gone.
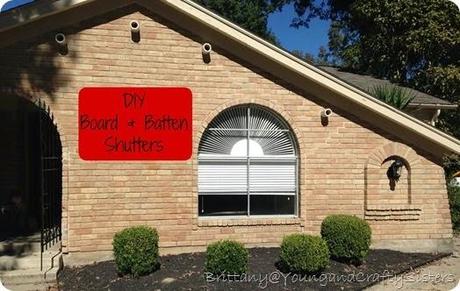
I feel like I did ample research prior to starting this project. Watched multiple videos and read tons of blogs, all saying this is an easy afternoon project. Three days later and a lot of frustration, we finished the shutters. Unfortunately they did not turn out like we expected for this feature window, however we did use them on the smaller side window, which you will see later. If you have any ideas how to dress up this curved window, please leave a comment below. We feel like the circle drain at the top right of the window is a barrier.
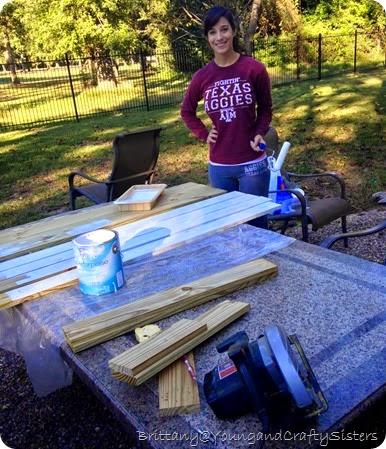
We bought the wood at Home Depot and the paint at Sherwin Williams. The smaller shutters have 3 planks across and the larger shutters are 4 boards wide. I had all of the big cuts made at Home Depot. The first 3 cuts are free and an additional $0.25 per cut thereafter. I started priming as soon as we got home so it could start drying.
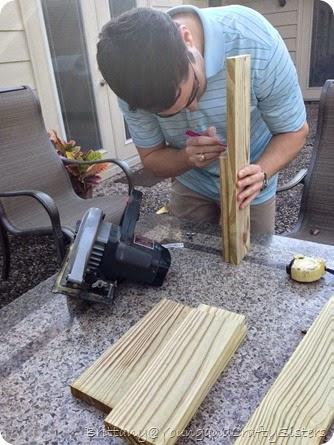
Here is Brent making the cuts for the Batten part of the shutter. We decided to have 2 battens per shutter.
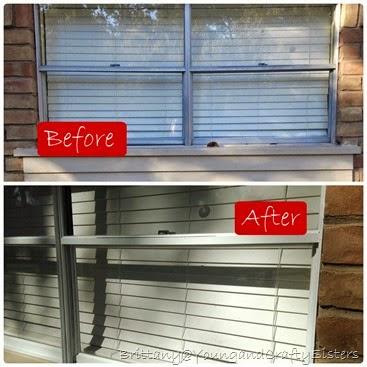
While the primer was drying I painted the cheap metal window frames a bright white. I love the finished product. It seems insignificant, however made a huge difference. This process took quite a while. First clean off years of dirt and grime. Next, tape off around all of the metal so as not to get paint on the glass. Lastly, paint on a ladder, carefully for over an hour. Repeat for 3 windows.
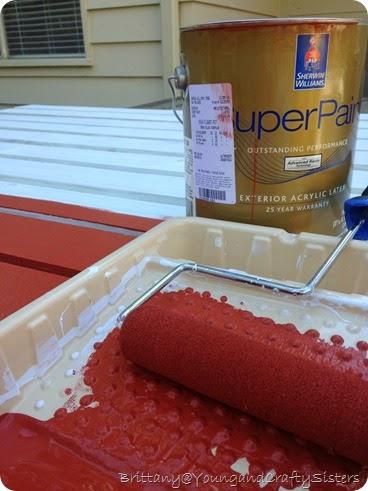
The primer finally dried on both sides, taking longer than expected for our rare chilly weather in Texas. We chose to match the shutters to the existing front door color called Flower Pot, a beautiful terra cotta shade.
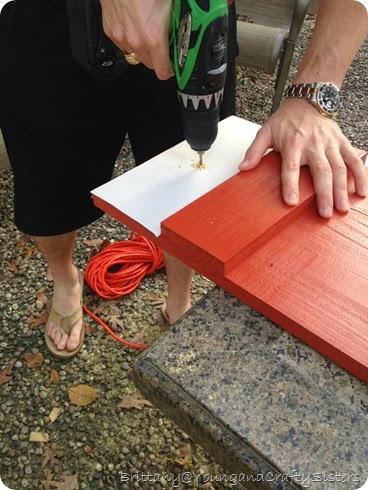
DIY Board & Batten Shutters:
- Measure the windows and plan how long you want the shutters – purchase 1x4 boards and cut to size
- Place the three boards together face down, measure the width and cut the battens to size
- Slide the batten (cross piece seen above) face down under the boards
- I used a template to ensure each batten was evenly spaced from the bottom, you can see the white template above
- Screw the boards to the batten from the back so that no screws are visible from the front
- Shown above, use a template to pre-drill the holes for mounting. We used one hole on the top and one on the bottom for the smaller shutters. For the larger shutters we pre-drilled 2 holes on the top and 2 on the bottom due to the weight
- Use a concrete drill bit to pre-drill the holes for the concrete screws (TIP: hold the shutters in place and drill through the pre-drilled hole in the shutter to mark the spot on the brick for ease of mounting. Take down the shutter and proceed to drill the hole in the brick in the marked spot).
- Mount the shutters using the concrete screws. Paint over the screws for a flush finish.
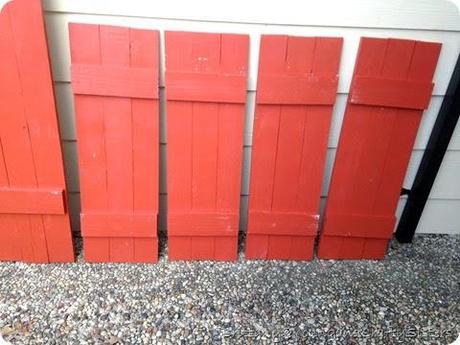
I was furious by the time I had all of the shutter screwed together. The paint must not have been completely dry so they looked chipped and a mess!! Also, the gentleman at Home Depot did not have an attention to detail. As you can see the boards are all different lengths.
Stay tuned for the finished product after Brent came home and saved the day by cutting the excess wood and helped me mount the shutters.

Linking Up To These Parties:
Monday- Skip to my Lou Craft-O-Maniac Making the World Cuter C.R.A.F.T. Tuesday- Sugar Bee Crafts A Diamond in the Stuff Today's Creative Blog Funky Polkadot Giraffe Thursday-Somewhat Simple Friday-Tatertots and Jello Chic on a Shoestring Decorating Sunday-Under the Table and Dreaming I Heart Nap TimeClick to continue reading....
