I’m starting to get the reputation among family and friends as the person who brings homemade gifts.
While it’s cute that my gifts have left a “lasting” impression, it sure does put the pressure on me to think of new and creative ideas for each event. (I’m pretty sure the monthly onesies would lose their charm the second and third time around)
So when I found out that an old family friend was having a baby shower, my mind instantly went into brainstorming mode. What new idea could I do for her and her baby boy?
For some reason, I kept picturing onesies with mustaches on them. Perhaps flashbacks from our DIY Wedding Photobooth?
I opened up my fancy schmancy Microsoft Publisher and starting playing around with different boy related ideas.

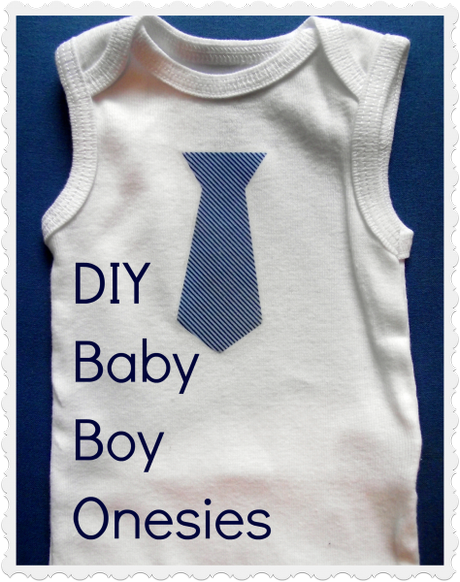
After an hour or so of brainstorming, I ended up with a mustache, a bow tie, a striped tie, and a cute logo that said “Mama’s Little <3 Breaker.”
In order to get these images onto a onesie, I used the absurdly easy print on iron transfers (you can find them at Michael’s).
You simply stick one sheet of the transfer paper into your inkjet print and press print. Since I had words in my images, I made sure to print a mirror reflection of my document. You can do this in your printer’s setting.
Next you want to prewash and iron your onesies so you have a clean surface to which to adhere the transfer.
Once your onesies are ironed, place one on a firm hard surface (not an ironing board). I use an old cutting board placed on top of an ironing board.

Now cut out your images from your transfer paper. You will want to leave about a ¼ inch of space between the end of the image and where you cut. This will ensure that the entire image is properly transferred over.
Once your image is cut out, place it on your onesie.

Then hold one side of the image with your fingers and place your hot iron on the other half of the image. (You don’t want to slap the iron on the entire image because it can cause your image to move out of position.) Do not move the iron like you are ironing. Simply hold the iron there with firm pressure for 30 seconds.
Now lift up the iron and place it on a section that hasn’t been ironed yet, making sure that you slightly overlap your previous position. Hold down the iron for 30 seconds.
Now repeat until you have ironed the entire image.
Let the image cool for 2 minutes and then in one swift motion pull off the backing paper.

You should be left with a clean transfer. Make sure to let the transfer dry completely before you package it away.
If you are afraid your image hasn’t transferred properly, lift a small section of the backing paper from a corner of your image. If you notice that the image remains on the backing paper, you haven’t ironed enough. No worries. Just re-iron your image.
The keys to a successful transfer are firm pressure when ironing and allowing the transfer to cool slightly before removing the backing paper.

Now repeat the same steps until you have transferred all of your images.
After my transfers dried, I decided to package them back into their original case.

These onesies I picked up from Target came in a cute cheesecloth like sack with a ribbon.
Even though the idea for these onesies was sparked by a mustache, the striped tie ended up being my favorite.
I can’t wait to see how cute they will look Megan’s sweet little boy.
If you are interested in making these onesies yourself, here is my template: Baby Boy Onesies Template
What gifts have you made recently?
