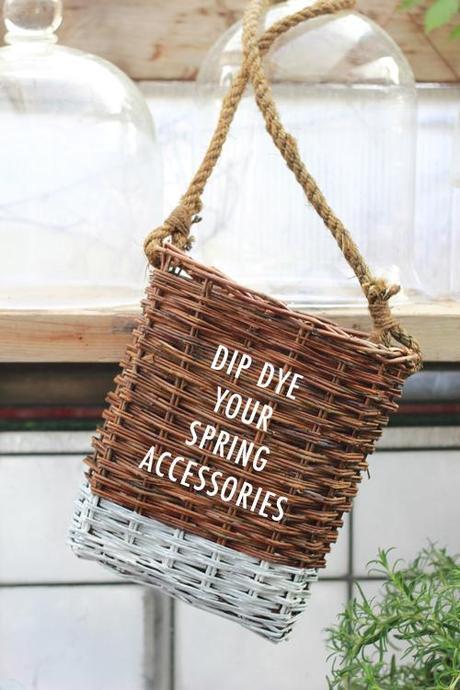
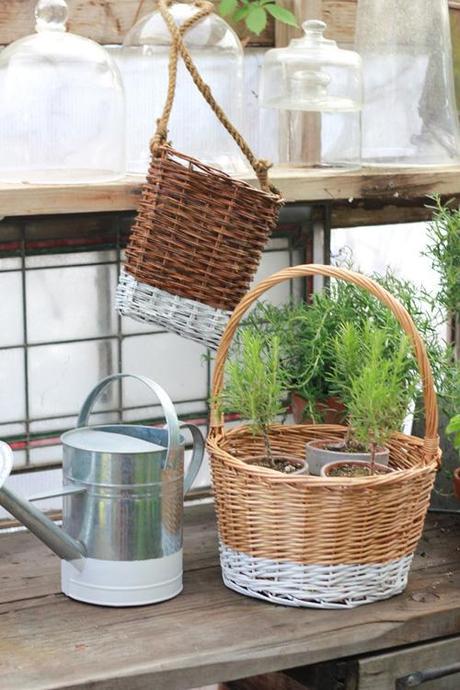
 At some point I got really into baskets and acquired way too many for our small apartment. I thought it would be nice to gussy them up just a tad while still keeping the integrity of the object so I decided to get on the dip dye trend and apply it to everything in sight. Watch out baskets! I thought it would be fun to do to an Easter basket, watering can, and decorative basket.
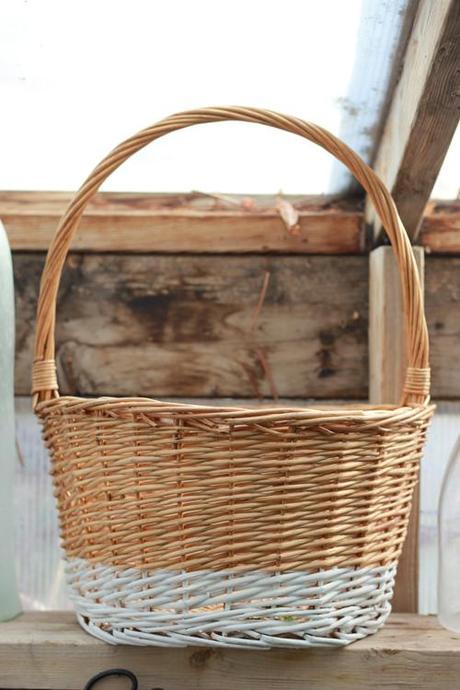
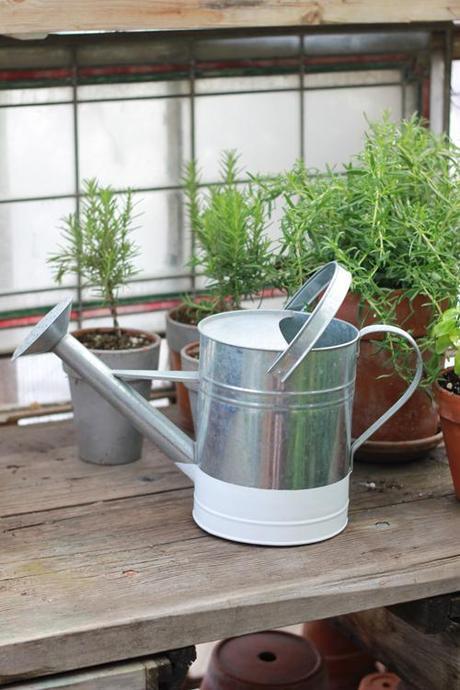
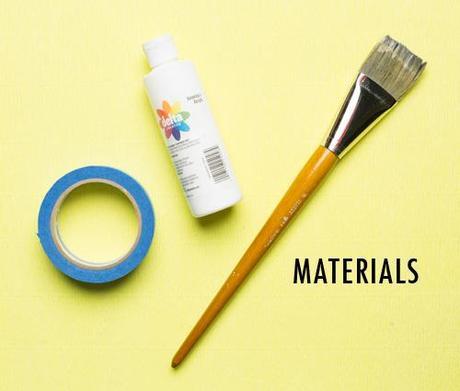 Dip-dye is a term that means that you are actually dipping the object into dye, but it's not a practical application for these objects. In this case it is just the look of dipping. Call it faux dip-dye.Materials: White acrylic paint (or spray paint, just make sure everything is taped off), blue tape, paint brush
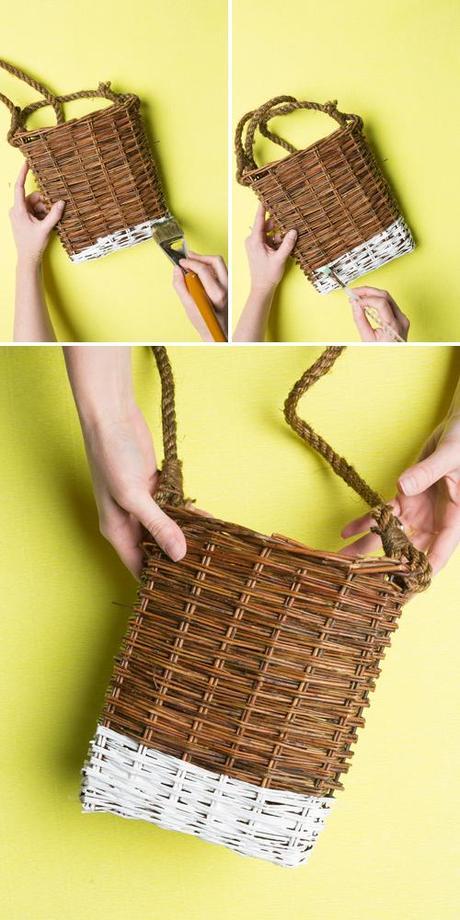
Step 1: On this decorative basket, below, I decided how high I wanted to go. The basket reeds were already placed horizontally so I picked the 6th row and used that as my guide.Step 2: Get your brush out and paint. I started with a big brush to apply the initial stripe and then used a smaller brush to get into the details.Step 3: Apply a few coats.
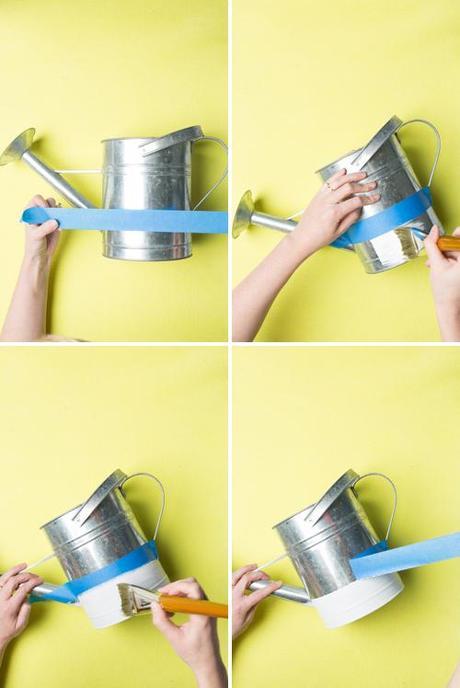
 To apply on a metal object like this watering can:
Step 1: Get your blue tape out and measure where you'd like to place it. I placed my line one third from the bottom. Make sure you secure your tape tightly onto the can so the paint doesn't escape.
Step 2: Paint it!
Step 3: Paint a few layers until it's nice and thick.
Step 4: Remove tape and voila!
 step-by-step photos by Trisha Zemp
final photos by Brittany Jepsen
for more spring and Easter projects click here

