I love cookies as much as the next person, but it's easy to overwhelm yourself with sugar this time of year. For Margot's cookie countdown, I wanted to share an alternative to all the sweet stuff and give you a great gift idea that could be given in lieu of (or with) a cookie platter.
I found this recipe on Pinterest (and the recipe was originally published in the New York Times) and I have to admit that I had my apprehensions about it. (We've all had our fair share of Pinterest failures, am I right?) I was pleasantly surprised to find that this recipe really is amazingly easy and delicious.
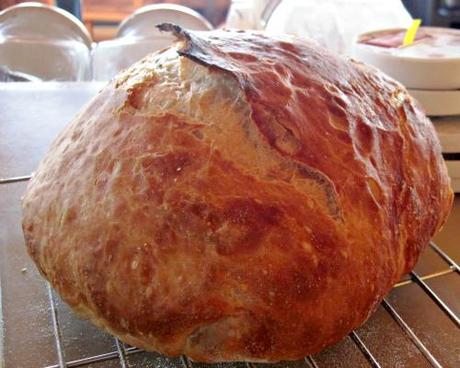
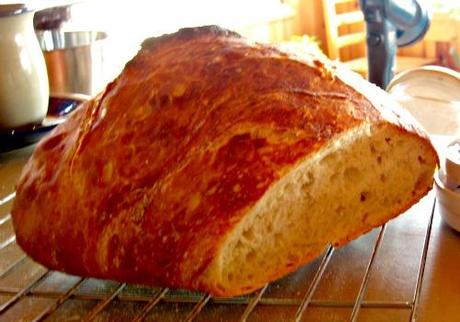
The only special piece of equipment you'll need is a cast iron Dutch oven pot or any lidded casserole dish. You bake the bread inside the heated pot to trick the bread into thinking it's in a fancy, schmancy bread oven. The result is this beautiful, super professional looking loaf:
 Crusty Bread
3 cups unbleached all purpose flour
1 3/4 teaspoons salt (or less, depending on taste)
1/2 teaspoon yeast
1 1/2 cup water
In a large mixing bowl, whisk together flour, salt and yeast. Add water and mix until a shaggy mixture forms. Cover bowl with plastic wrap and set aside for 12 - 18 hours. Heat oven to 450 degrees and place a cast iron pot with a lid in the oven and heat the pot for 30 minutes. Meanwhile, pour dough onto a heavily floured surface and shape into a ball.Cover with plastic wrap and let set while the pot is heating. Remove hot pot from the oven and drop in the dough. Cover and return to oven for 25 minutes. After 25 minutes remove the lid and bake an additional 10 minutes. Remove bread from oven and place on a cooling rack to cool.
A couple notes:
- Lidded pot needs to be at least 3 quarts - mine is 5 quarts and it works great!
- You can substitute up to a cup of whole wheat flour for some of the all purpose flour. You can also add in flavorings to the dough to make the bread extra special.
- Forget everything you know about baking bread and just follow the directions as written above. No need to proof the yeast or knead the bread.
- The recipe link at the top of this post has great step-by-step photos.
- Do not grease the pot - if there's some grease in the pot from the last time you used it, the pot make smoke, so consider this a good test for your smoke detectors!
- Bleu cheese and walnut
- Orange zest, craisins, and pecans
- Dark chocolate chunks, dried cherries, and almonds
- Golden raisins, dried apricots, and hazelnuts
- Shredded cheddar cheese and bacon
- Parmesan cheese, sun-dried tomatoes, and basil
You add the flavorings right to the flour mixture before you stir in the water. In general, I'd say you should limit yourself to about 1 1/4 cup of flavorings so you don't overwhelm the dough.
The beauty of this bread is that it only requires about 5 total minutes of hands-on time (seriously) and it's so versatile. The plain bread makes wonderful grilled cheese sandwiches and excellent toast.

How perfect would a loaf of this bread be for a co-worker or neighbor's holiday present? Just wrap in a pretty flour sack towel with a simple ribbon bow, pair with a jar of homemade jam and an elegant spoon.
------------------------------------------------------------------------------------ Does that ever look tasty! A little cinnamon and a few raisins might make this a delicious Christmas Morning treat :) Have you linked up any of your recipes yet? Scroll down to find the Friday link-up.
xox
