It’s already the middle of September! About a month ago, I was finishing off a pair of end-grain cutting boards… Not my first of the year but I wanted one of these to go to a friend for her birthday (she previously expressed an admiration for the ones I made earlier this year). Instead of doing another video on the making of these, I decided to instead document it here on my blog. It’s been a while since I’ve written about a project like this.
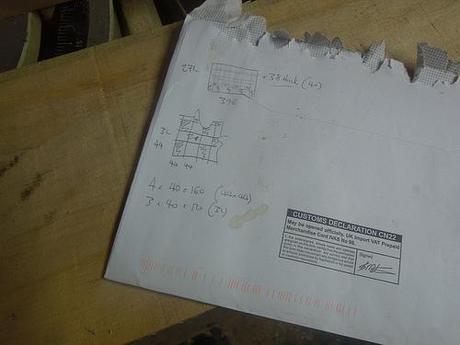
My sketch. Because I don’t smoke and fag packets probably are too small.
These really don’t take very long to make, especially as I’ve had two previous attempts at ‘practising’ in the last couple of years. This post may end up quite a long one though, as I did happen to capture very many images along the way.
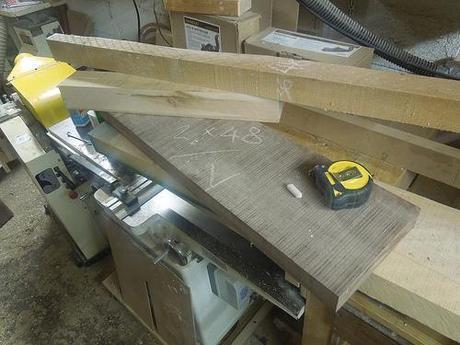
With only two boards to make, it was a chance to dive in to my offcuts.
I chose to stick with the contrasting theme of maple and walnut because it does work well and also, I think my friend commented on that, wanting to know which was which.
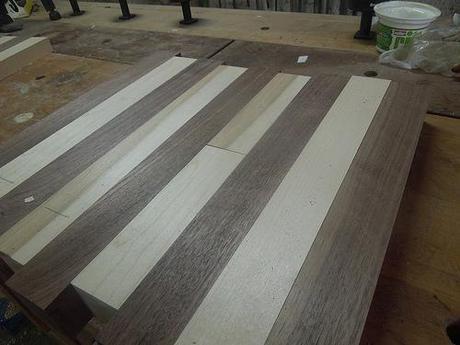
Yes, if you’re careful, you can even get away with joining shorter lengths in a construction like this.
Straying away from the ‘borderline’ design I was commissioned to make in the spring/summer, I returned to the faithful ‘chessboard’ pattern, which is still very slightly different to the beech boards I made in 2011, where each block was offset in a near ‘brickwork’ fashion.
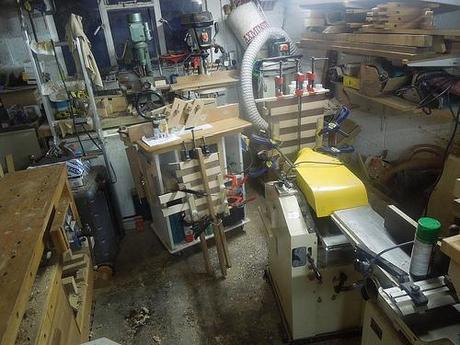
Enough clamps; just not enough room!!
From here on, the machining processes were pretty much identical to those you might have seen in my Contrasting Cutting Boards video series.
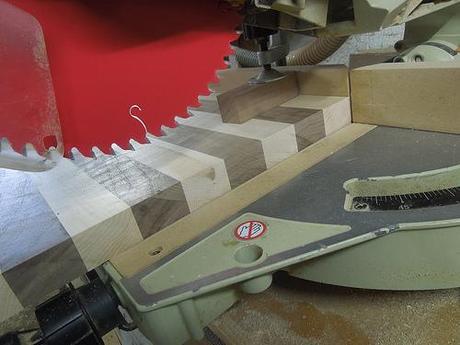
Cross-cutting a clean end on the sliding mitre saw.
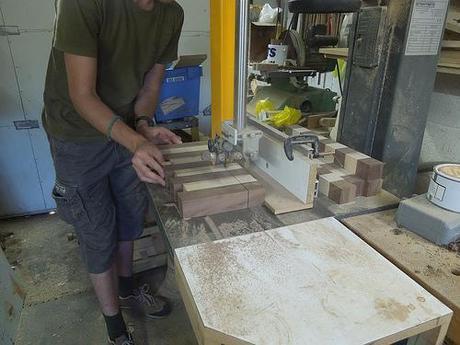
Because I don’t have a table saw… And a bandsaw’s kerf is narrower.
Where I tried to join two short lengths of maple inside a single block, my measurements weren’t quite spot on and the kerf of my bandsaw revealed a hollow spot of end-grain whilst cross-cutting the strips in preparation for the second stage of glue-ups.
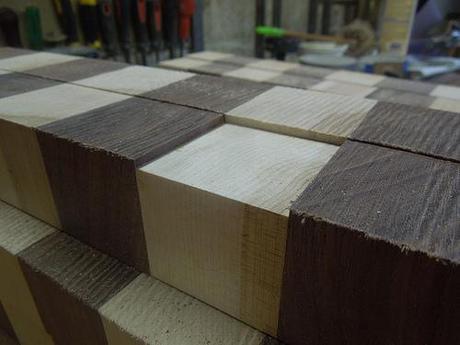
For the final assembly, I chose to do things as I should’ve done in my last video series and that was to glue each block up in two halves (or sections, where they widths would not be equal).
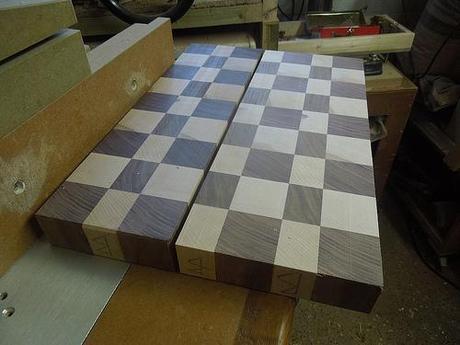
You’ll also noticed that I varied the width of these strips.
This way, they were narrow enough to fit through my 250mm wide thicknesser before the very-last glue up. It saved a lot of work with hand planes! All I needed was to reach for a block plane, simply the chamfer the edges before sending them through the planer, in order to minimise the risk of breakout and chipping.
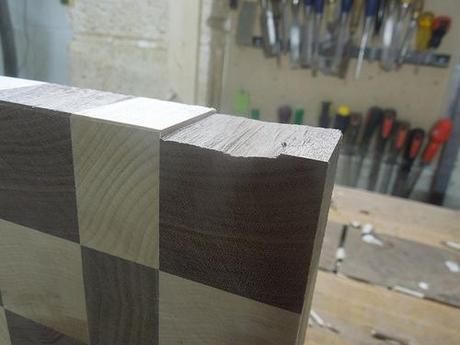
Minor chipping after thicknessing.
…Saying that, there was still one unfortunate incident but I was later able to hand-plane that out when it came to addressing the edges.
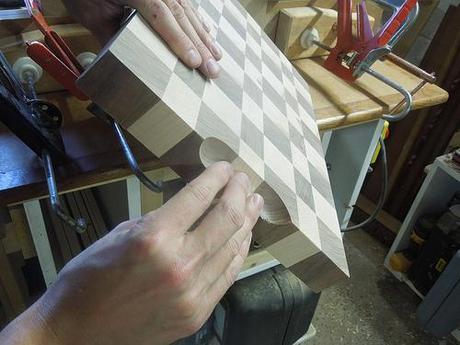
Fit for a lift.
Over on the router table, I routed one ‘finger-lift’ at each end with a large cove cutting bit (I think I demonstrated something very similar in my videos).
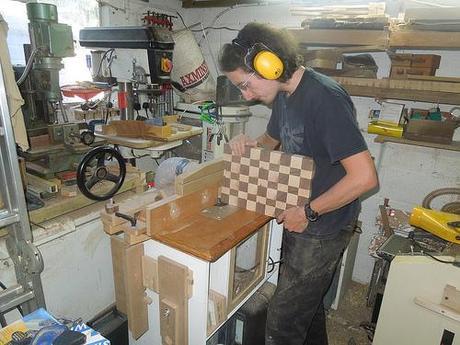
See, I wasn’t just posing for a new Facebook profile photo…

But a big change this time was to round-over all edges and arrises of both boards with a ¼in raidus rounding over cutter. In the past, I’m simply gone with a small chamfer and maybe some abrasive paper but I really do like the rounded effect. I even used this same cutter to remove each of the four corners, where as before, I would’ve moved over to a sanding machine.
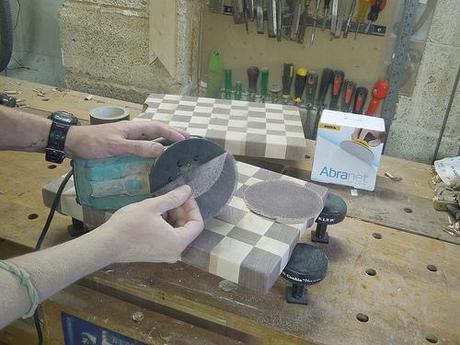
This was when I found that Abranet abrasives really came in to their own.

Instead of walnut oil, I chose to use a Food Safe Oil from Chestnut Products. There was nothing wrong with my customer’s choice last time; I wasn’t entirely sure whether my friend may or may not have a nut allergy. But it did turn the walnut very dark.
As I reach the end of this post, I realize that I still haven’t taken my finished photos for the board I’m holding on to. How long I’ll hold on to it; whether or not I’ll decide to try and sell it… I really don’t know. But I do feel I’ve reached a design of cutting board that I’d be very happy to reproduce some time in the future.
Thank you for reading.
