DIY Bookshelf
It’s never been that easy to furnish my house the way I want. I want it to be functional, livable, comfortable, and yet also reflect my style. It’s not that I can’t find things that fit the vibe I’m going for. It’s more that I can’t afford it.
So, in order to create a space that feels inspiring and like home, I had to take matters into my own hands. Literally. And, I needed something to hold all of these books that we’ve accumulated. Well, okay, I already had bookshelves. They were white with crown molding. Nice, but way too traditional for us. They didn’t match our life. So, yes, I needed a new bookshelf.
Armed with a creative mind, some handy tools, and a handy husband, I accepted the mission. In my mind, it was going to be easy to build. Things are always easy to build in my mind. (Usually a bit harder in real life, and I’m reminded of that about halfway through every “easy” project I start.)
So, I built it. The bookshelf project cost me about $100. If I had the patience, It could have been less, because I would have scoured flea markets and salvage yards. I even thought about disassembling some unused dining chairs in my basement and using the legs as shelf supports. But, I wanted to get started, so I just used ready-made stock table legs and 1×12 boards from the local hardware store and lumber yard. You can get the 1×12 boards cut to the size you need, based on the width of bookshelf you want.
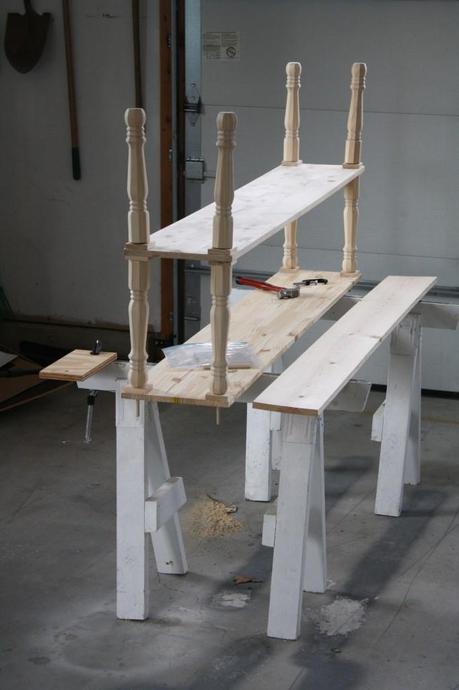
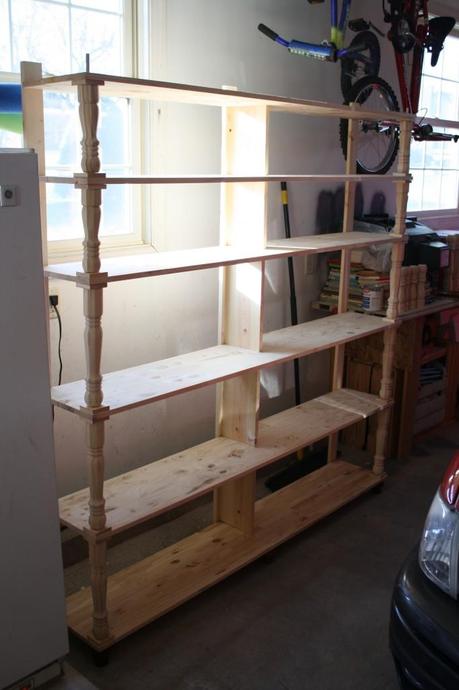
I used wood glue to secure the legs to the boards, because I used wooden dowels to hold the front pieces of the bookshelf in place instead of screws. I used some screws and glue on the back. Notice I did use a piece of wood for support in the middle.

On the workbench

Ready for the finishing touches
Although I toyed with the idea of painting it some crazy color, I knew black would be the best for long term.

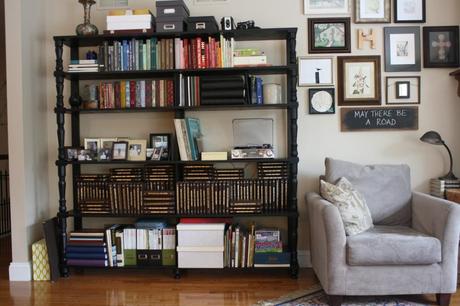
The finished bookshelf
One finishing product that I think is really important is some kind of wood grain filler. There are brush on kinds, gel kinds, paste, etc – it’s really just a matter of personal preference which kind you choose. I used inexpensive lumber, so this step made a nice smooth surface for me (along with sanding). A smooth surface makes dusting much easier.
I’m SO happy with it. The best part of making my own, is that I could make it as large as needed to fit the space where I wanted to put it.
It has been standing for 2 years and even survived a small earthquake (yes, the Great East Coast Quake of 2012). I’m just getting around to anchoring it to the wall here, which is an important safety measure for something of this size.
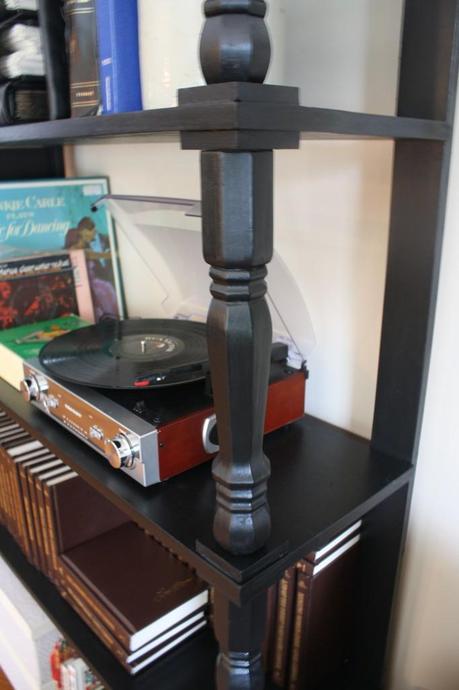
I also made it large enough that I could continue filling it with more books and records. Homes with entire libraries may be more rare these days, but you can still have a wall of books.

