I’m a big fan of sash cramp heads for their sheer versatility. Whether you prefer to say clamp or cramp; these heads can be fitted a length of wood pre-drilled with a series of holes. Wooden bars will always be stronger than some of the cheaper aluminum clamps you can buy today and the real beauty is that you can keep several lengths of pre-drilled wooden bar, but you might then only require a small collection of set of clamp heads, which can then be interchanged to suit the projects you are working on.

In recent years, I’ve been fortunate enough to have bought a few of these for some very reasonable prices on eBay. You’ll occasionally find that some of the older heads require 12mm holes, where most of the modern ones are suited for 10mm but there’s a bigger problem I’ve noticed with some of the newer sash clamp heads from Record or Irwin and I’m going to address that with a solution in this post.
What I’ve found with two of my clamping heads is that, as you tighten them up and the jaw or pressure pad bites against the timber; instead of increasing the applied pressure and clamping force, it tends to swivel and turn with the handscrew, which is not only very annoying as you witness those drops of glue drying in front of your eyes; but it also means that clamp is pretty much useless.
But, as I’ve recently discovered - they can be saved!
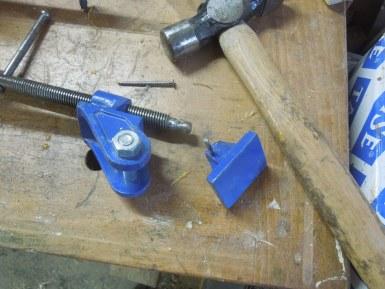
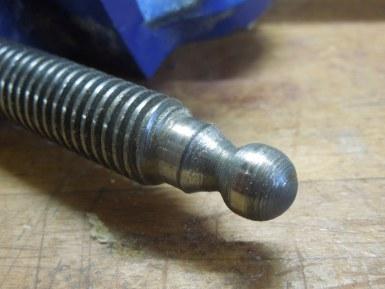
If you refer to the photo at the top of this post, you’ll see there’s a small pin that can be punched out with a nail (my set of punches lives in my toolbox at work). With that pressure pad or plate removed, you can take a close at the rounded-end of the screw-thread:

First thing I did was to file away the ‘arris’, which I’ve highlighted above using a black marker, in the hope that you can see it more clearly (this was all I needed to do on the first clamp head I corrected).

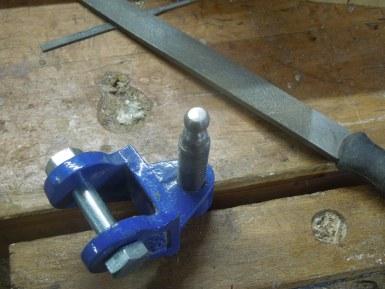
To be absolutely certain that I wouldn’t need to punch that pin out again, I secured the head vertically in my vice and filed a moderately-sized flat spot on the end. This ensures that there’s less metal rubbing against the inside, which I suspect might helped to create the ‘turning’ action upon tightening.
Hammer the pin back in to place and my clamp heads have been much better since. They do feel a little ‘loose’ but I can tighten them up with less of the former frustrations.
I hope that some woodworkers find this useful. Thank you for reading and happy clamping!

