Just a bit of an update for you on how things are going, as I’m part way between completing the final glue-ups of these boards; making my way in and out of the workshop throughout the course of the weekend in order to remove one board from the clamps and then to insert another.
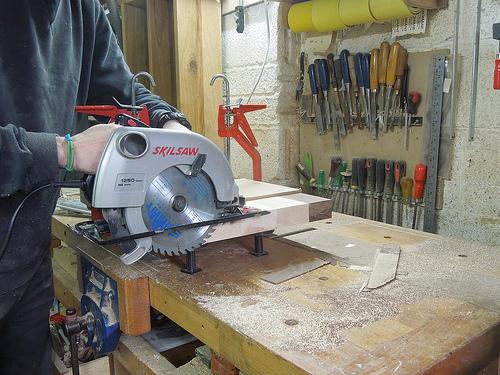
Crosscutting with a skil saw.
After loads of belt sanding to the boards of edge-jointed strips, I decided to crosscut one end clean and square with my skil saw and a 40t blade (each board is 400mm wide). This didn’t quite go as well as planned. It could be an issue with the blade (which is only a year old) or, maybe there’s something wrong with the saw because the cut was anything but straight and perfectly square. There were lumps and bumps where the saw jumped and I had to plane this out by hand. I might try finding some new brushes for this saw.
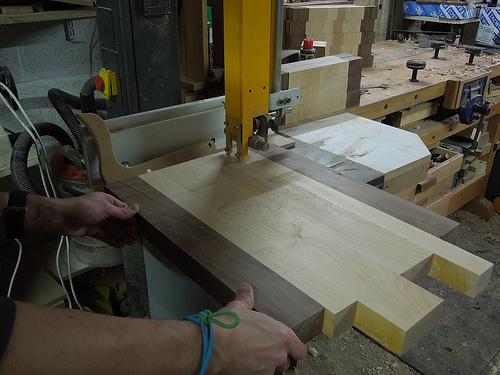
Crosscutting on the bandsaw.
These were then crosscut through my bandsaw. I should also mention that my circular saw (currently running backwards, after fitting a new capacitor) doesn’t have a T-slot or track and I do not own the crosscutting setup for it.
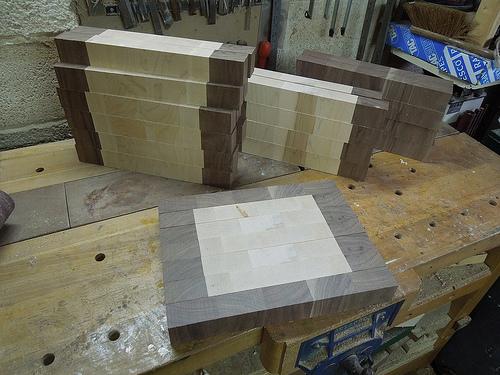
This worked really well and the results are looking good so far, even if those walnut borders aren’t quite as perfect as I was hoping.
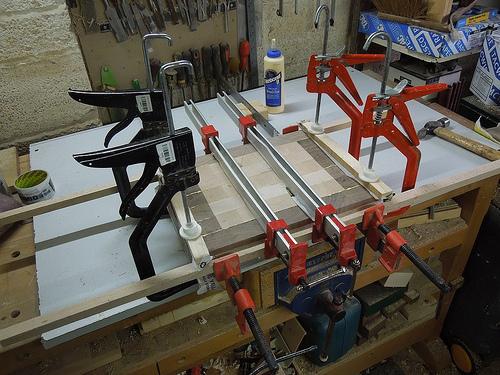
Clamping the first one proved to be quite the challenge. With parts wanting to slide all over the place as I tightened the sash clamps, I decided to add wooden cauls to help keep each board flat at the ends.
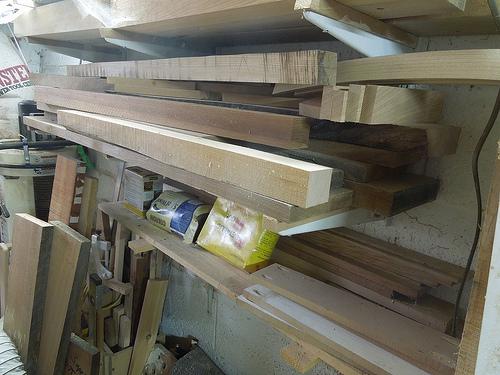
Looking for walnut…
While the glue was drying, I started roughing out material for the two smaller boards I also have to make, which will finish at 300 x 200mm. Somewhere, in and amongst that pile, lies a length of 1½in thick walnut that I’ve held on to for years. It’s perfect for the 32mm thick borders on the two smaller boards.
My first video in this new series was uploaded late last night; hence the delay in publishing this post. You can view it below or, over on my YouTube channel and I welcome all thoughts and comments.
Thank you.

