While on Friday I set about correcting the sagging wall unit in my kitchen, Saturday morning was partially spent filling a couple of large holes between cabinets. When I say ‘holes’, I’m actually referring to the vacant spaces that can sometimes be found between wall cabinets. Personally, if I was designing a kitchen, I’d try to exclude them, even where the can be used to run services (pipes an wires).
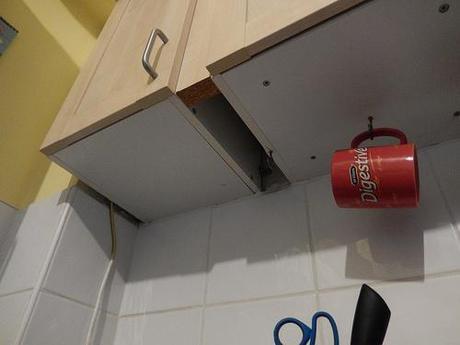
In my experience, they’re a trap for cobwebs and a flue for downwards draughts that aren’t welcome in winter. That’s why I decided to look at enclosing them.
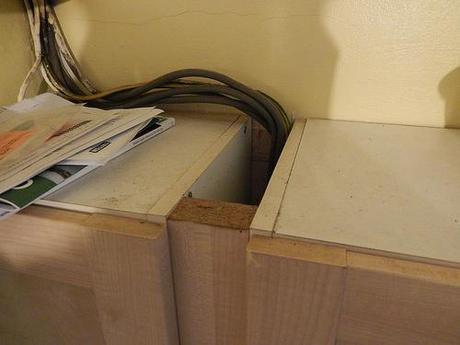
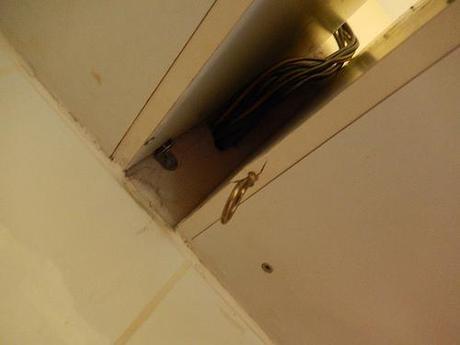
On top, you can see where a bundle of wires runs down and through.
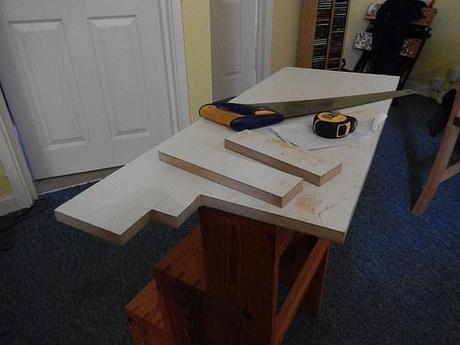
I took some careful measurements (each opening, top and bottom, tapers by 1mm from front to back) and made my cuts again with the dulling handsaw:
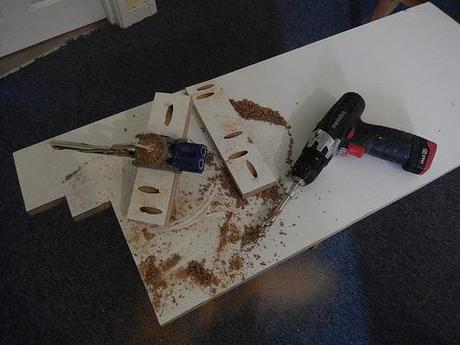
I may well have gone a bit OTT with the quantities but I drilled a series of pocket holes using my Kreg R3 pocket hole jig
before fitting each block in to place:
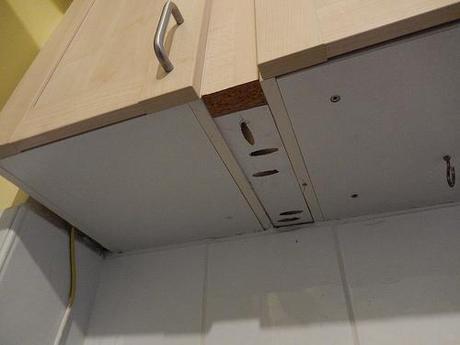
Each piece was to be tapped home with a hammer and I’m pleased to say that they both went in first time, although I struggled a little with the lower one where someone had previously split the end of an end panel by inserting one of these small hooks (probably without a pilot hole):
My impact driver was again called in to service (perhaps a bit much for an otherwise quiet Saturday morning…).
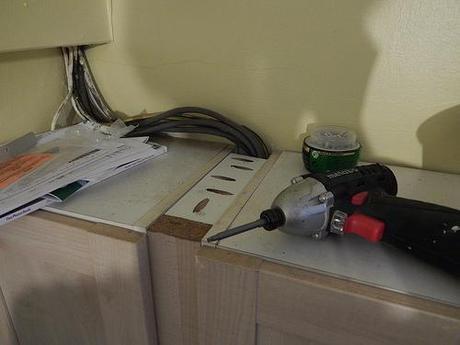
This was obviously something I couldn’t clamp in place and I found it a little irritating that the action of driving the screws in forced the piece to move slightly from its intended position. That’s one of my only gripes with pocket screw jigs; they drill pilot holes through the piece you’re looking to fix, where as I’d much prefer to have a clearance hole that allows room for the thread without biting.
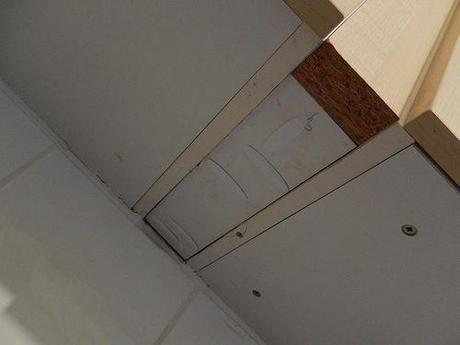
I left the holes on top open as they’ll rarely ever be seen but on the underside, I used up my sample pack of pocket hole plugs for melamine
material.
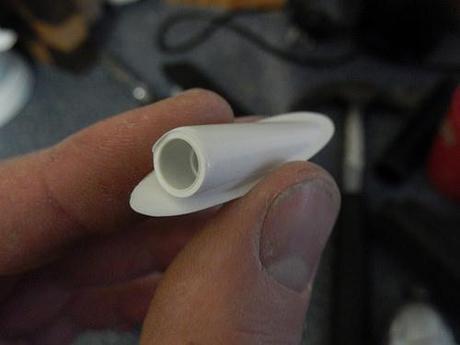
They simply push in to place and hold rather well. They do sit very slightly proud of the surface but no glue is required.
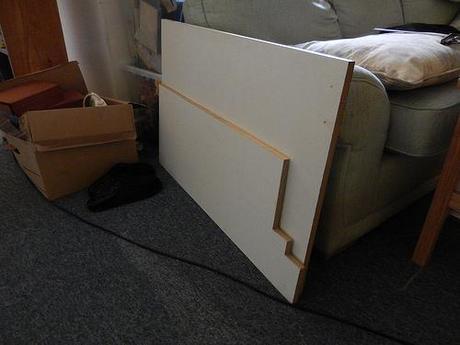
Another small job done and I’m left with a very reasonable surplus of material… I’ve no immediate plans to use this for anything at all. I may hold on to it for a little while but not for too long.
I realize I’ve forgotten to photograph the inside of the base unit beneath the kitchen sink, where the base has partially collapsed (long before I moved in) under the weight of the water heater. It makes storing things in there tricky, as they tend to slight towards the back of the unit and, with various pipes running around, there’s no room for a higher shelf.
My immediate thought is to get some joist-sized material and try to force it underneath to prop everything back up. If it’s all too tight or, if the weight’s to much to bear then I could always rip them in to a sliding wedge configuration…
Have I ever told you about my ‘smart tip’ to store 100s of pocket screws in a small tub like below?
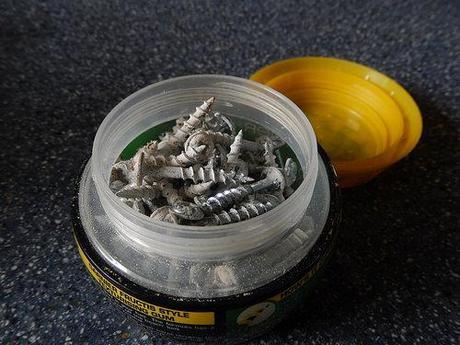
If you’re also going to store yours inside and old hair-wax pot, do make sure to clean it out thoroughly first, or else your screws may end up like this!
Thanks for reading.
