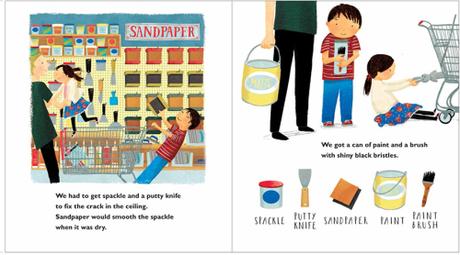
Melissa Iwai 2016
Anne Rockwell, the author of Let’s Go to the Hardware Store, and I will be at BookCourt (163 Court St.) in Brooklyn tomorrow (March 26) at 2 pm to read and sign books. I will also talk a bit about how I created the artwork for the story.
I also made a bunch of treats to bring to the event!
First up are dark chocolate and milk chocolate tools. I bought a cute tool mold here to make the candies. I melted chocolate pieces in a heat proof bowl in the microwave at 30 second intervals (about 1.5 to 2 minutes). Mixed well to get rid of any lumps and poured into the molds.
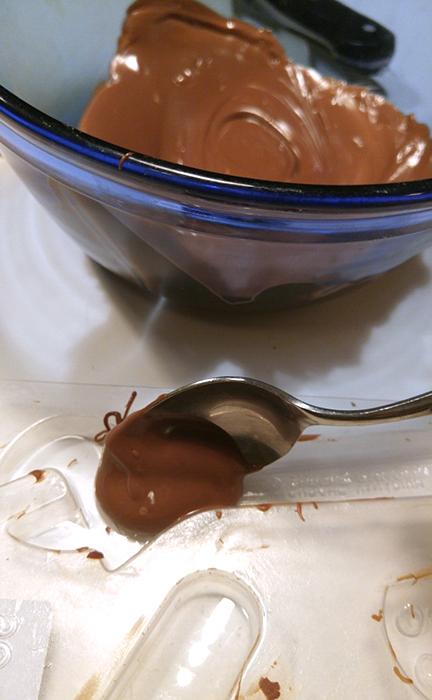
Getting the chocolate in the nooks and crannies takes a bit of time. You can nudge the chocolate with a spoon. Then, I wiped the edges clean with a damp paper towel and tapped the mold hard on the counter several times to get rid of any air bubbles. I found the dark chocolate to be easier to work with. Then I stuck it in the refrigerator to chill. The milk chocolate took longer to harden. Also, I discovered that the longer you let the chocolate chill, the easier it is to remove.
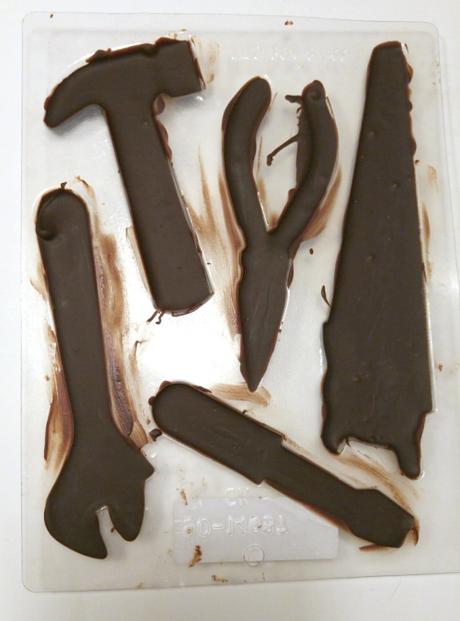
To do so, you just turn the mold over and gently press on the shapes. The chocolate should snap out in one piece.
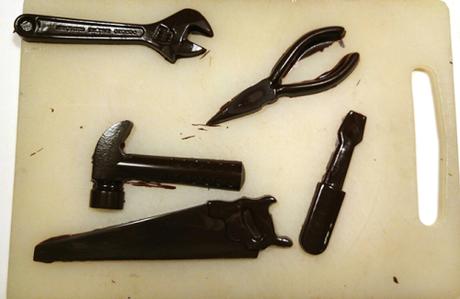
Finished tools — they are so shiny!
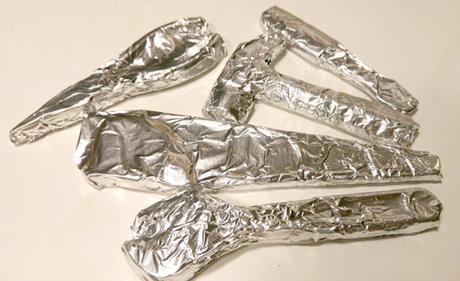
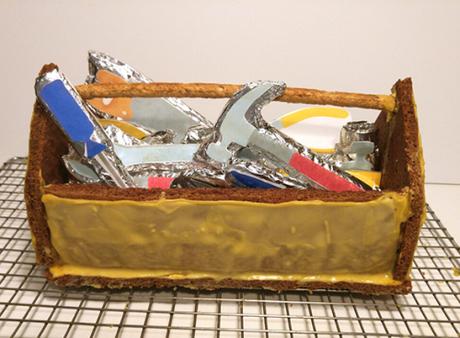
I wrapped the chocolates in foil, and then printed out my illustrations of tools from the book and affixed them to the wrapped chocolates.
For the toolbox, I made gingerbread. I used the same recipe I used for my Haunted Gingerbread House and Magna Tiles, but made one and half batches. I was inspired by this blogger’s cute tool box, but I made my own template, and I used a breadstick instead of a straw for the handle.
The trick is to roll the dough out on the baking sheet on parchment.
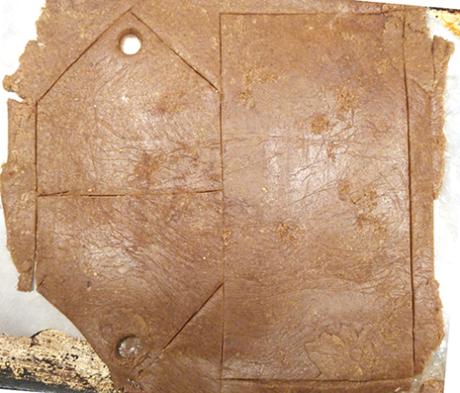
Then, using a template, score the dough gently with a knife. Bake for 15 minutes. While the dough is still warm, cut out the shapes. This ensures a sharp clean edge.
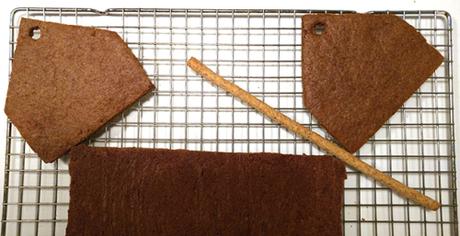
Then I frosted the pieces using this recipe. I am not so great at frosting and made my flooding icing too thin. :( So my toolbox is not so pretty. But it holds my chocolates well. I made a divider out of card stock that is labelled “dark chocolate” and “milk chocolate” on each side so people can choose their favorites.
If you are in the Brooklyn area, please stop by and say “Hi” and grab a chocolate tool! :)
Chocolate Candies
1 bag chocolate pieces
- Pour 5 oz. of chocolate into a medium bowl.
- Heat at 30 second intervals in the microwave oven, checking the chocolate each time. You don’t want to overheat it. When it is smooth and silky when you stir it, stop heating. For dark chocolate it was about 90 seconds. For milk chocolate it was a little longer.
- Pour chocolate into candy molds. Be sure not to overfill. Nudge chocolate with a spoon or knife into nooks and crannies.
- Wipe around mold if you got chocolate in between shapes. Chocolate will come out easier if all the edges are clean. Tap mold hard several times on counter to remove air bubbles.
- Chill in refrigerator until firm, at least 30 minutes.
- To remove, turn mold over and gently press on the bottom. Chocolate should pop out easily.

