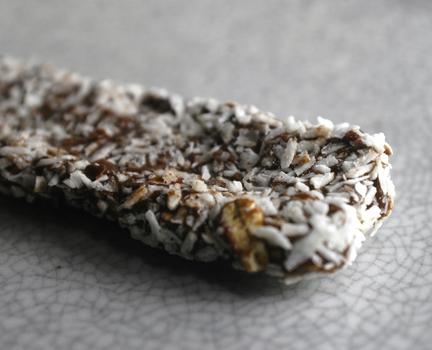
I did a fasting blood sugar test the other day. I knew I was going to be out and about until lunch. I knew I didn’t want to grabbing something along the way after the test, so I made these protein bars before I left the house.
You can pretty much put whatever you want in them, but this is what I used: Chocolate Protein Powder (I used Double Chocolate Designer’s Whey because my husband uses it every day), peanut butter, oats, and almond milk.
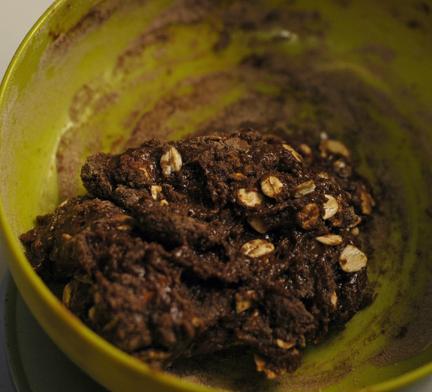
I mixed the ingredients together in a bowl.
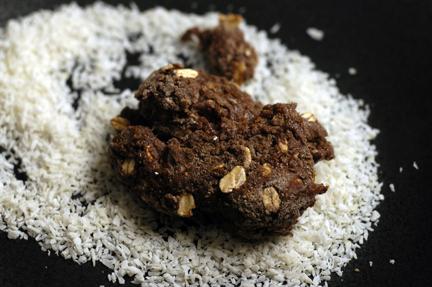
Then I divided the mixture into four parts and shaped each one into a log and coated it with coconut so it wouldn’t be too sticky.
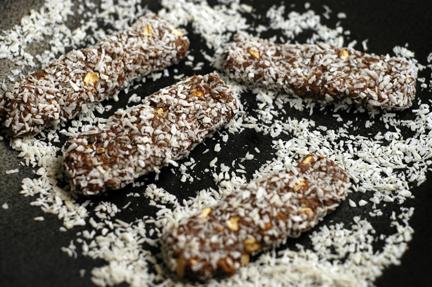
Then I wrapped them up in saran and threw them in the freezer until I was ready to leave.
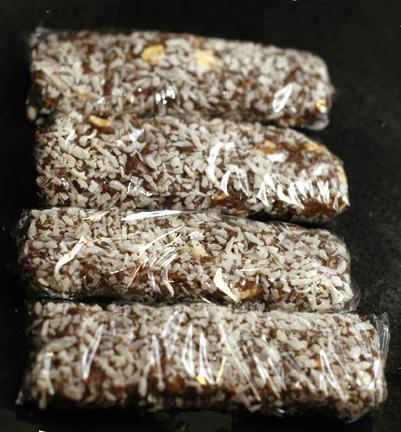
I ate two after my test, and they held me over until lunch several hours later.

They would be good with nuts or seeds or dried fruit added. You’d just need to adjust the almond milk (or other liquid) to get the right consistency. I think these taste WAY better than store bought protein bars, which I think taste either too sweet, artificial, or chalky. Try it next time you need something on the go!
These are the general values (general because I didn’t weigh the coconut before and after coating — you will have a pile of leftover coconut):
For one bar-
Calories: 106 Fat: 7.4 g Protein: 14 g Carbs: 4.4 g Fiber: 1 g Sugars: 1 g
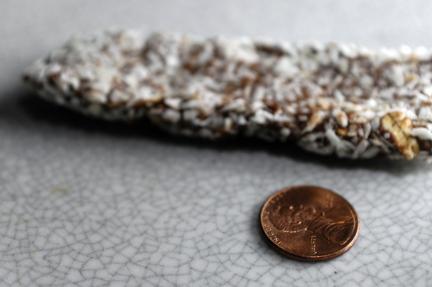
With a penny to give you an idea of the size
Coconut Chocolate Peanut Butter Protein Bars
1 scoop protein powder (I use Double Chocolate Designer’s Whey) (32g)
2 tablespoons peanut butter (64 g)
1 tablespoon rolled oats
1 tablespoon almond milk or other liquid
¼ cup dried unsweetened coconut (you will have leftover)
- Mix protein powder, peanut butter, rolled oats together. Add almond milk and stir until mixture is a thick paste.
- Spread dried coconut on a plate and dump mixture on top. Divide into 4 pieces (if you want mini bars) 2 pieces (if you want 2 small bars) or shape into one large log (if you want a large bar).
- As you shape log, roll in dried coconut (it will help to keep the chocolate from sticking to your fingers) and shape into flat rectangles. Wrap each piece in saran.
- Store bars in freezer or refrigerator depending on whether you want them on the crunchy or chewy side. Note, they will still be somewhat chewy after 24 hours in the freezer, especially if they are larger. After that though, they get crunchy. I like to store mine in the freezer so that when I pack them for on the go, they thaw a bit and are ready to eat when I am!

