August 2014 is gone and so what's next? September 2014 is here! Kit from I-Lost in Austen is the next hostess of September 2014 and her Little Thumbs Up with Apple theme event starts on tomorrow, the first Tuesday of August 2014, 2nd September.
Today is the first day of Spring in Melbourne, Australia. To me, Spring is a beautiful season. The flowers are blooming and the days are getting warmer and longer. Feeling good, I'm inspired to do some Spring-related cooking. To start, I like to make something flowery and pretty...
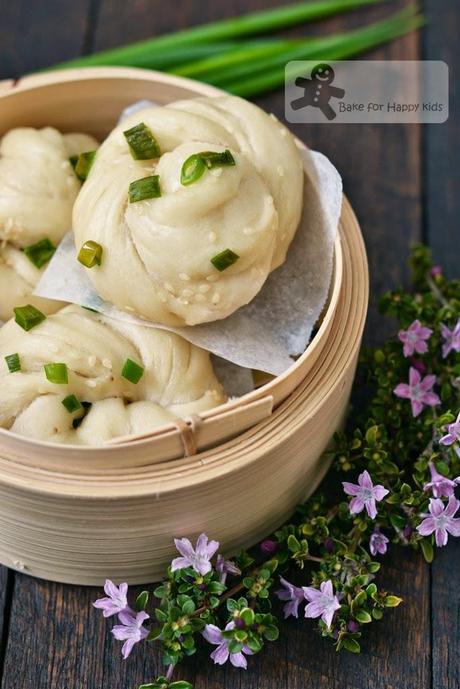
Chinese Flower Steamed Buns 花卷
I was impressed after steaming these buns... but slightly disappointed after having my first bite of these. They are very soft and moist to eat but not springy at all! These buns collapse flatly when they are bitten and won't spring back to their shapes afterwards. Having said that, I have to strongly emphasize that I was just slightly disappointed as these buns are actually very nice to eat if you tear and pull them apart by pieces and eat them with any savoury food and gravy. In fact, they can be easily re-heated using a microwave and can stay moist even after a few days that they were made. My husband and son said that they enjoy these the most with fish or pork floss or any braised dishes.Why this recipe? This flower steamed bun recipe is mostly adapted from Hunger Hunger. Unlike a recipe (from the book, the first book of noodles for beginners by Carol Hu) that I was intending to use originally, this is a fuss-free recipe that requires no pre-fermentation and contains five typical essential ingredients (plus water) to make the plain buns. Easy!
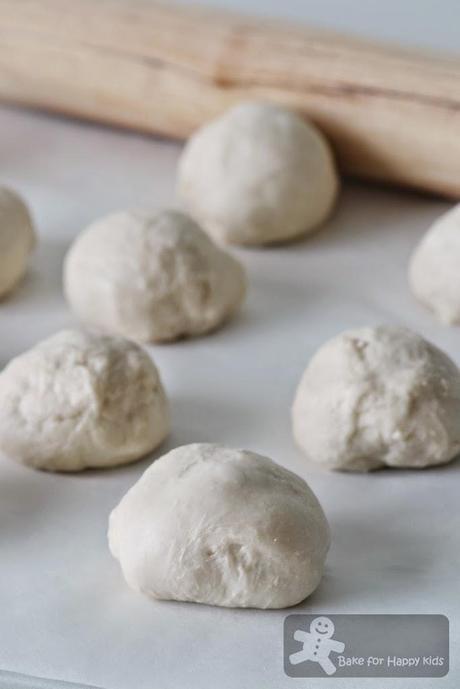
Divide dough into the required portion sizes accordingly
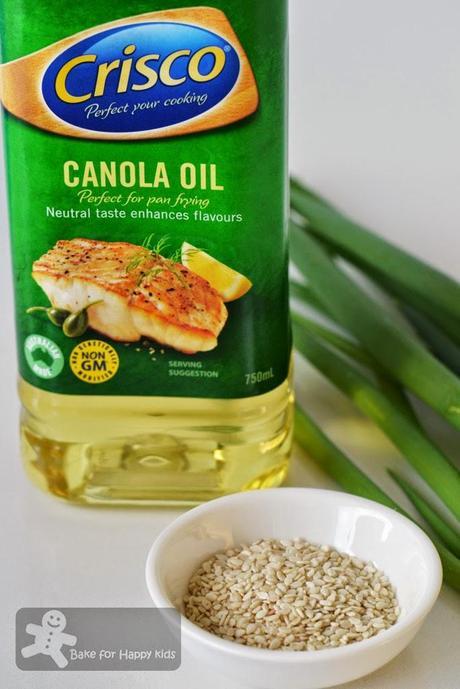
If you like something fanciful, you can shape the buns with these ingredients
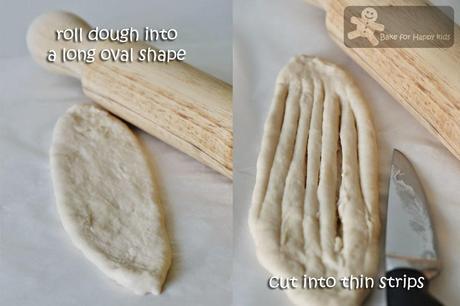
To shape into pretty flower, do this first...
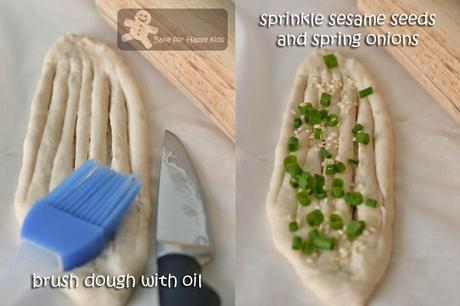
... then, this.
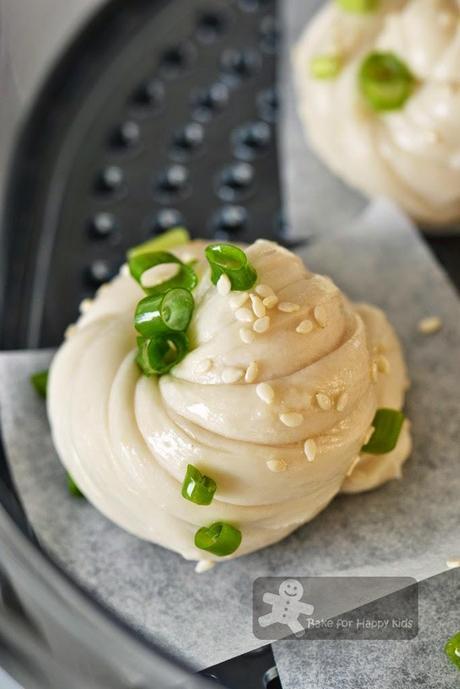
Keep pulling and twisting and tuck in both ends to get this. Pretty!

Allow buns to rest for about 20 mins and steam for about 10-20 mins
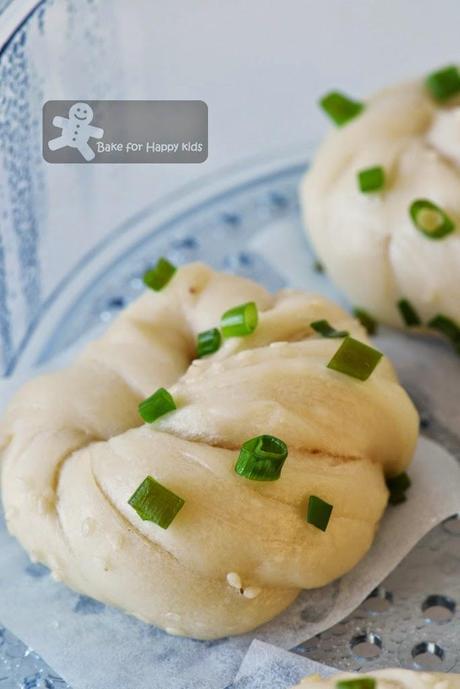
Happy to see that the flowery shapes stay pretty well.
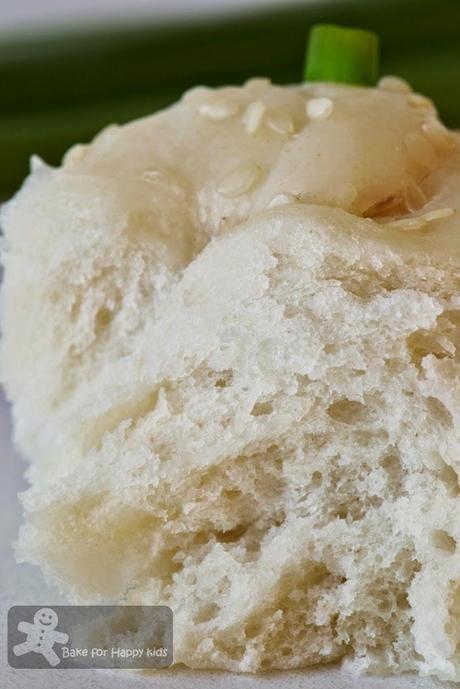
Best way of eating it is by pulling it apart :)
Here's the recipe mostly adapted from Hunger Hunger
Makes 12 buns or 10-15 depending on the size that you like
For the dough:
350g Hong Kong flour or any low protein (7-9%) bleached flour
1 tsp double-action baking powder or baking powder, you can omit this if you are using self raising low protein flour
30g caster sugar
230 ml water, lukewarm
1 tbsp vegetable oil, preferably something light like canola oil
1 tsp instant yeast
The Extras:
2 tbsp sesame oil or vegetable oil, preferably something light like canola oil if you like a fair-looking buns
2 tbsp sesame seeds
2-3 stalks of spring onions, finely sliced
small pieces of baking paper to prevent the buns from sticking on steamed surfaces.
Place water, oil, sugar, flour, baking powder and yeast according to this order into a breadmaker and use "dough” setting to knead and prove the dough for 1 hr.
If breadmaker is not available, kneading by hand is possible. Dissolve yeast and 1/2 tsp sugar into 2 tbsp of lukewarm water. Wait for about 10 mins or until the yeast mixture turns foamy. Combine flour, baking powder, caster sugar in a mixing bowl. Make a well in the flour mixture, add about 200ml of water and yeast mixture and mix to form a dough. Transfer dough onto a non-stick work surface. Continue to knead to form an elastic and smooth dough (at least 30 mins) and then prove the dough for 1 hr.
Please note that the dough can be sticky but try not to add in more flour. Keep kneading and the dough will become smoother as you knead.
Divide dough into 12 portions or 15 portions for smaller buns. On a lightly floured work surface and using a rolling pin, roll each portion into a small oval shape which is about 3-4 cm wide. Use a knife, cut the inside of the dough by its lengthwise into thin strips of 0.5 cm (or thinner than that if you are making smaller buns) without cutting through the rims of the dough. Brush the cut strips of dough with vegetable oil and sprinkle some sesame seeds and sliced onions.
Take the ends of the dough, one end with each hand with your thumb and index forefinger pinching both ends. Stretch the dough as you pull it gently and twist at the same time until the strips form a nice twisted pattern. Tuck both ends under the twisted pattern and place the buns on a small pieces of baking paper to proof. Rest the bun in warm mist for 20 mins or until slightly doubled in size but not too long as over-prove buns tends to wrinkle after cooling from steaming.
Steam bun for 10-15 mins until done. The steam timing varies depending on the sizes of your buns and also if you have multiple layers of buns to steam. The layer that is closest to the direct steam will take about 10 mins to cook. When ready remove the buns immediately from the steamer and serve warm.
Leftovers can be kept in fridge or freezer with cling wrap and cover. To freeze, allow buns to cool completely at room temperature. Wrap each bun in each small freezing bag and place all of them in the freezer. To consume, no thawing of frozen buns are required. Just re-steam or microwave (cover with cling wrap) the kept buns until hot before serve.
Happy Steaming
