These two projects by Bigger Than the Three of Us are trendy and cheap! Be sure to hop on over to her blog to see more.
I'm Ashley and I blog with my husband over at Bigger Than The Three Of Us. We bought a split-level house two years' ago and since then we have been neck-deep in diy projects. Our proudest moment to date is our newly finished master bedroom. I hope you stop by to see it!
Let me give you the back story before I show you what I did. A few months' ago, I saw this at Staples:
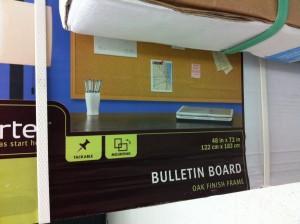
I can't remember the exact price, but it was something like $24.99 marked down from $160. I called Luke and ran it by him. I told him that I thought it would look great in Greyson's room with some large b/w photos on it. He couldn't really envision it, but said that he trusted me. Well, I bought it. Then, it sat in our garage for like two months. Well, over the weekend it was one of those projects that I just wanted to get knocked out. We brought it up to Greyson's room and the size was great, but the pictures that I wanted to put on it didn't work. I was planning on printing cheaply at Staples or Kinkos (poster prints) and I had my heart set on three side by side pictures. Well, the cheap prints just didn't fit right. So, I got to thinking about where else I could use the bulletin board. We have lots of open space, but I decided that the most embarrassing open space that we have was in the living room. So, in the living room it went.
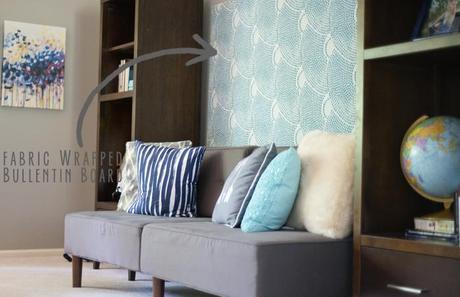
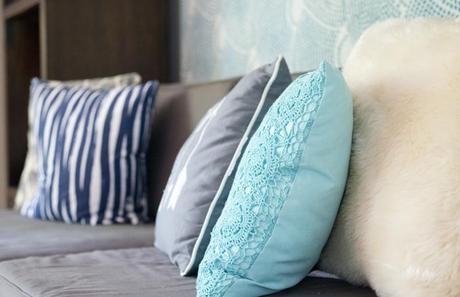
While shopping at the Goodwill last week, I picked up another Target Threshold window curtain (we have the same one lining our outdoor couch). So, all we did was pull the curtain out and staple it to the bulletin board.
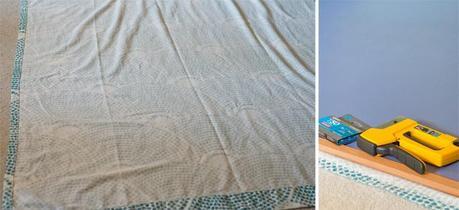
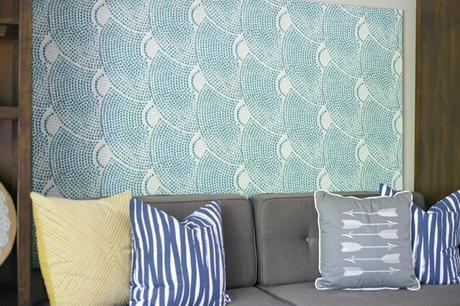
and how about a little before and after....Before:
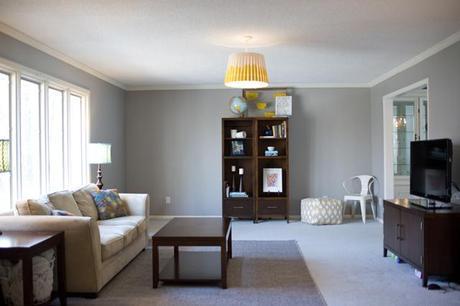 After:
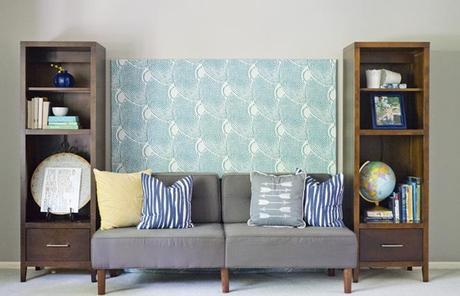
I just realized that we've changed things up a bit in the living room since I last shared pictures. I need to get on it and share some more.Oh, and this project was free. We had everything on hand. =)Luke and I are loving our new headboard. It's really amazing to sit against while watching tv at night. It's so comfy. I guess that's what you get from going from no headboard to a padded one? After the first night of having it, Luke said that he can't believe we waited so long to actually make it. For under 1 hr and less than $30 this project should have been a no-brainer months ago! Well, we have it now and that's all that matters.
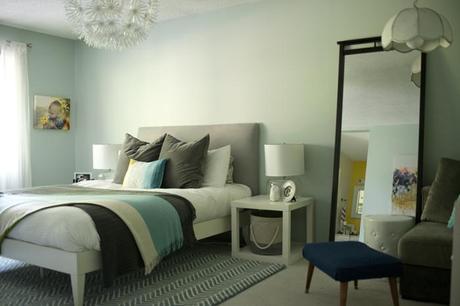
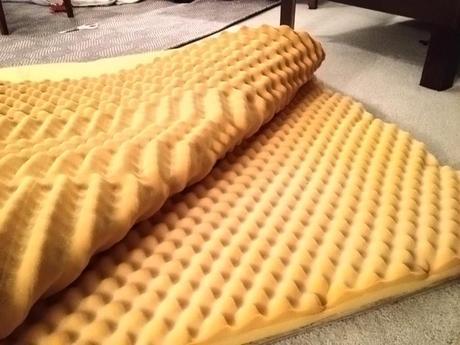
There are tons of amazing tutorials (checkout Sarah M Dorsey Designs, Young House Love or Pinterest) for making headboards. To be honest, we didn't follow any of them because it all seemed cut and dried. I've upholstered a chair and this is so much simplier than that, so we just kinda went with it.We measured the bed frame and then looked at headboard measurements online to make sure our measurements were ok. We went to a local hardware store and had a piecce of plywood cut.My grandparents recently got rid of some foam (like the kind you put on top of a mattress), so I snagged that up to use for this project.I doubled the foam and then we stapled (foam first and then material).
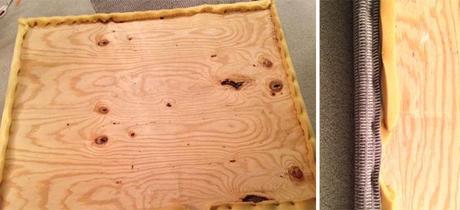 We made sure there were no wrinkles and then we flipped it over.
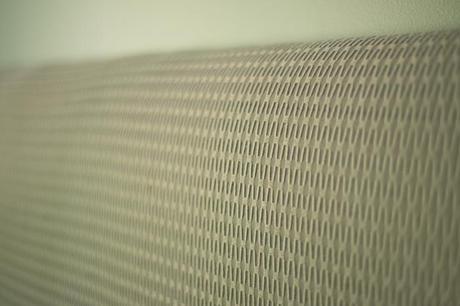
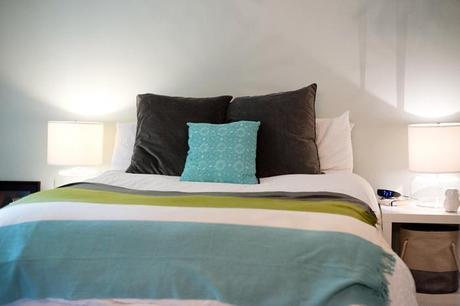
 Before:
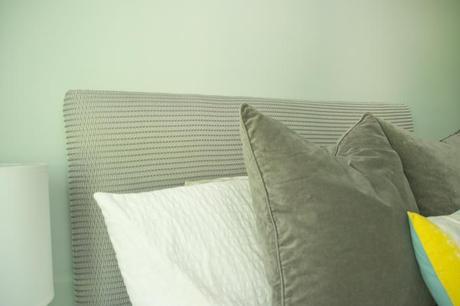
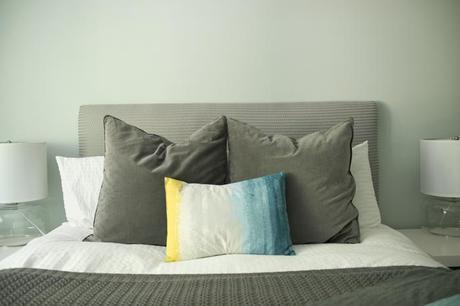
 After:
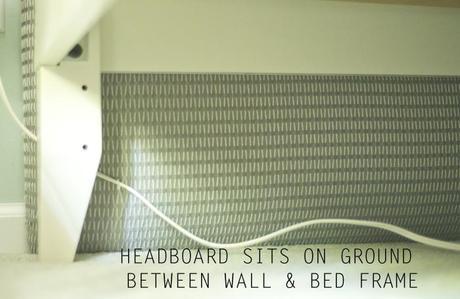
We saved money and were able to make this DIY headboard for under $30 because:1. Our "fabric" which is actually a Target Threshold window curtain was snagged at the Goodwill for $3.99.2. We didn't use any hardware to attach the headboard to the wall. We had bought hardware to do this, but realized that because of the size of the headboard it fit on the ground between the wall and the bed frame perfectly. This was actually a mistake on our part (headboard size is too big), but a good mistake to make because it saved us money.3. We were able to get our foam for free.* I know most people wouldn't have this option, but I did see the foam for about $10 a few different places.Cost breakdown:$23 plywood & $3.99 for fabrichttp://crispinteriors.blogspot.com/2012/06/country-living-sliding-doors.html#.U2BjpphEFow or http://crispinteriors.blogspot.com/2012/02/kitchen-reveal.html#.U2BkDZhEFowClick to continue reading....
