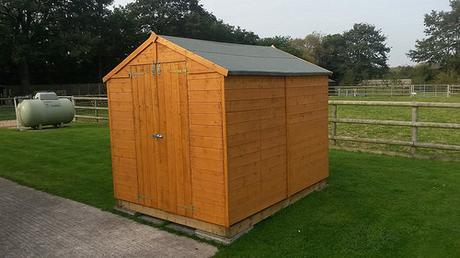
Somehow, it’s been almost four complete months since I posted Part 2… It was in the following month (September) that I was able to complete the finishing touches to the shed and get the overdue finished photos (albeit, captured on my smart phone).
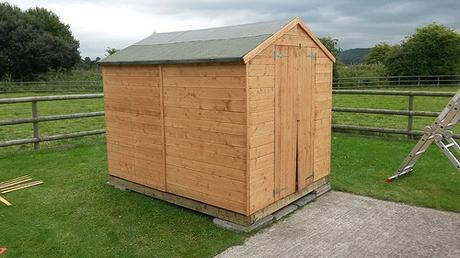
In this post, we’ll go over those final additions as the project draws to a close.
Look again at that first photo and you’ll see the right-hand door is curling away from the shed at the bottom.
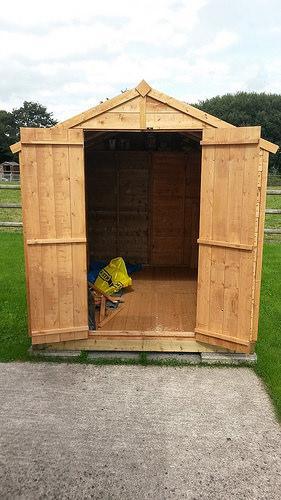
Each door is only made from thin tongue-and-groove boards (my memory suggests a 14mm thickness) and they’re held together with nothing more than three horizontal rails (approximately 30mm x 30mm in section). Anything but reassuring, then! With a lack of diagonal bracing as well, I was concerned these doors would ultimately sag over time.
So, my first improvement was to strengthen these doors with tanalised timber and I bought a pack of eight (although only needing six) for about £12… I think they were 38mm x 25mm.
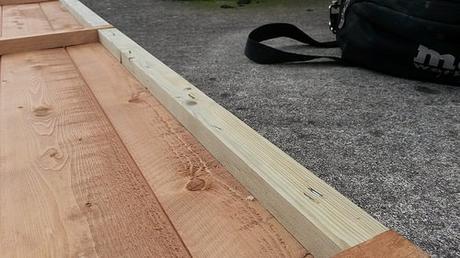
These were cut to length and then fixed in place with lost-head nails and lots of hammering. My nails weren’t galvanised, so there’s a good chance they’ll rust (a lack of foresight, on my part) but for a stronger fixing where timber will warm during the shift in seasons, I punched the ends of each nail over, folding them in to the grain of the wood like a cleat. Very similar to hold ledge-and-brace doors were traditionally made.
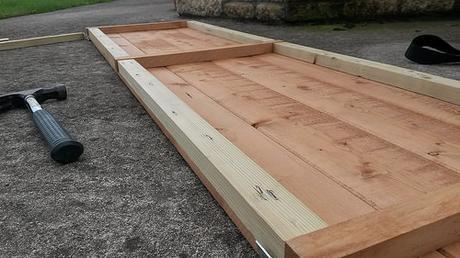
With the sides now reinforced, I looked to add diagonal bracing:
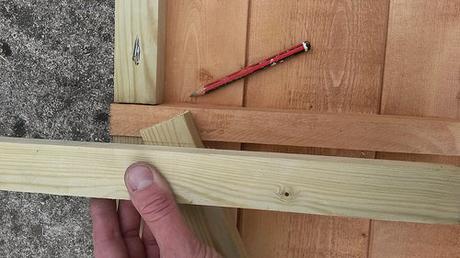
Using a straight edge to transfer the mitre angles.
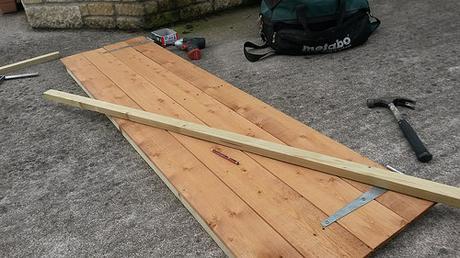
Marking the positions of each brace on the front of each door, before fixing.
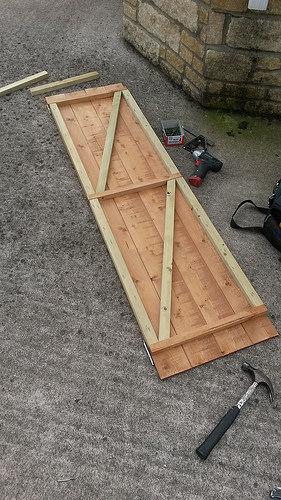
Once cut to length, they were tapped in to place and nailed through from the front, just as before. I also drove a couple of screws down through the rails, just to hold the braces while I flipped the doors over to clench the ends of the nails.
It didn’t take long to do this and then to reattach the doors:
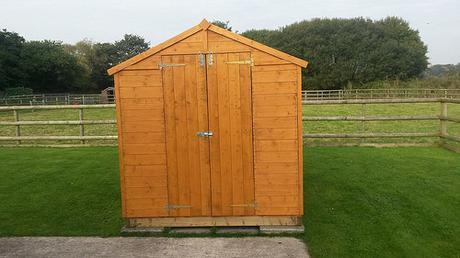
By the time I took this photo, you can also see I’d added a coat of stain.
…Yes, even painting over the hinges because it is a shed!
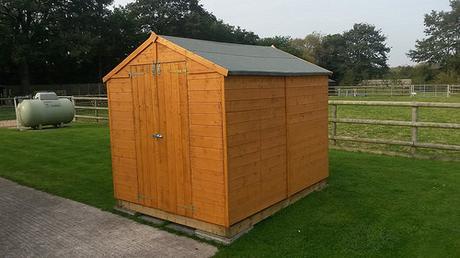
I also added some bolts, for both security and to help keep the doors flat and free from future distortion.
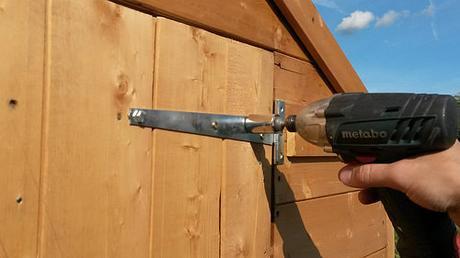
While each of these fittings, including the hinges, were initially screwed in position, I later went back and replaced a series of screws with stainless steel hex bolts. This did mean I had to enlarge the holes slightly but with nylon nuts on the inside, there’s no chance of anyone simply taking the screws out to lift the doors away.
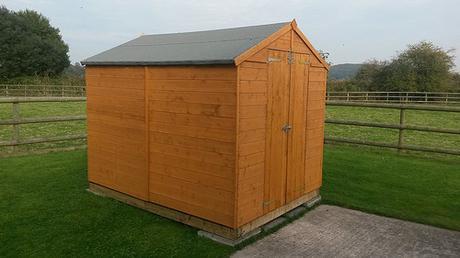
Along with the nuts, I used spring washers on the inside (in addition to plain, flat washers) as softwood has a tendency to expand and contract outdoors and the spring washers should account for any slack. Should the wood shrink dramatically at any point, there’s less of chance of the doors rattling on the hinges!
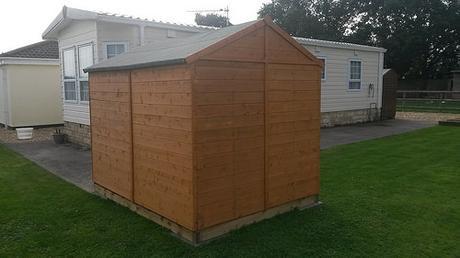
I do like how it looks with the stain on. This was only a single coat, at approximately 19.00 and not long before the temperature dropped with darkness creeping in. I could’ve perhaps achieved an even cleaner finish by cleaning the timber off first with a pressure washer but it is a shed, after all and I do have plenty of paint left for a second coat in 2016.
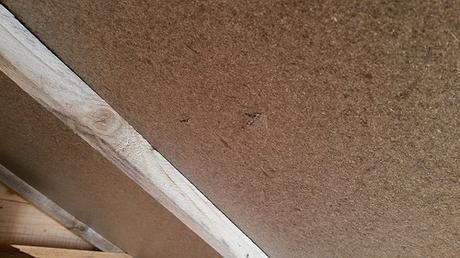
I’m still a little concerned about the chipboard roof and not to mention the felt that lies on top. You can see, above, where some of the clout nails I used have poked through… For me, the roof is the biggest flaw in the design of these BillyOh sheds. I can see myself replacing it within two years – if only to be able to enjoy the process of doing so! ;-)
Thank you for reading. I apologize for the delay in concluding this but I hope you’ve found it beneficial.
