By the end of my first day, I was impressed that I’d been able to get the roof on, albeit with a tarp thrown over for overnight ‘security’ (see Part 1).
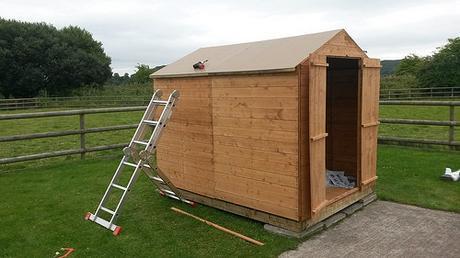
You’d think that I’d then be ready to finish the roof when I got started the next day… But no. I wasn’t happy with my rushed effort and began by taking the four sheets of chipboard off again!
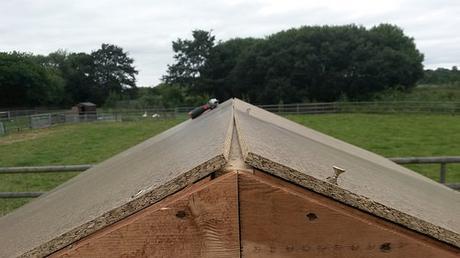
Above, you can see why I wasn’t happy with things and, along with this, I wanted to correct the issue where one corner of the sheeting was overhanging the shed, while the other three corners were flush…
Presumably, this was because my shed wasn’t seated on a perfectly level base and so, there was always going to be the risk that one corner at least would sit proud of the rest.
Having only screwed the boards in place with two screws down each edge, it wasn’t too much of a challenge to maneuver them. But, even as I succeeded to close that gap at the ridge, the roof continued to dig and sag in the center.
As the Perfectionist within me took over, I must’ve lost a good two-hours to this task. Yet I was only fighting a losing battle, with one of the two purlins as crooked as a dog’s hind leg.
I tried to arrange it so there would be a slight ‘hump’ in the center of the roof, if anything. Releasing screws that were holding the main body of the shed to the floor, I tried shunting the structure from corner to corner, alternate times, yet I could not get those sheets to align perfectly on all four ends.
In the end, I reminded myself that this was going to be covered with felt.
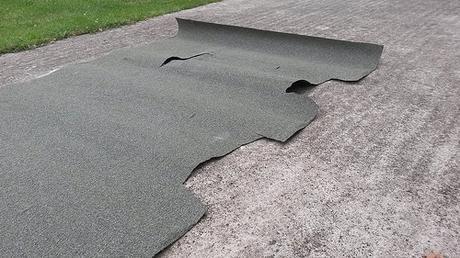
When the two guy’s arrived from Tincknell’s to unload the shed, they also handed me an extra complete roll of felt at no extra cost. Fortunately, they did cast an eye over the original pallet of wood that had been sat in storage in Wells for some time and noticed there was significant damage to the original roll.
It looks as though someone might have trodden on it and, in spite of the clear warnings all over the packaging, I very nearly made the same fatal error when marking out the complete replacement roll, moments before cutting!
It was simply unrolled and layed out on the ground. I set my long spirit level across the width and measured carefully from one end with a tape measure. A sharp Stanley blade cut through the gritty felt quite easily.
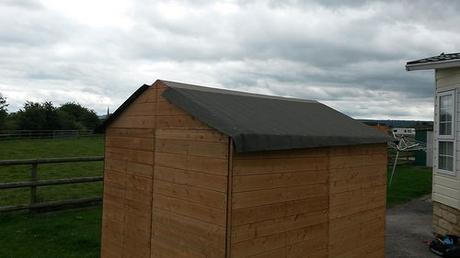
To get it up on to the roof wasn’t too much of a challenge – just roll it up, load it on and unroll to fix it. But as soon as I released it from my own hands, gravity kicked in and threw it down towards the ground!
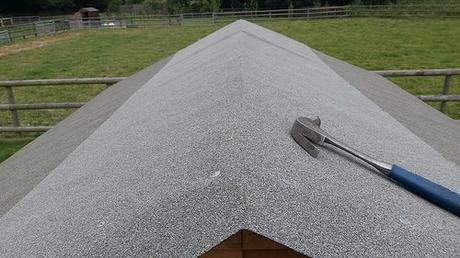
I managed to knock a couple of clout nails (felt nails) in to one end and gradually unroll it from there, using my spare arm to support the load as my right one swung the hammer. Fixing directly in to the felt is tricky as there’s no wood behind and so the action kind of ‘bounces’ back at you. Fixing the ends was much easier, with solid wood to reverberate against.
I had thought about using one of those adhesives but when roofing felt is only expected to last around five-years, I didn’t see the point and would rather spend that money on paint and preservative for the timber.
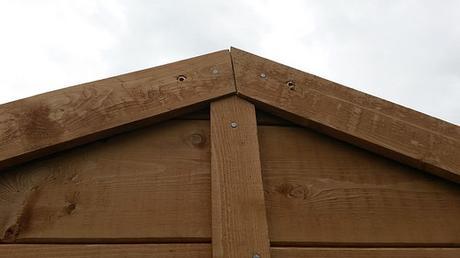
This felt is simply folded down over the ends and concealed behind fascia boards. Along the sides, it’s folded over and held in place with more of those stout-and-difficult-to-hold nails with large heads.
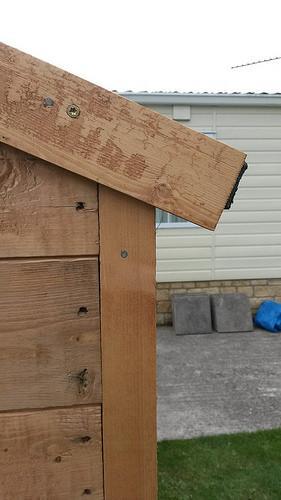
I used screws here mainly because the wood here is still quite thin and I reckon there’s a chance it could buckle as it dries out (nails might not hold that). If the fascia boards were to work lose, there’s a chance your felt could peel away.
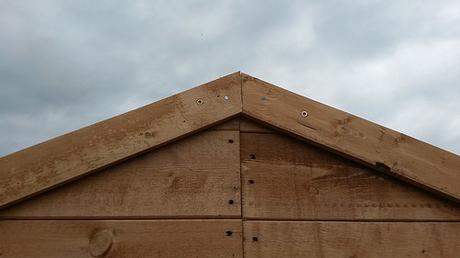
I very was pleased with my hand-cut mitres, considering I didn’t mark them out accurately.
Neither of them will be seen of course, as both gable ends are finished off with a diamond-shaped piece (one of which split in two as I nailed it and needs to be replaced – probably with exterior plywood).
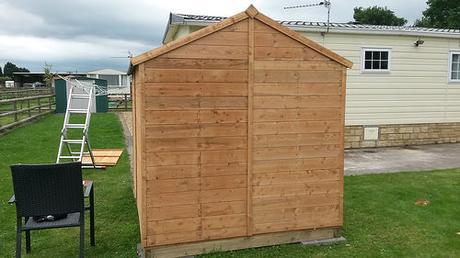
Bar a couple of horizontal cover strips to hide the joints between sections of the shed, some silicone sealant and a few spare nails to hold the felt on – this shed is very close to being finished!
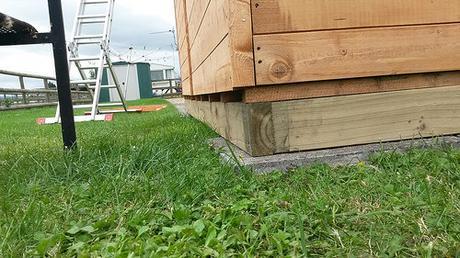
You can see how my sub-base was made to the same dimensions as the main base of the shed.
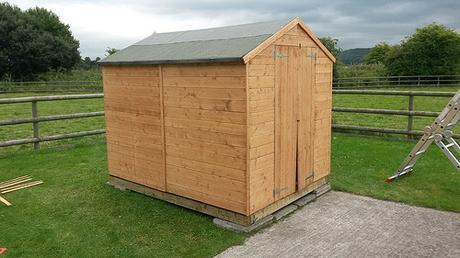
There’s a slight issue with one of the doors bowing that I intend to rectify, along with improving the security.
I still find myself left with a few bits of wood, in addition to the remaining cover strips…
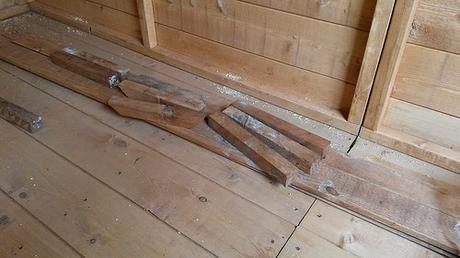
These pieces marry up with the instructions for a shelf that can be fitted to one of the interior walls. It’s not terribly deep but should be adequate for the odd tin of paint.
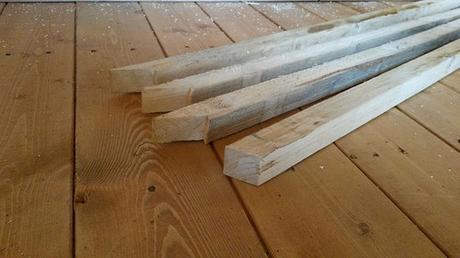
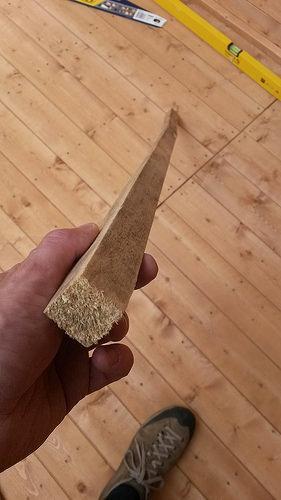
I also found these members… With a birdsmouth at one end and a mitre at the other, they do resembled the rafters used to former the center truss of the roof. I should be able to tap them in to position with a hammer and they are already a snug fit – which is a bonus, since I can’t see a way of fixing them with the roof panels on… Strangely, they don’t appear to be mentioned in the instructions from BillyOh.
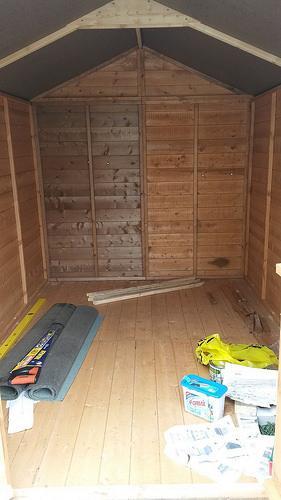
I’ll be staining the outside of the shed once it’s ready and I’m also harbouring thoughts of varnishing the floor inside, which is already looking grubby beneath my own footprints and the dusty marks that remain from two-years in storage.
…Can I really be bothered to sand it back though?
I’m pleased with the quality though, taking in to account that it only cost me £240 and it had been sat in a warehouse for the best part of two-years. Being a woodworker and active DIYer also helps when it comes to making minor changes and improvements.
I hope to have this finished very soon. However, the local weather appears to have its own agenda.
Thanks for reading.
