Today marks the six-year anniversary of this blog. It’s developed and re-developed quite a bit in that time and I’m grateful to those of you who have been following from the very beginning, along with everyone who has joined more recently. I will always write for as long as you are willing to read. :-)
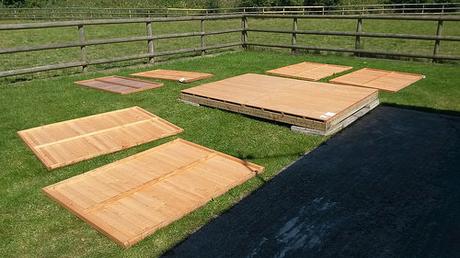
So, after constructing the base in two-hours on Friday afternoon; I decided to press on and see how far I could get building the shed itself, before the growl of my stomach became all too consuming and lured me away.
With the base to the building already in position, I started by laying out the other panels close to where they would need to be, to create the long sides and narrow ends. As you can see, everything is supplied in two-halves or multiple parts. This may sound like a pain but, when you’re working with a single pair of hands, it makes the task more manageable.
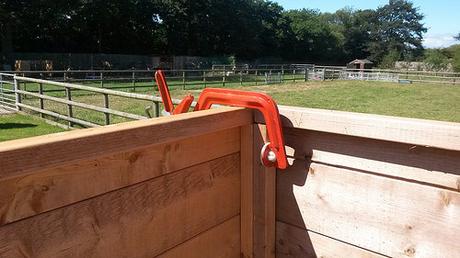
I began by assembling one corner, which comprises of one-half of an end wall and one-half of a side panel. Being able to clamp it together with a one-handed quick-grip clamp and then, to lift it on to the base, allowed me to accomplish this alone.
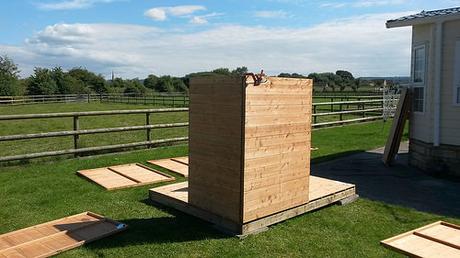
With that, I could then create the second rear corner, before joining the two with 50mm screws to almost complete the rear gable. Again, I used Torx Fast Deck Screws, although a bag of pozidrive screws, along with all other required fixings, is also supplied with the instructions.
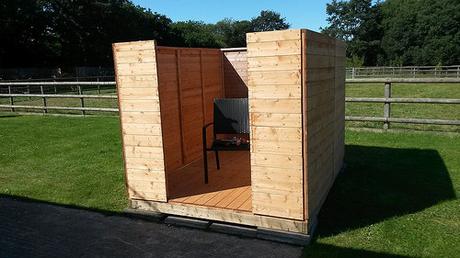
It was long after that I had the main body of the shed assembled in a C-section, almost ready for the roof to go on. Nothing was screwed to the floor at this point (the instructions are very strict about this).
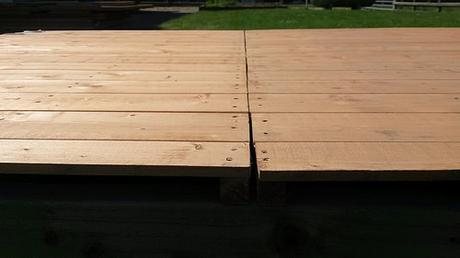
Like the rest of the construction, the floor panels are made from 12mm tongue-and-groove boards, with 30mm x 30mm battens [they refer to them as joists – I won’t!] fixed to the underside. It withholds my own weight plus a bit more. I was only disappointed that I couldn’t get a combination of mating edges to meet up perfectly, with the occasional end of a board overhanging the edge batten.
But, you do get what you pay for!
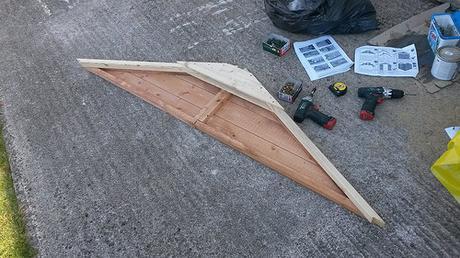
Beginning to complete the gable ends; I took a tip from one of BillyOh’s videos on their YouTube channel, to assemble the semi-complete center truss by using one of the apex pieces as a guide to get the correct angle. They recommend using nails; I chose screws, in case I got it wrong.
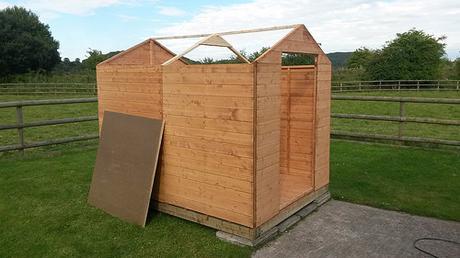
Those triangular sections are again screwed down on to the end panels, creating a door opening on the front end. That single truss is screwed across the center of the shed’s length and two “purlins” (again, 3omm square) span the centreline of the apex. From a practical point of view, it would’ve been much easier if one continuous length was supplied but again, this shed has been designed for compact storage and transportation.
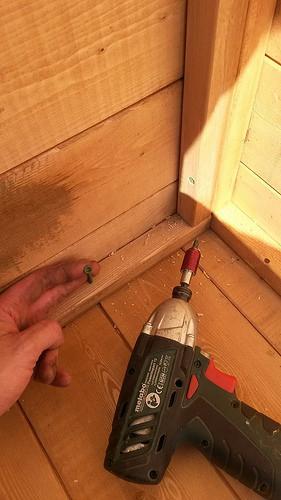
I later realised that I made a mistake at this point, in securing the shed down to the floor. As I came to position the threshold strip inside the door opening, I literally had to persuade it in, kicking the front right hand corner out by a good 5mm to 10mm…
But you can hopefully see how I positioned a second screw so that I could pull the shed panels inwards with my spare hand, to ensure that everything butted up flush with the perimeter of the base. But again, you’re only aiming for those 30mm square sections underneath the floor… On two occasions, I managed to miss the timber supports. If you’re ever tried a remove a screw that’s only spinning as it isn’t biting in to anything at the other end then, you’ll know the kind of difficulty I then had to overcome!!
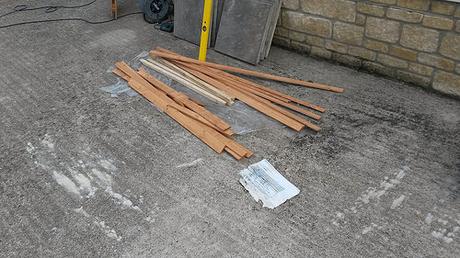
All smaller sections of loose timber are supplied in plastic bags. Some of mine were mouldy, as they’d clearly been sat around for some time.
It’s a positive argument for always drilling proper clearance holes though, where many will simply drill a pilot hole through both sections (if any at all). One thing I liked about the Torx Fast Deck Screws is that only half the screw’s length is threaded, meaning they pull pieces together very well. One thing I don’t like about Pocket Hole Joinery is that, unless you can clamp the joint, the action of driving a fully-threaded screw home causes the two pieces to separate first before joining, which can lead to misalignment.
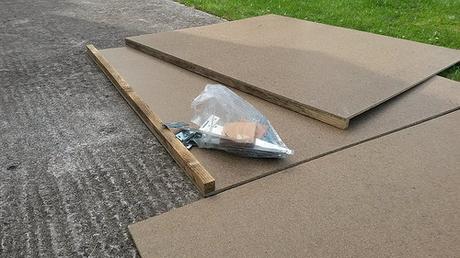
All fixings come supplied in a single plastic bag. It would’ve been easier had they been supplied separately (screws, nails, etc.).
These panels are simply chipboard and no more than 12mm (½in) thick. Their green tinge suggests they might be moisture-resistant… But I also remember replacing my mum’s previous shed roof a few years ago and, where the water had gotten in beneath the felt, it was like breaking apart a soggy Digestive biscuit.
I’m prepared that the roof may need replacing one day, which is another reason I didn’t want to spend much money on a shed. OSB would be a better choice, in my opinion. If my budget would one day stretch to it, I’d probably consider laying corrugated sheeting on top of that as well.
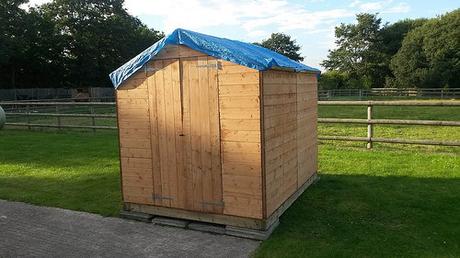
After about three and a half hours of impact driving and occasional swearing, I was ready to call it a day and covered the incomplete roof with a pair of tarpaulins. Ready for another day when I just might be willing to unroll that felt…
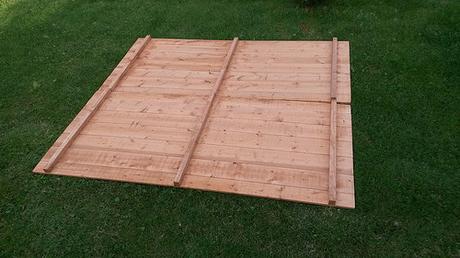
I also need to figure out what these two panels are for!
You’ll get to read about that soon! In the mean time, thanks for following!
