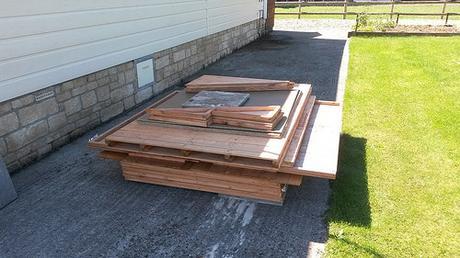
On Thursday, I took an afternoon off work to receive delivery of an 8ft x 6ft tongue-and-groove shed. This’ll be used for self-storage of items that are currently cluttering my home so, I’m more than happy to spend an initial outlay, as opposed to endlessly paying monthly rental fees at a large warehouse chain. I’m fortunate enough to have been granted a space away from my own home on which to erect this small garden building.
In this post, I’ll document the process of building a sturdy sub-base for the shed to sit on. I’ll emphasize now that this was designed with the word temporary in mind (there’s every chance it could have to move in a couple of years). If you plan on building a base for your decking, you may also find this very interesting.
This has been high on my to-do list for several months now. I think I first made the decision back in April… I think I even found the shed I was going to buy back then. After a lot of shopping around online, I found that an offering of £239.99 for a BillyOh shed was virtually impossible to beat.
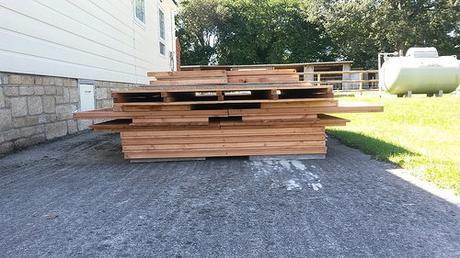
I purchased it from Tincknell Country Store. They have a store in a neighbouring village locally but their main premises (and, where they keep the sheds) is down in Wells. That’s only a thirty-minute drive for me and so I took a trip down there seven-days ago to inspect one and make a confirmed decision, which also lead to the purchase. I’m grateful to the staff for allowing me to view one, considering the fact that they weren’t exactly down on the shop floor with most of the more commonly sought items.
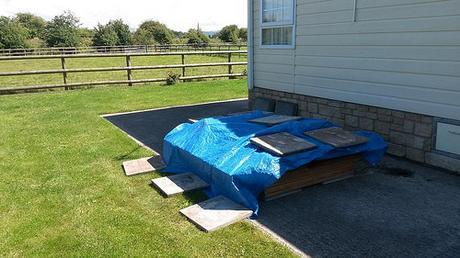
Spending its first night under a tarpaulin, like a wild camper.
I then received a phone call on Thursday lunchtime from the Congresbury branch of Tincknells, asking if they could delivery the shed – in ten-minutes time! Fortunately, this worked in my favour and without really having to lift a finger, the two-man team had it unloaded neatly in a matter of minutes. What’s more, the delivery charge was free!
Yesterday, I left work again at lunchtime and went out to buy some wood for the base.
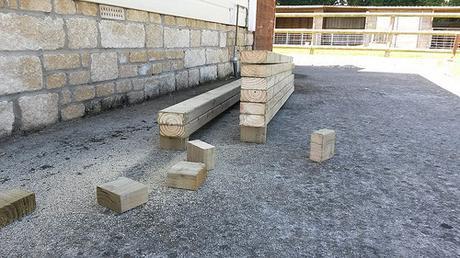
I stopped at Avril’s Fencing again, as it’s a friendly and welcoming service that also happens to be the nearest timber yard from my place of work. I came away with £40-worth of 4x2in (94mm x 44mm) tanalised timber, equating to:
4 off x 2.4m x 94mm x 44mm
6 off x 1.8m x 94mm x 44mm
It was both surprising and nice to be recognised as ‘The Blogger‘ when I made my most recent visit. That’s not the first time this has happened in a situation this year. On this occasion, I think another customer had learned of Avril’s yard through my blog? I’m glad to have helped someone to find what they were looking for and in need of.
On to the action and, with no power tools on hand, I cut every member to length using the guidance of my arm and a brand-new handsaw:
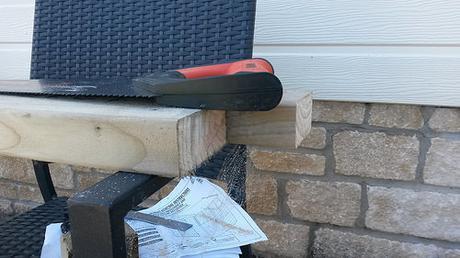
It was good to see that, after weeks of farting around with foam at work, my eye for making a pretty square cut remains reliable (sharp blades also help, every time).
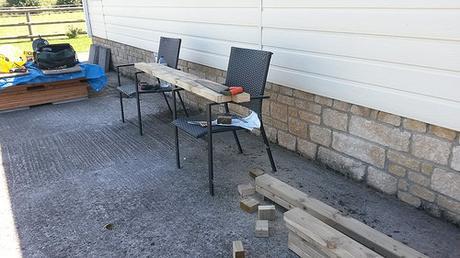
Of course, being without a workshop, I also had to improvise in order to maintain the muscles in my back.
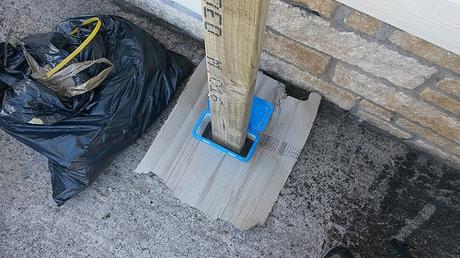
As each joist was cut to length, I dipped each end in a tub of Ensele treatment for end-grain. This stuff isn’t cheap for a one-off purchase but a single tin should survive several jobs. I also found that a container for washing machine liquid tablets is a good size for a 94mm x 44mm section of timber.
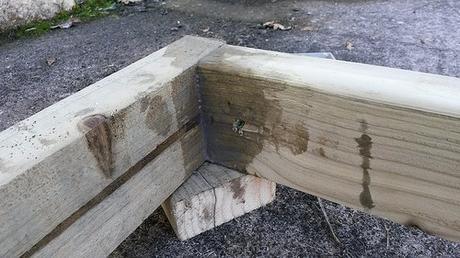
Beginning with the simplest frame of four sides, I screwed four corners together, with two screws driven directly in to the end-grain and one other, skewed in (like a pocket hole screw) from the inside.
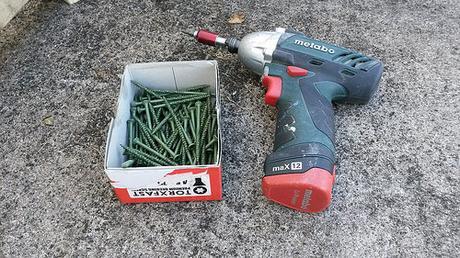
I got to make a lot of noise with my 10.8v impact driver but I preferred this to using nails, where it’s often harder to keep things aligned while swinging a hammer.
I used Torx Fast Deck Screws from Toolstation for this as they were one of the most-reasonably priced exterior screws that I could find. I’ve used Spax screws in the past but they’re more expensive for a one-off. There’s a lot to be said for the advancement of screw technology and relative ease of drive and fixing with certain brands. But then, with the assortment of impact drivers now available to DIYers and professionals alike; I wonder, whether this is less significant?
Downside is they’re not magnetic (unlike regular Torx Fasts), plus I do need to buy an impact-resistant bit holder for my impact driver… This is now the second one I’ve broken! But the bits are fine and one (a T25, I think) is included within every box of screws.
Have you ever used Torx Fast screws?
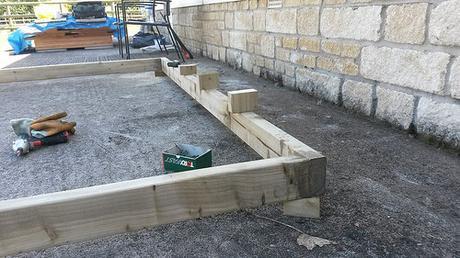
I had the basic frame now blocked up on my offcuts so that I could ensure each joint was assembled flush, top and bottom. These same offcuts can also be used to check your spacings, before fitting your intermediates (I should be calling them trimmed joists, I think).
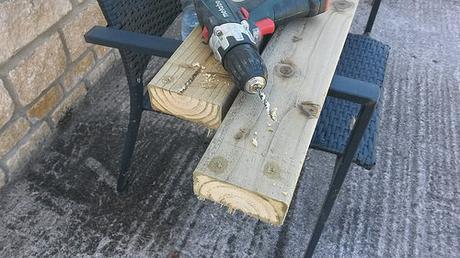
Every fixing hole was pre-drilled. Not only did this make it a little easier for me but it helped to prevent any wood from splitting and made my impact driver a tiny bit quieter… For all of 0.5 seconds with each screw!
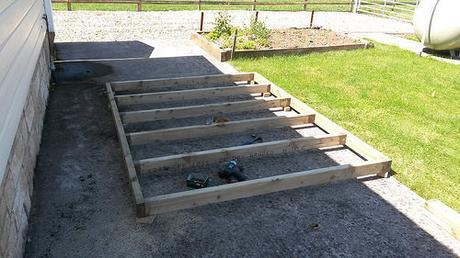
It took slightly less than one hour for me to get to this stage, with the base in position and awaiting the arrival of the noggings [yes, I’m spelling it with three Gs, once again!].
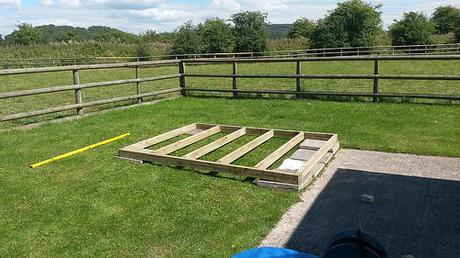
This is where I’d like to remind you of the word temporary.
My initial plan was to dig up the turf, level the ground off with a layer of sand and then cover it with pea gravel, which would allow for drainage. I have a dislike towards timber being placed directly on concrete surfaces (and even, concreted in to the ground) as this doesn’t allow the water to drain away and, in my opinion, increases the chance of the wood rotting.
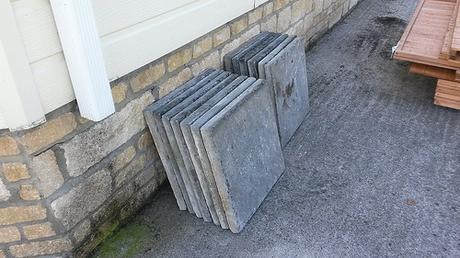
That seemed like a lot of work, not to mention the added expense and the fact that I am not the landowner. So, for now, I’ve stacked up a series of flagstones (445mm square, which I was kindly given) to roughly level up the uneven ground.
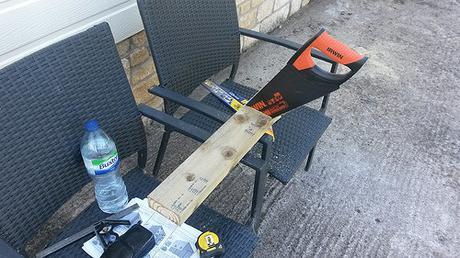
These teflon-coated blades seem to glide well through damp wood.
Back over on my ‘sawbench‘, I began cutting the noggings in pairs; working to block in only one spacing at a time, as opposed to cutting ten at once – which would’ve been a grave mistake as, erm, some of my spacings were about 10mm different to the rest, despite measuring twice before fixing!
As I closed in on the two-hour mark, I had all ten noggings fixed in place.
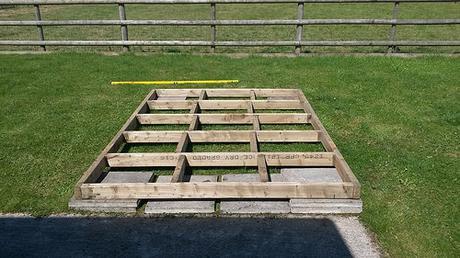
Again, I used three screws to secure each joint and they were staggered from their centrelines to enable me to fix them more easily (I also like the way it looks, even though it may not be seen again for a long time). I went for a double row of noggings simply because the “joists” [their term, not mine] on the actual shed base span the shorter distance of the building.
There was a point, as I approached the timber yard, where I considered down-grading my cutting list to use 3x2in timber (69mm x 44mm). But I do believe I’m better off with this approach as although the floor is slightly springy in its current state, it’s better equipped for maintaining weight from above and equally, for spanning the distance between flagstones.
Thanks for reading. I’ve already made progress on erecting the shed and I’ll tell you about that in another post.
