In August 2015, I bought myself an 8ft x 6ft shed and I've documented the process of erecting that, previously on my blog. But I didn't do the best job of installing it and, over time, these flaws would begin to show.
Earlier this week, I realised a YouTube video documenting much of this first stage on improving the base and foundations. Now, I thought it might also be good to get something down on these pages.
(Link to my YouTube video.)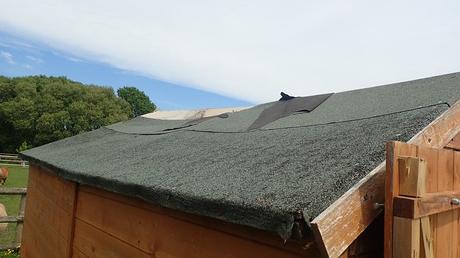
You can see in the photo above that something wasn't right. There's a definite sag to the roof - which also features much lower down and out of shot. For whatever reason, the felt had torn. I could've glued it down in 2015 but I've also seen the birds picking and pulling at it (neither am I a fan of felt roofs; it came with the shed).
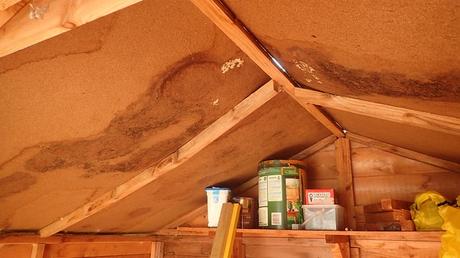
From the inside, you can see the inevitable water damage. They had only supplied thin sheets of chipboard but even ply or OSB would've succumbed to continued exposure to the elements.
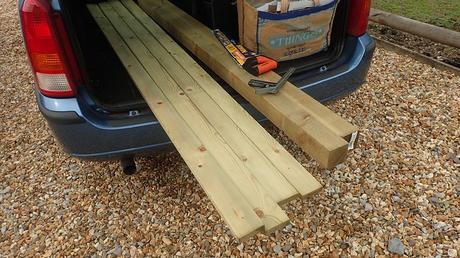
I would start off by working on the base and I bought two lengths of 3in x 3in tanalised fence posts (the four other lengths were for something else). This was towards the end of the first lockdown in the UK and when I was nearing the end of my time on furlough, meaning all items had to be pre-ordered for Click & Collect.
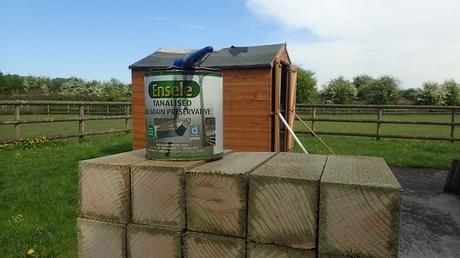
With a hand saw, I cut these posts down in to short lengths. From memory, these were about 200mm or 8in long. Their purpose will become clear shortly but I'd also like to stress the importance of retreating any cut ends and edges when working with pressure-treated timber.
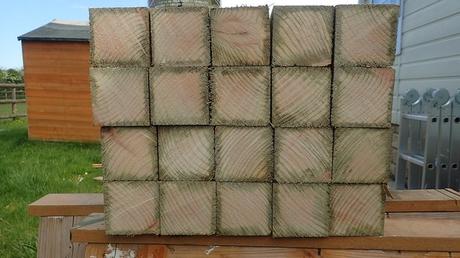
These posts were sold as having been 'incised' - what this means is that all four sides (face and edges) have been fed through rollers that perforate each surface. Then, when this timber is plunged in to a tank for tanalising, the theory is that the chemicals will soak in and penetrate the surface deeper than un-incised timber. You can see, above, that the green chemicals have gone a bit deeper than your average 6mm in places.
I left these stumps to dry overnight.
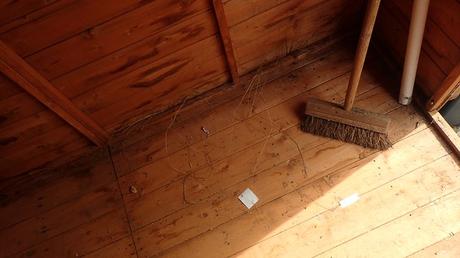
On the next day, I knew it was time to take the shed apart. This first meant clearing out everything that had lived inside for the past five years.
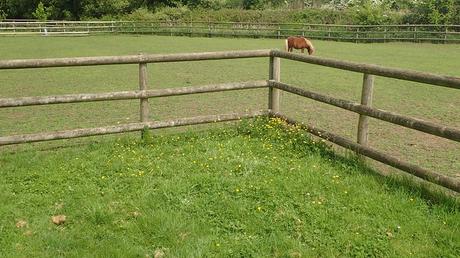
I'd also been asked to move it closer to this corner of the garden - this is my mum's property. I don't live there and she has to wake up to the sight, every morning!
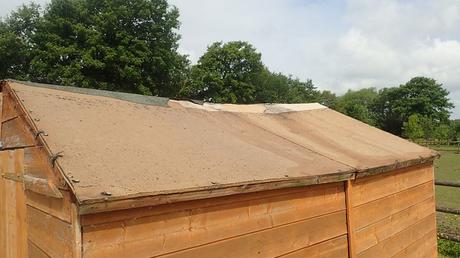
Taking the roof off was straight forward. There was no challenge from the felt covering and, what was left of the chipboard, came away without much need to use a hammer or screwdriver (except to remove those screws that were left behind).
I took the main shed apart in four sections, once the roof was off. Two long side, one end with the door and one at the back.
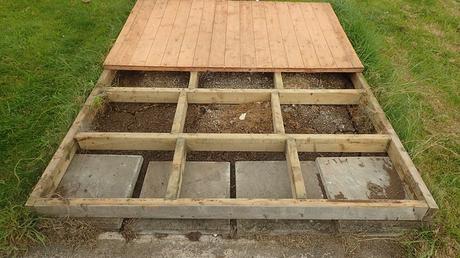
This was base of the shed, as it had been laid in 2015. Any grass underneath had died off a long time ago. You can see the lack of support beneath the 4in x 2in joists. But there was no signs of rot.
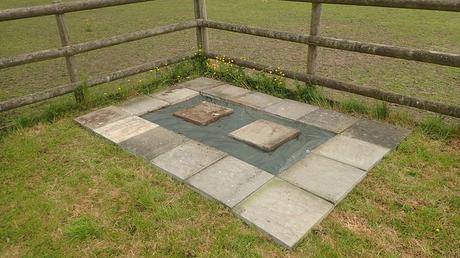
Moving over to its new home in the corner, I set out a new base, using the same flagstones and a few more I was able to find. But first, I set down an 8ft x 4ft tarpaulin to act as a weed suppressant. It only cost me £1 and I should've done it all those years ago.
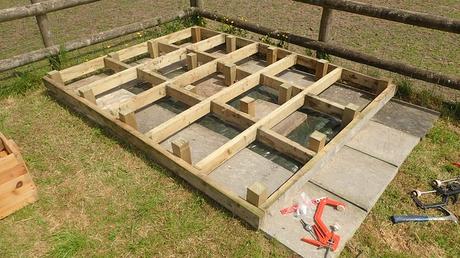
These new foundations were neither flat or level. Instead of digging out the Earth (my mum is only renting), I decided that I would use these stumps or feet to help me level and support the wooden structure.
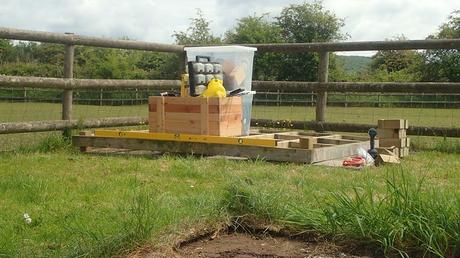
This 4in x 2in frame had bowed over the course of five years. So, I flipped it over, meaning it was now high in the centre of the new floor and then used heavy weights (boxes of tools) to hold it down until it was close enough to being level.
I would start by raising and lowering each corner until each end and the two long sides were level, before screwing them in place. Then, I could double check my weights, level across the centre and fix all of those blocks.
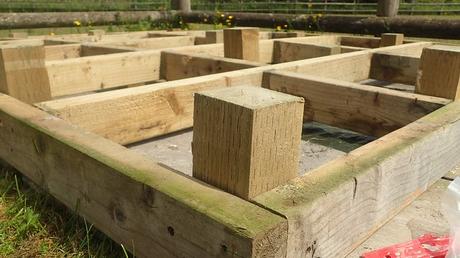
This worked quite well. If there was one downside, it was that I cut these blocks a bit too long. I think there were twenty of them and, having sold my 10.8v reciprocating saw, I had no option but to saw them off by hand!
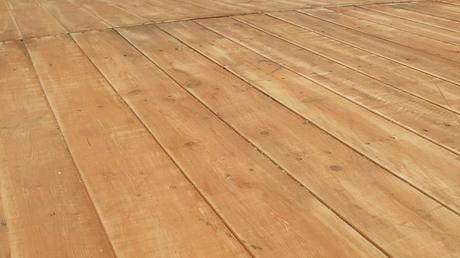
I gave the shed floor a light sanding after screwing it back on, with the intention of treating it to a coat of varnish... As I didn't do in 2015.
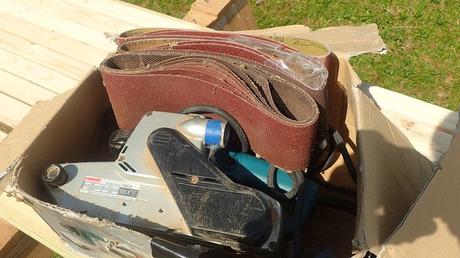
There was also a reminder, here, that my belt sander's box is far beyond its best days.
But so far, this part of the repair project hadn't cost me very much at all. Two fence posts and a box of exterior screws...
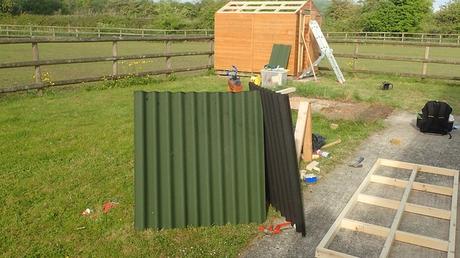
In another post, I'll show you how I went about rebuilding the rest of the shed and making great improvements to the roof.
Thanks for reading.

I live in Weston-super-Mare, close to the Mendip Hills in Somerset and I enjoy time spent outdoors, whether that's walking, camping or backpacking. My day job involved making furniture from recycled wood (I'm a furniture maker and carpenter by trade). I have two blogs: Olly Writes (woodworking, DIY, baking) Walks With Olly (walking, camping and kit) You can also find me on YouTube, Twitter and Facebook. My second YouTube channel is titled 'Walks with Olly'. View all posts by Olly Parry-Jones
