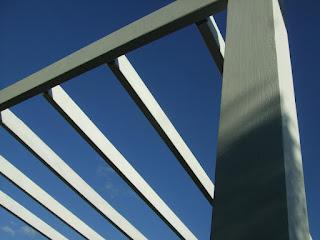
 Never underestimate how long it takes to think things through, especially if it's something you're not used to doing on a regular basis. And yes I was reminded of that when we were figuring out how to build the pond pergola. Lots of thinking, planning, sketching, calculating, thinking again, etc. And then you pause and realize how much time it has taken going through the process without actually having something in front of you to see.
But as they say, half the work is in the planning and a well planned project makes for an easier task of getting the other half done.
However, the biggest factor that actually slowed things down was the weather. Beyond our control I'm afraid. Too dangerous to work when surfaces are slippery and electrical tools obviously cannot be used outdoors whilst it's raining. Keeping in mind that there is an 11 foot drop between the top of the pergola and the bottom surface of the pond, we have to be extra careful in building this pergola.
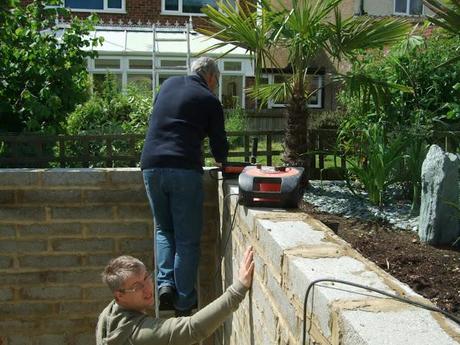
The man with the right power tools! Each pergola post needs to be supported by large metal rods drilled on both wood and concrete, then bonded into place, and Gaz Senior has the right tools to do just that (Thank you!)
So considering all, it was a slow process to start with but given one reasonable stretch of weekdays (doing things bit by bit in the evenings after work) followed by a fine weekend, things have moved much quicker. And now finally there is actually something substantial to see.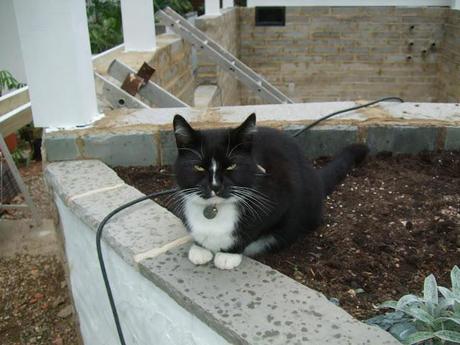
The cats have it easy!
All the wood had to be pre treated with a white undercoat before they were positioned into place. Thank goodness for quick drying undercoat, otherwise waiting for paint to dry for hours would have added considerable amount of time in finishing the project! As the whiteness is just an undercoat there was also no need to handle the wood with delicacy so on closer inspection there are smudges, smears, and scribbles all over.
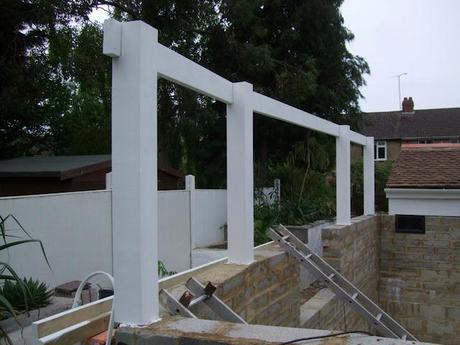
First horizontal pieces up by the middle of the week
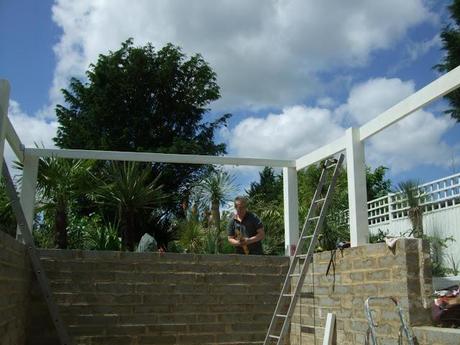
Just the two of us over the weekend, but with great weather things went up quicker!
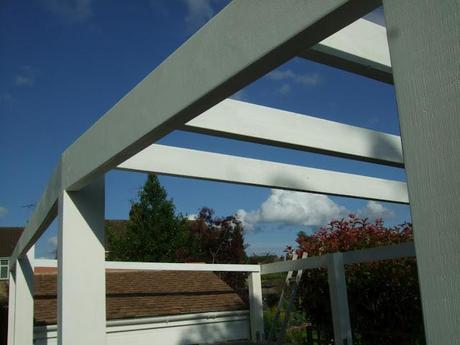
Bright, white, and blue skies!
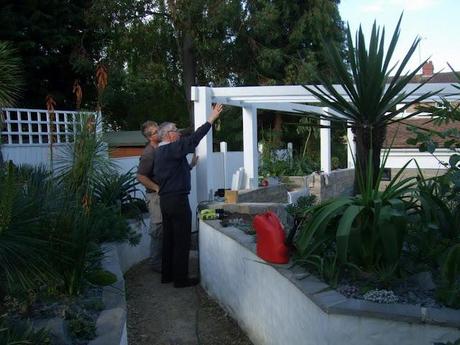
Gaz's Dad popping round for a quick look and giving his seal of approval
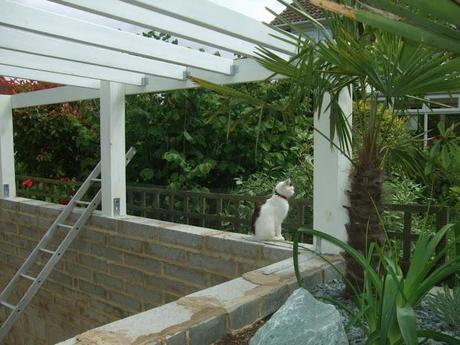
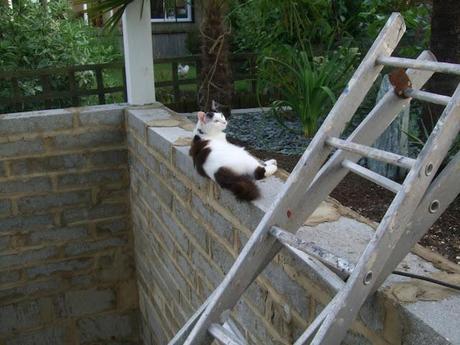
The real one in charge of the project...
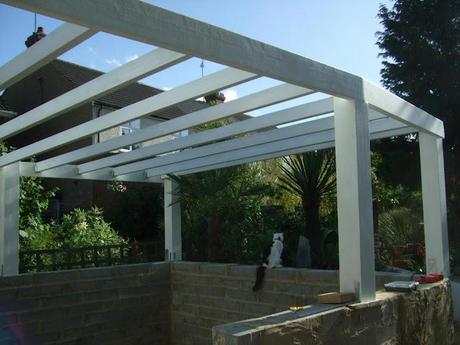
We are about halfway through building the pergola at least. Once all of the joists are fastened into place (including the noggins) we can do all the wood filling, sanding, and screwing necessary before a final coat of external white paint can be applied. All the galvanised metal fittings will be blended away with white paint whilst the metal brackets at the base of each post will be hidden away with wood cladding round the posts and coping stones on top of thw walls. Sheets of polycarbonate panel will be fastened on top which will give shelter to the pond (and its future inhabitants) as well as keep most of the rain away. And once the polycarbonate roof is installed, fibreglassing can be done which will render the pond watertight.
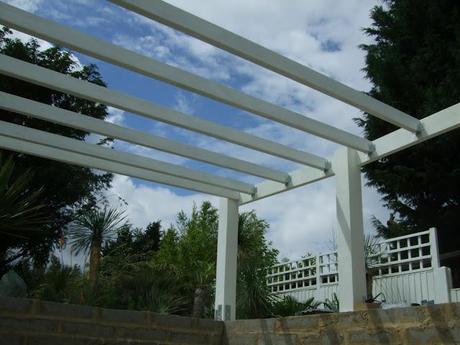
View from within the pond
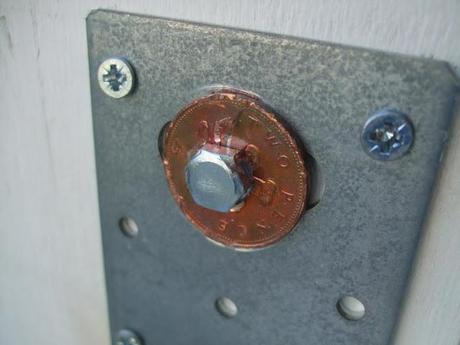
Two pennies for your thoughts. Apart from the metal rods and bonding, each post has to be bolted down with metal brackets. Running
out of washers right at the very end of bolting them down, we had to be creative and used a two pence coin instead.
Unconventional and economical to use too, as the washers cost 28p each, whilst this is only two pence....
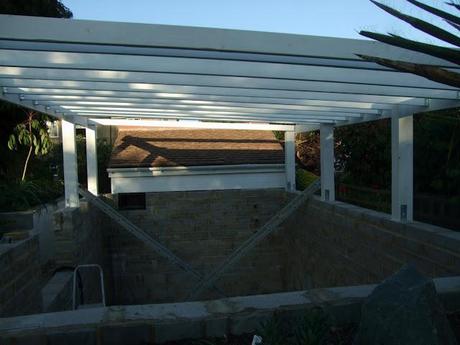
With the pergola up, privacy of this area will also be gained
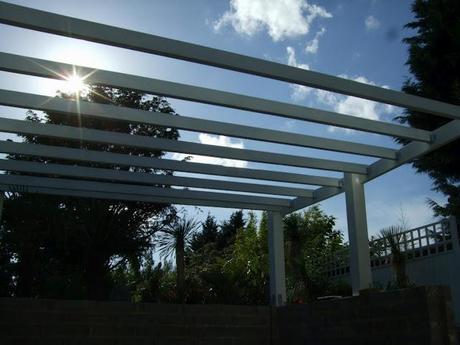
View from within the pond
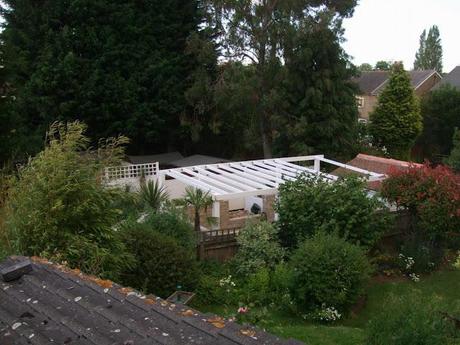
View from the back room window
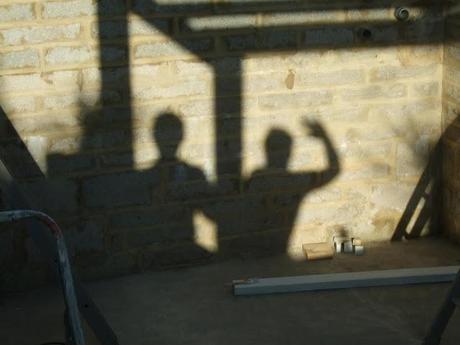
Hello, from Gaz and Mark!!
So far, so good! It's great feeling that we have picked up pace again. Which also reminds me, we have to buy really tall ladders in the next few days, I have one heck of a paint job coming up!Mark :-)

