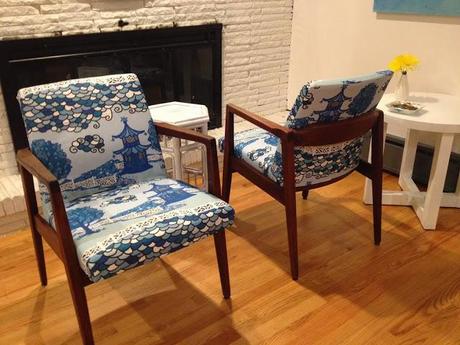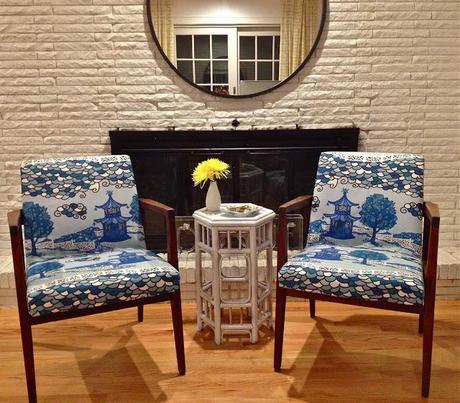
This weekend I was killing my to-do list and I decided to "slipholster" some chairs... part slipcover/part upholstery/semipermanent commitment. Since I have chronic indecision, I know that versatile options work best for me. For that simple reason I am so thankful for not being born a dude, since I probably would have rocked the mullet at some point for its versatility. I'm also
In the case of these chairs I have really loved their worn orange leather for the past few years, but they were crying out for a fun new look.
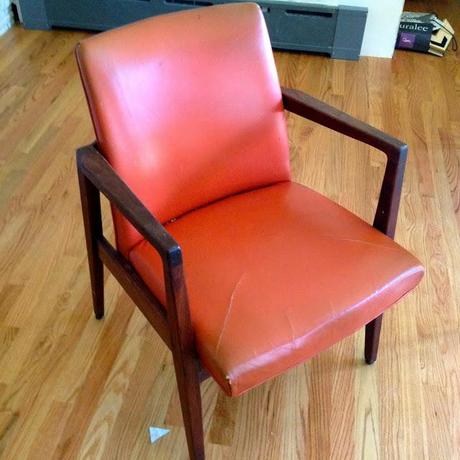
I also knew I might want them to be worn orange leather again too. I slipcover as much as I can, but sometimes a chair might require a bit more tailoring. And in this case the leather is slippery and would never accept loose fabric easily.
So lets get down with Slipholstery 101. This technique involves attaching a slipcover in a semi-permanent fashion. It works best for chairs and ottomans,
but can also work for simple sofas if you have sewing ninja skills. You are basically going to make a tight slipcover and tack it to the underside so it looks upholstered. Similar to the mullet this is party on the top, business on the bottom.
I had just ordered 2 yards of the Pagoda Cloud in its new blue/green color way. It would be just enough to do these babies up...

First thing you will want to do is measure the width/depth of your seats and backs and add 2 inches to every side that will be tacked/stapled to the underside. Measure backs, sides and every non tacked edge with an additional 1" to each side. Just to be clear that is per side, so for my seat width I had to add 4" total...
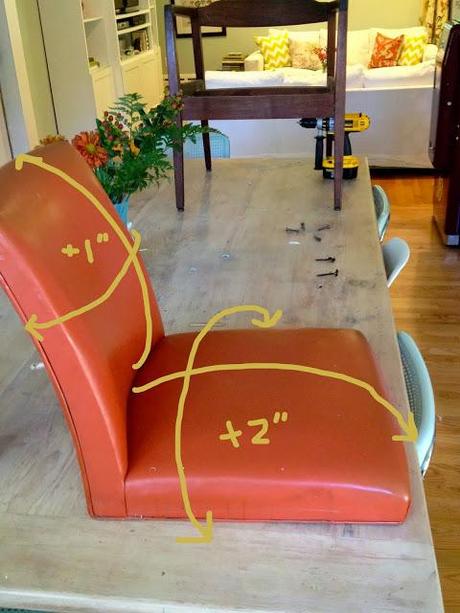
My seats were pretty straight forward. I was going to need to sew a tight back that would connect to the seat cover.
The first thing I did was sew my back and seat cover together. Lay the fabric wrong side up and pin it to the seat and back to hold it in place. I took a pencil and traced it against the crease along the back and seat and then trimmed excess fabric so it was a 1/2" from my pencil line...
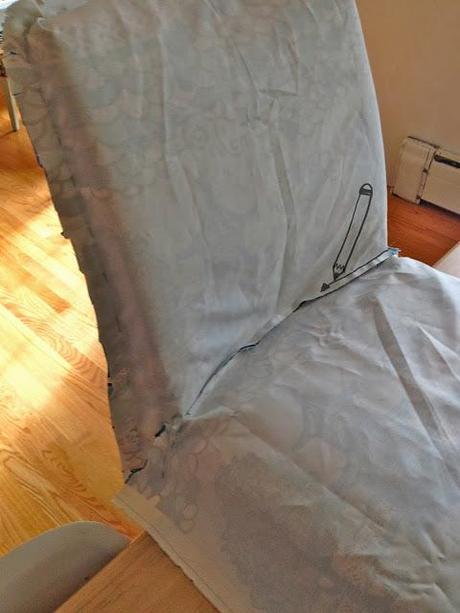
Sew this line together first. Next put the fabric back in place and begin pinning the back on...
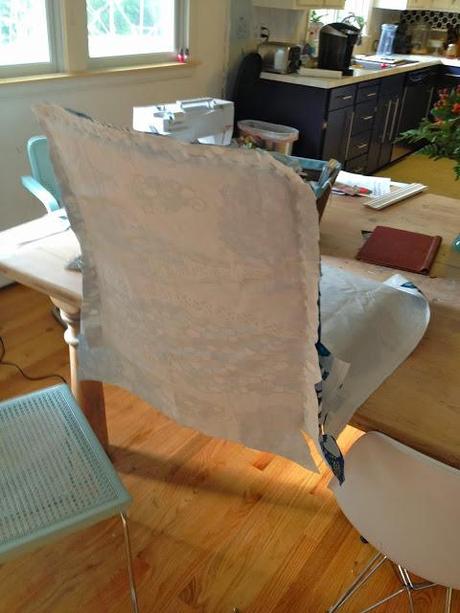 Here are some tips.
-Tack the fabric to the chair to hold it in place as you pin.
You can just stab pins through the fabric into the original upholstery to hold in place.
Start by pinning it to the center and smooth it outward.
-When pinning your slipcover together, start from the top first.
Next pin each side at equal heights.
-Work your way to the corners and fold/pleat any slack for a neat edge:
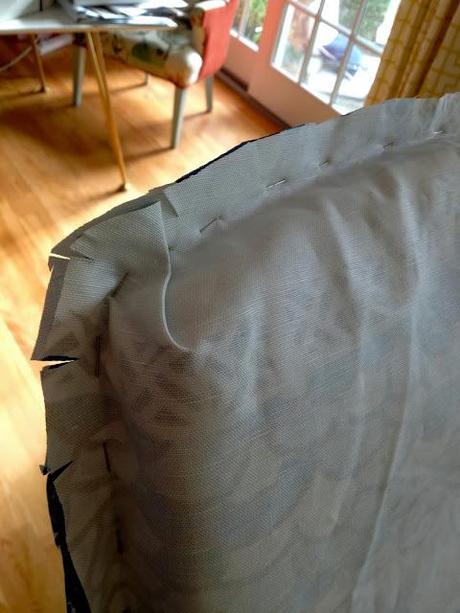
Once you have pieced it mostly together, sew along the pin line. Pull your pins, turn right side out and try the slipcover on the chair. If you need to adjust or alter, do so. If not simply trim the edges 1/2" from your seam and you're done with the sewing part. Pull it over your chair and begin attaching the underside.
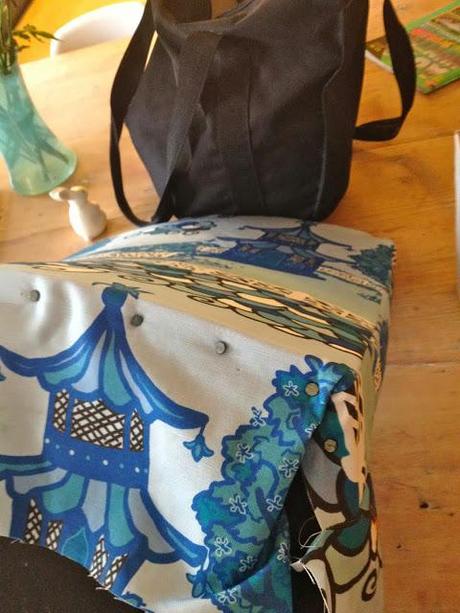 I used upholstery tacks instead of staples because they are easier to remove and adjust.
I tucked the front corners of the seat over and tacked in place- basic upholstery on the bottom half.
Once I was happy I hammered them in, trimmed the excess fabric from underside
and reassembled my chair.
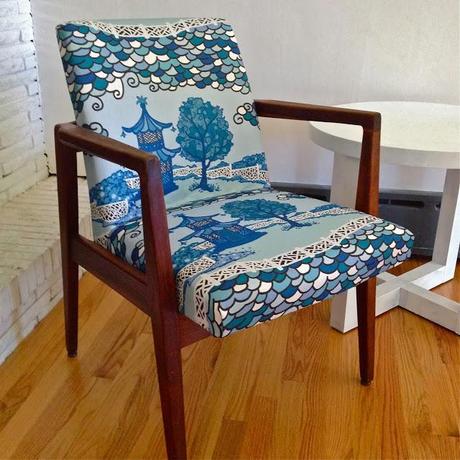 Boom, a slipholstered chair.
And I can take it off by simply pulling a few tacks