This may come as news to a lot of readers, as I don’t think I’ve mentioned it previously, but my mom and sister decided to welcome a new puppy in to their lives, a few weeks before Christmas.

His name is Billy and he’s a ‘Morkie’ (Maltese/Yorkshire Terrier-cross). Mum was asking about a temporary fence to cordon off the shared driveway. Because they live in rented accommodation as well, this needed to be a freestanding option.
I took some measurements, browsed around online and eventually came up with the following.
One Friday lunchtime following work, I stopped off at Avril’s Fencing to buy the following:
3 off x 1.8m long 3in x 3in tanalised sawn fence posts
1 0ff x 4.8m long 4in x 1in tanalised sawn
(this was cut to 2 off x 1.8m and 1 off x 1.2m to fit in my car)
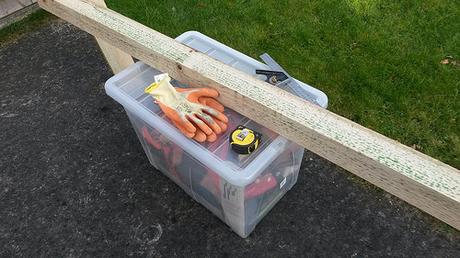
It was only about £17 worth including VAT. I already had the lower-priced deck screws from Wickes on hand and mom had ordered two 5m long rolls of wire fencing, each one about 500mm/20in tall.
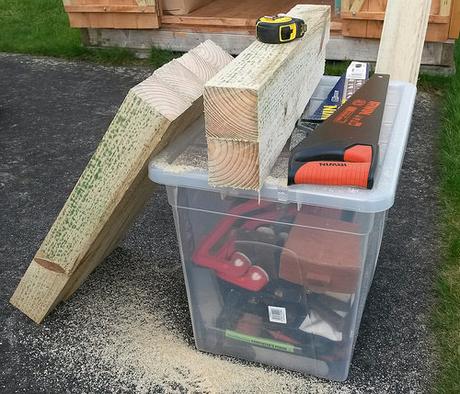
I had this idea to create a series of freestanding fence posts, 2ft (600mm) tall; each one between 1.8m and 2m away from the next. Cross-cutting these pieces to length was easy, using a resin-coated handsaw. Being an outdoor project, the cuts don’t necessarily need to be perfectly square, either.
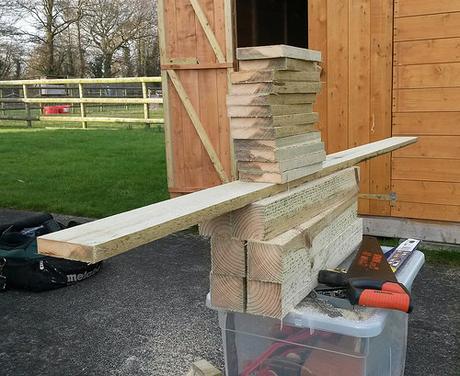
One of my plastic storage boxes [possibly the one I broke, by overloading it…] was on hand to act as a very low but makeshift sawing and stacking bench. I’m not a fan of working on the floor for where it can be avoided.
Behind that, you can see the shed I built around eighteen-months ago (more DIY work awaits on that).
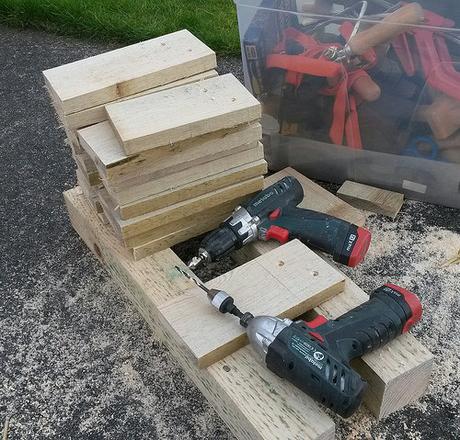
Each of the 4x1in (100mm x 25mm) pieces had been cut down to 9in (225mm) length. With another off-the-ground setup (more so, to protect my drill bits than anything else), I pre-drilled and countersunk two clearance holes (not pilot holes) in each piece.
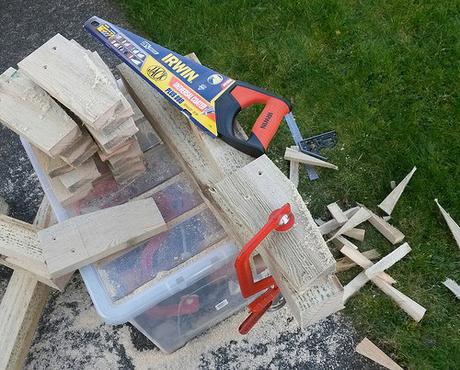
Before I would attach these and begin to create each of the five posts, I decided it would be good for the aesthetics to add a slight taper to the width of each foot. I used ‘The Thirds Rule’ to create this and, at first, tried to cut them with my 10.8v reciprocating saw… But, this wet wood was too much for my standard blades (you can buy specific blades for cutting wet or green wood).
It was out with the hand saw once more.
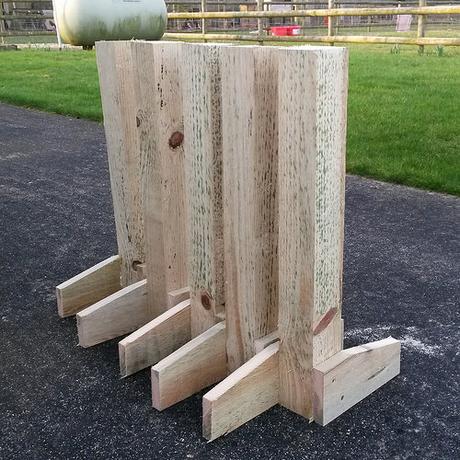
Here, you can see the posts assemble with only two feet fitted. I think my screws were 2½in (65mm) long. I might’ve settled for 2in screws but couldn’t see them on the shelves.
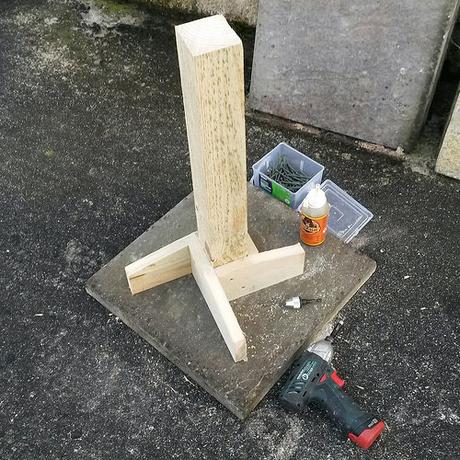
I used a spare flagstone as a “flat” reference for fitting the final two feet and levelling everything up (also, it again raised the work off the ground… Very slightly).
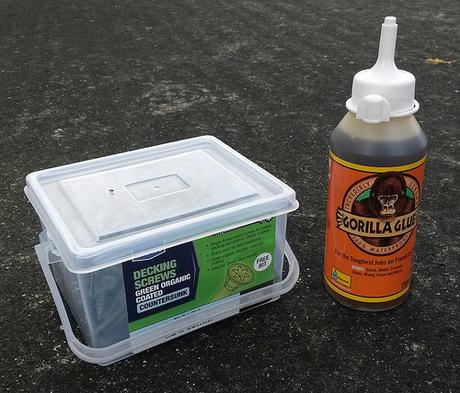
I did use Gorllia Glue to further reinforce the fixings. It’s probably not worth it at all (especially at £12 for a small bottle like this) but polyurethane adhesives are typically the best for exterior conditions.
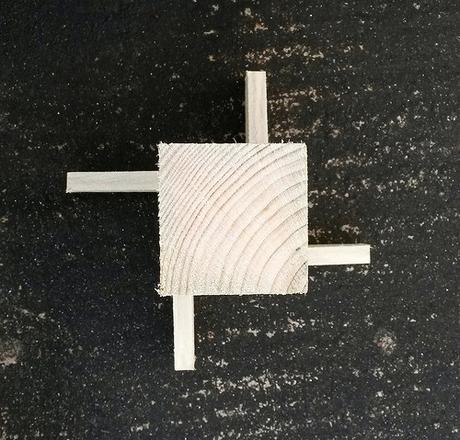
If this looks at all like a Swastika to you then, I promise; the resemblance is purely coincidental!
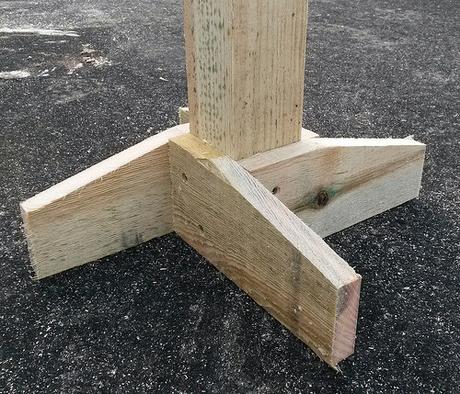
An alternative might’ve been to notch the posts so that the boards fit inside (think of a bridle joint) but that would’ve meant extra work. I’m pleased with how this turned out.
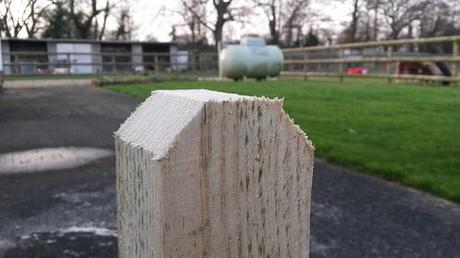
One final step before treating the exposed end-grain was to cut the corners off on the top of each post. I had hoped to be able to round them over (like a picket fence) but, as I’d already discovered, my reciprocating saw wasn’t up to the task.
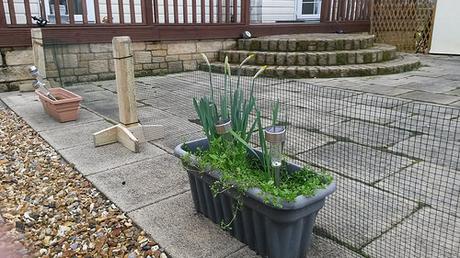
On the following day, I returned to attach the wire fence (you can find these for about £10 per 5m long roll) and I decided to do this using cable ties (they can easily be cut and removed), instead of screws and large washers that might rust (look unsightly and get chewed by a teething puppy…).
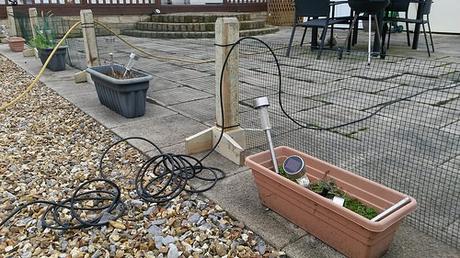
At one end, it’s cable tied to the decking; at the other end, it’s looped around the dividing fence between properties. I’ve been impressed by how sturdy it is – already, one (nameless) person has managed to trip over it and yet, it’s still standing…
For that reason, I’ve been giving some thought recently to adding something along the top that would improve its visibility… With that though, I’d also need to consider the chewability of any given material and whether it would enable a growing boy to clamber over.

Billy’s a bit perplexed but ultimately loves the freedom of being able to run around the patio unsupervised. One side of the annexe was fenced off with spare wire, while the other void has been filled with an expanding wooden fence.
I’m waiting for the day when I’m asked to install a similar fence around the rear of the property, where the garden meets the driveway.
Overall, I spent two hours only on the woodwork and maybe another ninety-minutes on the wire fencing, which was trimmed and notch to fit around and over the wooden feet of each post.
