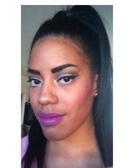
Hello Gorgeous! I’m sure by now you are fully aware that contouring is one of the biggest beauty trends right now and I will admit It took me a while to jump on the bandwagon because I was completely intimidated to even try contouring, I didn’t want to use the wrong shade or look a hot mess. But finally after watching a million makeup tutorials on YouTube I decided to give it a try and I am so glad that I did. However there are so many products and tools to use from that it can be a little overwhelming trying to find what products will work best for your skin type. So after a lot of trial and error on my part I think I finally got the hang of contouring. keep reading to see how you can create a natural contour.
how to create a natural contour
Tip #1: Place the product right in the hollow of your cheekbones.
Tip #2: Only contour where you need it. For example, cheekbones, forehead, jawline, nose, etc.
Tip #3: When you are contouring your cheekbones don’t forget to connect the contour to your hairline.
Tip #4: Blending is key to making your contour look natural.
Tip #5: Don’t be afraid to layer your contour. You can use a couple of shades to create the perfect cheekbone hallow.
Tip #6: If you’re using a powder product it should go on after you apply your finishing powder. If you’re using a cream product, it should go on after your foundation and before your finishing powder.
Tip #7: Use a product that’s appropriate for contouring. It’s best to pick a matte product with no orange undertones.
Here are some of the best contour products:
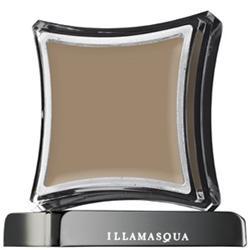
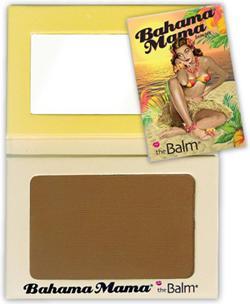
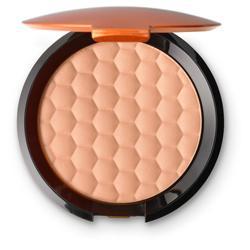
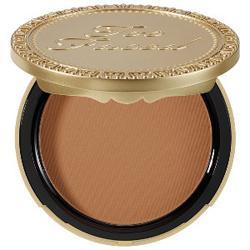
Do you contour your face on a daily basis or just for special occasions? Let me know in the comments.
Stay Connected!
Twitter | Facebook | Instagram | LinkedIn | Google +
Photo Source | Google Images, Cruelty Free Kitty
