I love BBQs. It’s just something that could bring everyone together, around the fire, and enjoy the love for food. To me, BBQs are perfect all year round. In the Summer, with a beer or cider in one hand, and a pair of tongs on the other. In Winter, it will act as a heater or a camp fire, keeping us warm and toasty! hehe
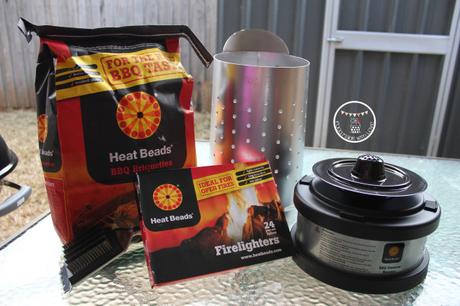
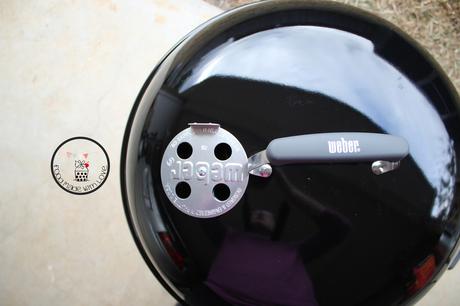
Setting up a BBQ can be tricky and time consuming, depending on the weather conditions. So when KeepLeft PR contacted me and asked if I would like to try the the Heat Beads® BBQ Chimney & Chimney Booster for a quick and easy BBQ experience, I couldn’t say no! I couldn’t be more thankful for the generosity of Heat Beads® as they didn’t only give me the Heat Beads® briquettes, firelighters, the Heat Beads® BBQ Chimney & Chimney Booster, they gave me my dream BBQ as well – The Weber! I was over the moon when the packages arrived!
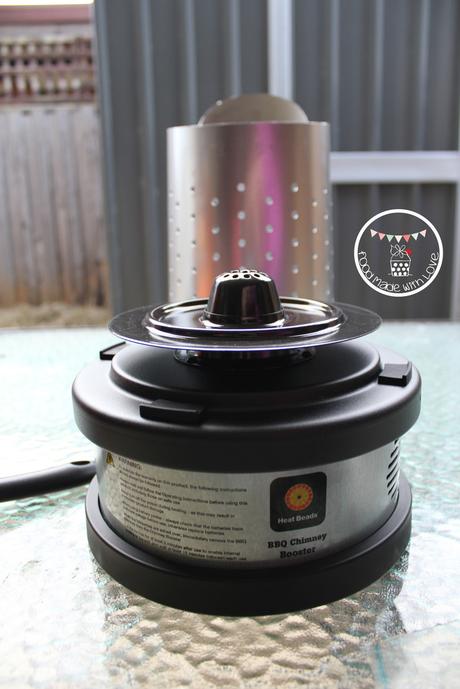
Instead of the usual hour or more taken to get the briquettes ready for some action, with the Heat Beads® BBQ Chimney & Chimney Booster, you can get your briquettes hot enough for the BBQ in 12 minutes (with a few minutes more if it’s cold and windy)! How amazing is that?? And it’s so easy to use as well! I was a little worried at first, as the Mr is in the USA doing a seminar tour. So I had no help, plus he’s always usually the one setting it up!

But trust me, it could all be done in a few quick steps!
Put the Heat Beads® briquettes in the Heat Beads® BBQ Chimney, place the Heat Beads® firelighters on the firelighter plate of the Heat Beads® Chimney Booster, light the firelighters using a match or gas lighter, place your Heat Beads® BBQ Chimney on top of the Chimney Booster and turn on the switch!
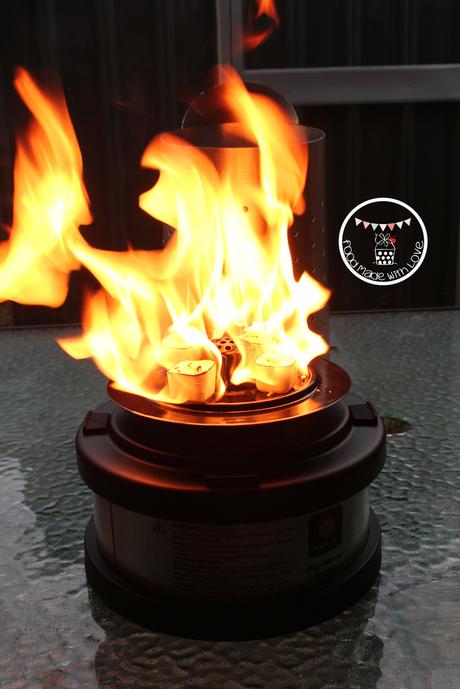
Now all you gotta do is wait for 12 minutes! I decided to put the Booster to the test, and BBQed on a super windy and cold night. It took 14 minutes for the briquettes to be hot enough to be placed in the BBQ. 14 minutes! AMAZING!
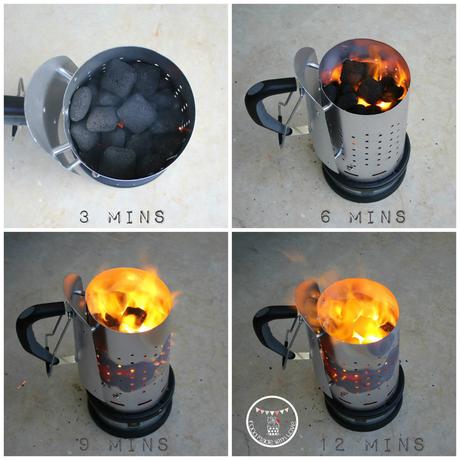
By the 12th minute, the briquettes were close to being ready. And how do you know when their ready? The briquettes become ash over, turning a light grey colour. That’s when it’s ready to be popped into your BBQ!
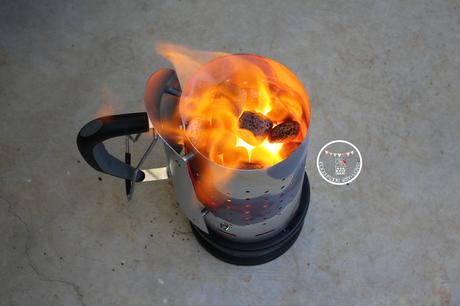
With the setting up time reduced to a mere 12-14 minutes, I’ve got more time to cook my meats now! I decided to do a comparison of cooking methods: low & slow vs quick & fast. Heat Beads® is perfect for both! The low & slow would be perfect for days when you have a little more time to spare. The quick & fast would be perfect for busy bees who are working, or have little time to get food time on the table. Trust me, cause now with bubba, all I have is under an hour to get our meals prepared and cooked! So what did I decide to cook? Smoked BBQ baby back ribs (low & slow) and Jamaican Jerk Smoked chicken wings (quick & fast)! Salivating yet? hehe I definitely was, smelling the aromas coming out of the Weber!
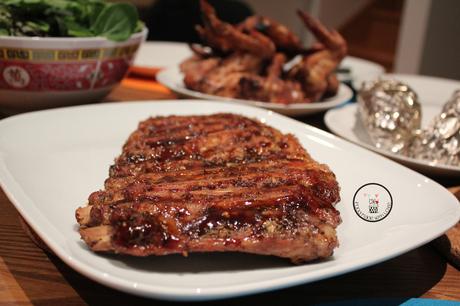
All done within 1 1/2 hours, inclusive of prep time! I thought it was pretty impressive, don’t you? You must be thinking, how can it be? Well, I used the 14 minutes taken for the briquettes to be ready to season my meats! A win-win situation if you asked me!
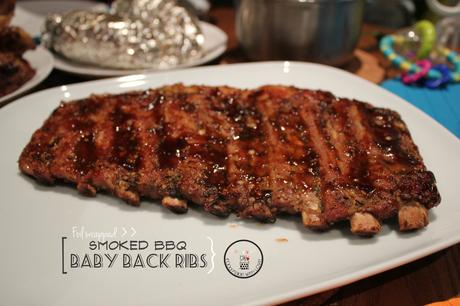
Smoked BBQ Baby Back Ribs (Recipe from Weber’s Time to Grill™ by Jamie Purviance)
Dry Rub :
1 tbs sea salt
2 tsp granulated garlic
2 tsp paprika
2 tsp dried thyme
1/2 tsp freshly ground black pepper
1 racks of baby back ribs, about 1kg
1/2 cup BBQ sauce
Handful of Hickory Wood Chips
Steps :
1) Soak your wood chips in water for at least 30 mins and drain. Set aside.
2) In a small bowl, mix the ingredients for the dry rub together. Remove the membrane of the ribs and cut them into half to create two smaller racks.
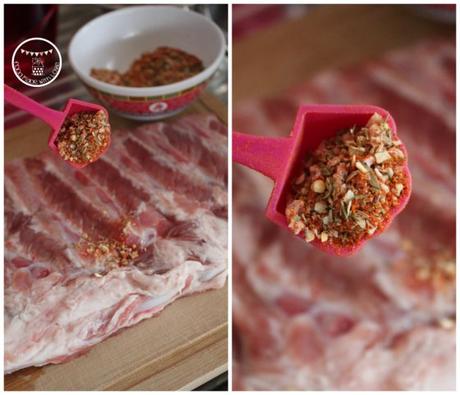
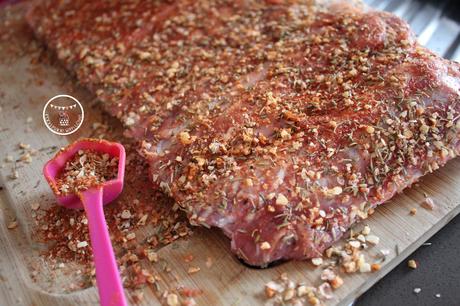
3) Season each rack evenly with the dry rub and place the ribs on a piece of foil, wrapping them up well. Double wrap them, making sure there are no holes.
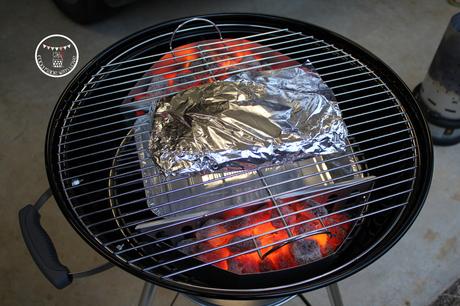
4) Place the packet of ribs on the clean grill and cook for 1 hour, with the lid closed, and turning the packets occasionally, making sure not to pierce the foil. At this point, you could go do other things! Go hang the laundry and just put your feet up and have a cuppa (:
5) Remove the packets from the grill and let rest for about 10 mins. Carefully open the packets, remove the ribs and discard the rendered fat and oil.
6) Place the wood chips onto the charcoal and a a tray of water under the grill. Close the lid and when the wood chips start to smoke, return the ribs onto the grill (above the water) bone side down. Grill and smoke, the the lid closed, for about 10-12 minutes, basting with the bbq sauce, until they are sizzling and lightly charred. Remove from grill and let it rest for 5 minutes before serving with the remaining bbq sauce.
Jamaican Jerk Smoked Chicken Wings
2 tsp Jamaican Jerk Rub (For a quick marinade, I used the one from The Spice Mill)
2 tsp sea salt flakes
10-12 chicken wings
Steps :
1) Marinade the chicken wings with the Jamaican Jerk spice rub and sea salt and allow it to marinade while the ribs are cooking on the grill.
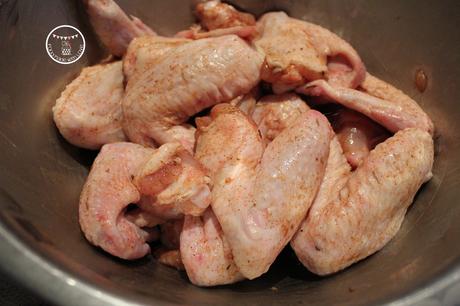
2) When the ribs are 10 minutes from getting done, I put the chicken wings on the grill and turned it occasionally to make sure it doesn’t burn.
3) When the ribs are smoking, leave the chicken wings on the grill to be smoked as well (for the same 10-12 minutes). It brings the chicken wings to a whole new level of deliciousness! Golden brown and lightly charred. PERFECT!
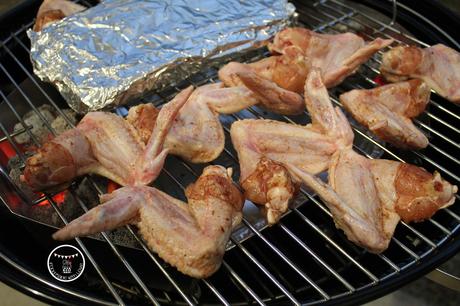
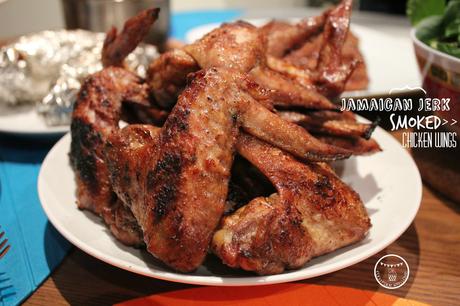
Have them with some baked sweet potatoes (you can throw them on the grill when you start cooking your ribs) and a side of salad! Dinner is served! (:
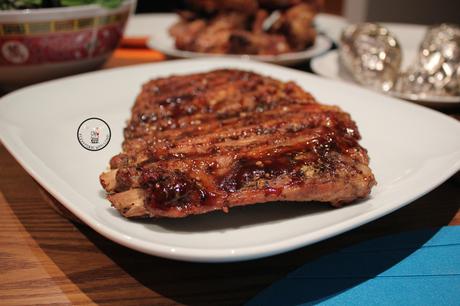
My parents and I were really impressed by how delicious the ribs and wings were! I had so much fun trying out the Heat Beads® BBQ Chimney & Chimney booster and couldn’t be happier with how the meats turned out. I’m sure by now you’re wondering where to get the Heat Beads® BBQ Chimney & Chimney Booster from? Or you want to read more about the Heat Beads® products? Do pop over to Heat Beads® to find out more!
Have a great weekend ahead and always remember to cook and bake with love!
Disclaimer : Lianne@Food Made With Love received the Weber BBQ & Heat Beads® products as a gift from Heat Beads® & KeepLeft PR. Thank you so much for this fantastic opportunity!
