This is the concluding part to all the repair work I’ve been carrying out in the bathroom. I still have to repaint a couple of strips on the walls beside the tiles but you won’t need me to show you that (I’ve done enough brush-work on this blog for one year).
It came to an end on the afternoon of Christmas Eve, no less and I took my very first shower in the ‘refurbished’ unit almost 24 hours later. A couple of showers after that and it’s still looking alright.
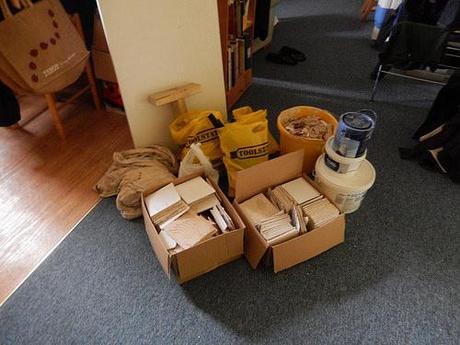
After Part 3, I was feeling quite stressed about living with all this waste; just waiting for the perfect moment to take it all the to the tip, once the repair was totally complete… So, instead of waiting any longer, I bundled everything I had in to the back of my car and took it to the tip. It was quite sad to learn that they don’t provide a means of recycling ceramic tiles. I hate the fact that we can manufacture things that cannot be recycled will not be recycled purely because it’s not financially viable!
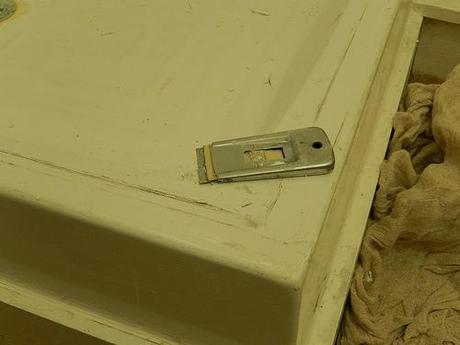
First step: scrape off as much as you can.
I don’t appear to have taken any photos of the grouting process. So, instead, I’ll simply inform you that I used a sponge (to protect my finger) to ensure a good quantity of grout was packed down inside each join and I basically repeated this process until each joint was full, before later wiping away the excess. Having watched a few videos on YouTube, I wouldn’t personally rely on a spreader for doing anything more than what its name suggests. It will not, from what I’ve learned, pack the grout in sufficiently deep enough.
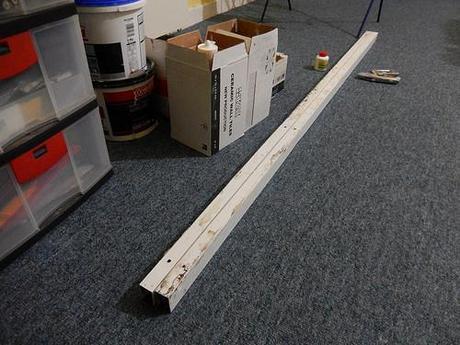
With the grouting complete and fully cured, I could almost look at finally reinstalling the unit – but not before cleaning everything to remove all traces of the old silicone (not to mention the grime that also accompanied the lower edges of the side panels).
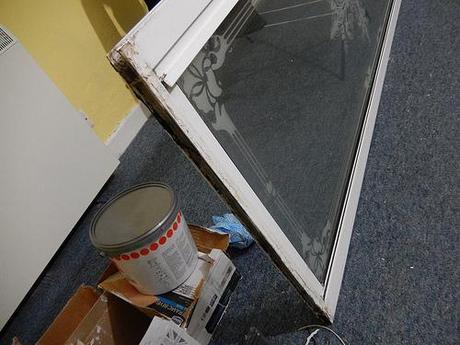
Always wear gloves!
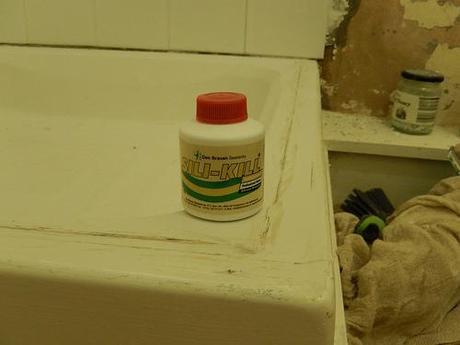
Thanks to a recommendation from a subscriber on YouTube, I purchased an affordable silicone remover to clean off the final dregs (after scraping) and it worked very well indeed.
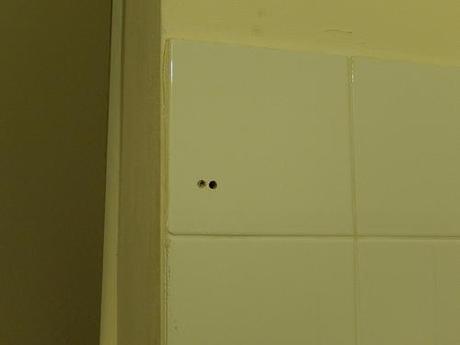
When it came to the re-installation of the side units, I was fortunate that I had not remove every row of tiles on either wall as the tiles in each of the top outer corners were already pre-drilled for me to insert my first fixing.
The only question: Left or Right?
From what I discovered later; fitting the panels to this particular situation, where the tray isn’t square to both walls, would’ve been a major headache for me.
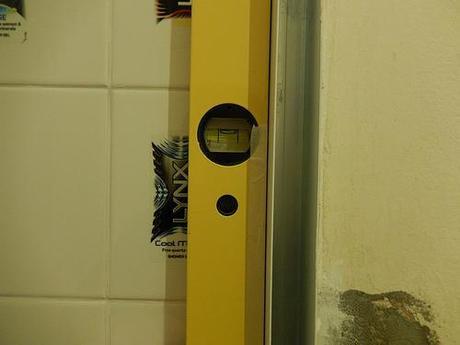
Working in reverse to how I had dismantled the shower, I was soon able to get it back together without much bother.

As I re-aligned the pilot holes in the door frame with the corresponding channel, I realised that it wasn’t previously pushed all the way back in. Doing so now would’ve meant that the left-hand side would’ve been far too close to the inner edge of the tray.
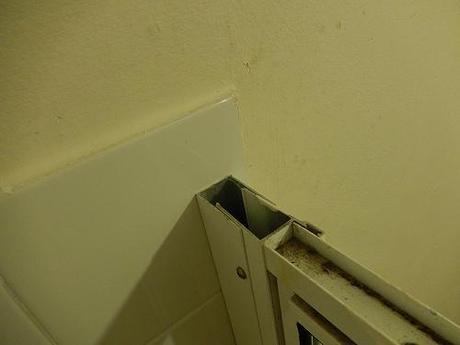
On both of the channel sections, I noticed that one of the previous holes was aligned perfectly with a horizontal join between tiles… I can’t see in any sense in drilling through grout anywhere and so I re-drilled each hole.
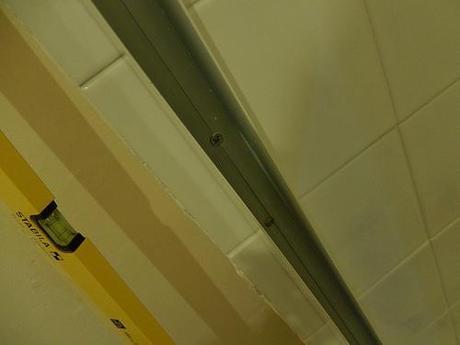
Perhaps my biggest concern at this stage is that one or more tiles could crack. This is not something I’ve experienced personally before and I’m pleased to say that my record remains untarnished. A strip of masking tape and the use of a masonry bit on slow speed (hammer action turned off); I don’t see why I should have to buy a specialised set of tile drills.
As I fixed each channel piece to the walls, I noticed they weren’t resting firmly on the top of the tray and I later learned that this is intentional, to allow any dripping moisture, inside the channel, to drain away. Later on, you’re supposed to seal (silicone) the outer edges of the shower but not the inner, so that this water can eventually reach the drain.
Remember what I said about the base being out of square to the walls?
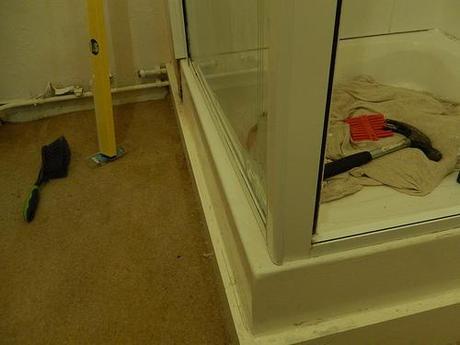
As I understand things, the actual fault lies in the fact that the tiles on the solid wall do not overhang the shower tray. This results in a rather oblivious gap, which would be futile to try and attempt to fill with silicone. I’d spotted this sooner but it hadn’t occurred to me that it might be a serious problem.
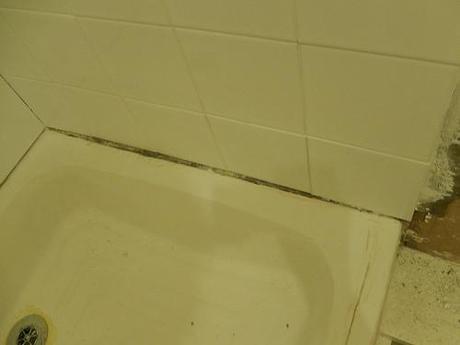
Of course, on the other wall, there’s a sheet of 12mm board overhanging the shower tray, meaning that the shower’s a good ½in out of square after installation (just like it was when I moved in). Adding a 12mm sheet to the solid wall would’ve been the simplest way to have avoided this from the very start.
Short of removing each the first layer of tiles, I was uncertain of what to do for a few hours…
Should I remove those tiles, install an upstand and tile over it again?
If I was to install an upstand, how would I account for the fact that this is tiled before the shower’s installed?
I could add an extra layer of tiles but the extra 6mm would still only be half as much as I would require.
Am I really going to have to clear one wall, get someone in to move the shower unit and fix a sheet of Aquapanel before tiling for a third time??
This is never going to be finished in time for Christmas.
I decided that I’d already done enough work and that I had only agreed to repair these walls in the beginning. So, after another late evening trip to a DIY store, I came away with two lengths of PVC trim:
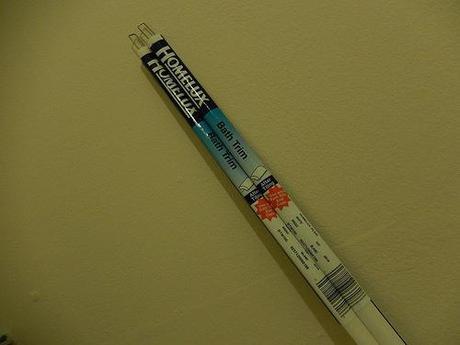
This product is designed to go around baths (after tiling). The lower edge is self-adhesive and it’s recommended that you seal both top and bottom edges with silicone after installation.
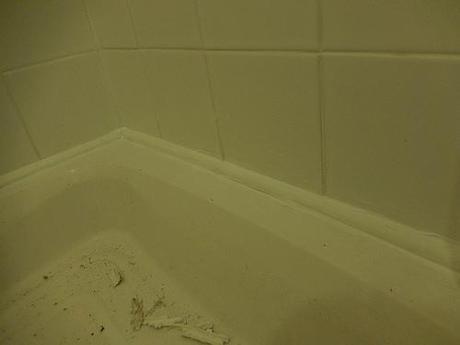
I bought two lengths with the intention of sealing all four sides of the shower (at least it would look even) but, looking more closely at the interior, I realised that it would’ve been tricky to get a half-decent seal as neither the door or side panels are lined with straight, clean surfaces.
So, I made that one mitre joint in the tiled corner and butted the other two ends up square. I appreciate that this is not going to be the most waterproof joint possible but I like to believe it’s slightly stronger than what was there before.
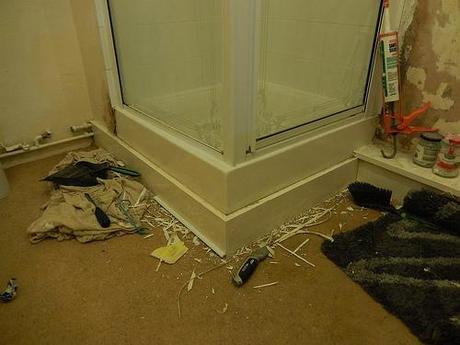
That second length I bought didn’t go to waste as I decided I would also trim the wooden plinth surround of the shower tray which was otherwise a plain square edges (the perfect water trap).
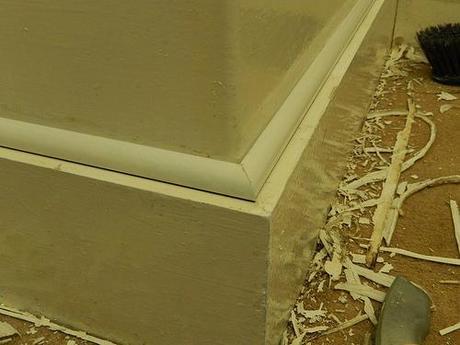
Tidy mitre before siliconing!
All the mitres were cut with a junior hacksaw, although I larger saw would’ve made quicker work of it. As a guide, I used a scrap of aluminum angle from work with opposing 45° mitres cut on each end. I’m very pleased with how well these ‘hand cut’ mitres turned out!
I know I have a finished photo but I think it lies inside my camera (not the SD card), which is currently on charge. I’ll probably also find some photos of the grouting there as well but I’m pleased to say that this job is done, I’ve learned a lot and, in a different situation, I would certainly do a couple of things slightly differently next time. However, I shall not be taking up a new occupation as a full-time tiler!
Thanks for reading. There are a few individuals I’d like to thank for their behind-the-scenes support with this and I’ll do that in a separate post, with links to their websites and channels as well.
