This post has been coming for too long. I’ve been delaying and postponing in in the hope I’d be able to write it as a conclusion to this DIY project… Right now, it looks as though I’d be doing very well to condense the grand finale in to fourth instalment!
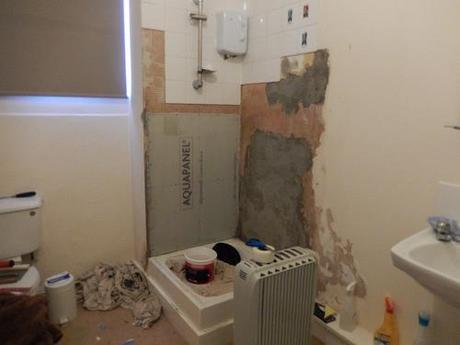
Sometimes, we have to stop trying to be perfectionists. Now, remember that sentence and read on…
This is taking me a lot longer than I’d anticipated and we’re only a week away from the one-month anniversary of Part 2! But while I’m working full-time, lacking energy in the cold evenings and trying to do many things over the course of a weekend; you have to consider the drying times, which are also going to be affected by the climate this close to Christmas [apologies for mentioning that word].
I allowed a full two-weeks for that fresh coat of render to dry before coating both walls (once the Aquapanel was installed) with a waterproofing primer.
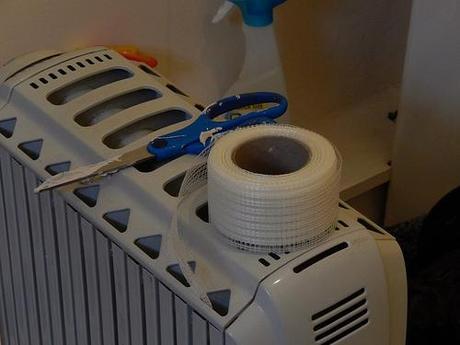
On one of the shelves in Wickes, they had this roll of ‘Aquapanel tape’, which is a non-self-adhesive alkaline-resistant mesh-based product, which you embed in to the cement adhesive to seal the joints around the panels.
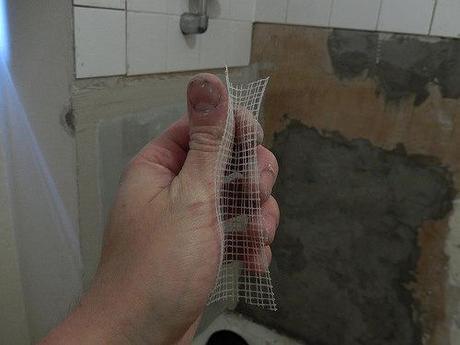
This is really easy to do and, even without an adhesive backing, it was easy to fold a length down the center and bed it in to the corner – I’m not certain it was necessary to do this, given that the other wall is solid but I don’t see how it could do any harm.
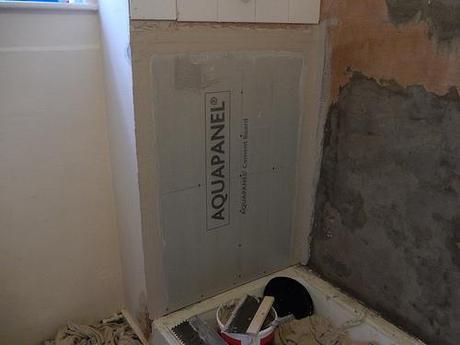
With those expansion gaps and the joints all filled in, I left it for 24 hours to dry before my first attempt at tiling… I think I have, just this morning, completed my third effort add sticking squares on the wall!
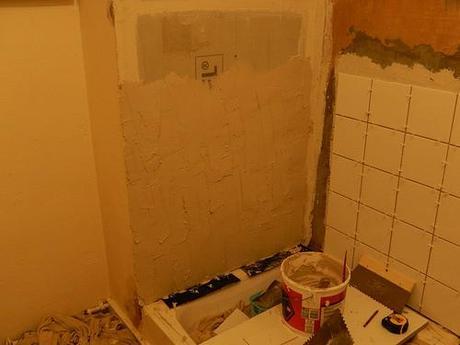
It started very well. I was half-expecting the tiles to move about and maybe even fall off at some point but no, this adhesive appears to grab fast – as I discovered soon after on the left-hand wall, once I realised I’d forgotten to spread the adhesive after the initial application!
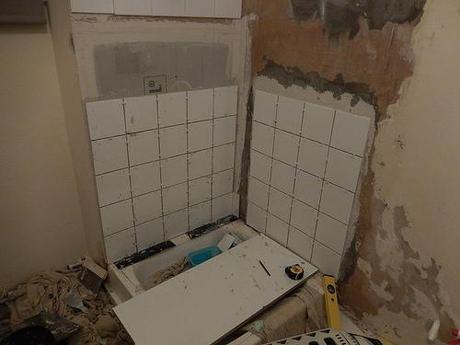
While that may also look good right now, I hit a bit of a roadblock a couple of rows up and on the right hand side:
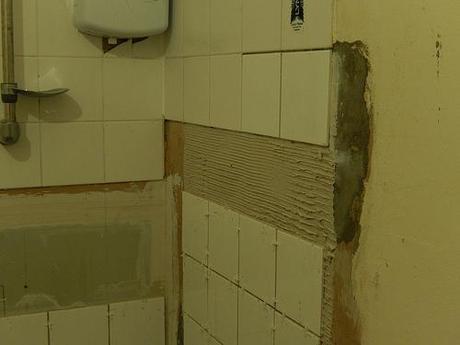
Even with a 3mm grout line both above and below the final row, there would have been an extra 7mm of nothingness sitting below the existing line. This is partly because the 150mm square tiles from Wickes are actually less than that and I chose to ignore the word “Nominal” stamped on the sides of each box. They were either 148mm or 149mm and I was aware of this before I began. I ever marked out the spacings roughly on the wall before beginning and it looked as though it was all going to fit perfectly… But, clearly, it didn’t and it wasn’t going to.
Losing 1mm over a height of 7 tiles, when the existing ones were the right size does explain this discrepancy – although, I’ll go in to tile sizes in a separate post altogether.
Quite often, I do this. I will be fully aware of a potential problem but choose to ignore it and not to say anything, in some insane hope or even belief that… I don’t know! Will it work itself out? Might it not matter in the end? I’ve been accused in the past of ‘not being aware of things‘ and that has always irritated me because I do notice things and, quite often, well before anyone else… I make a choice not to act.
Later that evening, however, I concocted a plan and rushed back to Wickes yesterday afternoon:
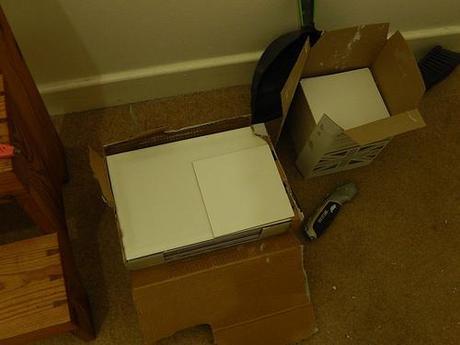
If I found a larger tile, I snap them in half and then scribe them to fit! No-one would ever really notice!
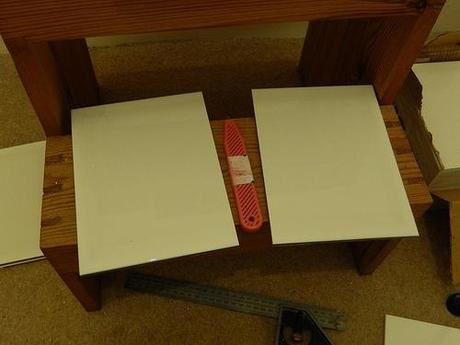
There wasn’t quite a 200mm x 150mm tile and so I bought a box of 300mm x 200mm at just under £15. They snapped easily enough with my budget-friendly tool.
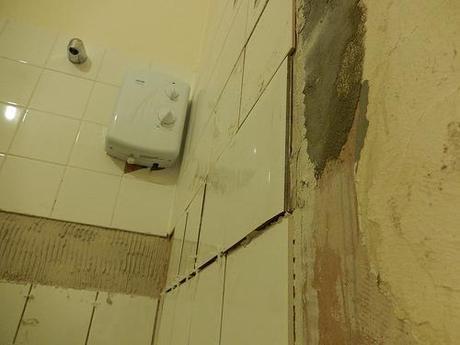
But, up on the wall, they looked like absolute shit!!
I’d failed to notice, in-store, that these bevelled-edge tiles had a considerable bevelled-edge down all four edges. So, where I was willing to believe they were the same thickness as the others I’d been using, this was only the case on the extreme edge of each bevel.
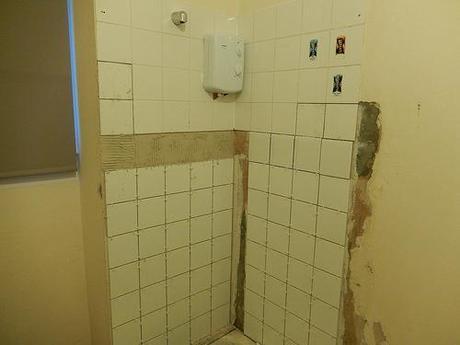
That reminds me of a film set it an Egyptian tomb – push on the exposed tiles and if the wall doesn’t rotate, you’ll either fall to your death or find spikes closing in from every direction!
This was only yesterday and, having wasted an afternoon (not to mention the extra fuel and money), I decided that I would start again; ripping the whole lot off before beginning a search for the ‘perfectly-sized’ 150mm square tile.
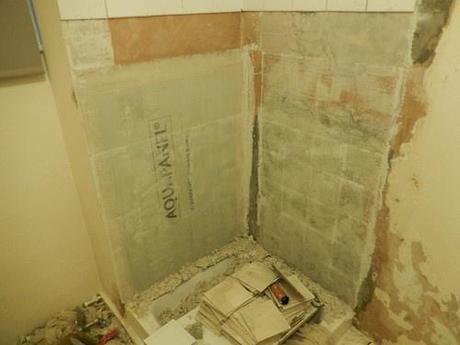
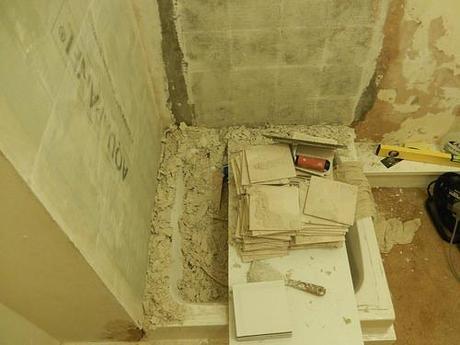
With most of the adhesive also removed, I walked away from it all for a few hours. I didn’t even attempt to clear this fresh mess until first thing this morning.
Last night, I took a trip to B&Q to see what they might have to offer. I inexplicably forgot to take my tape measure and so purchased two new boxes of 150mmm tiles on impulse, filled with lots and lots of hope!
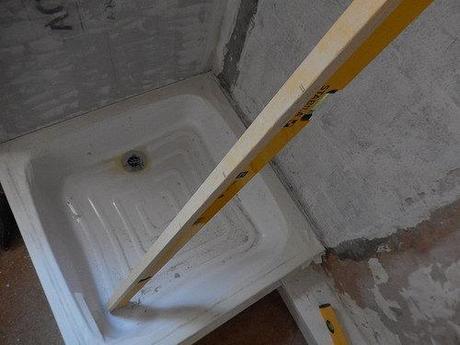
Once the I’d cleaned up ready to create more chaos; for the very first time in this project, I made a reliable story stick (maybe tilers call this something else?) by covering an edge of my spirit level with masking tape and measuring out my new tiles, which this time happened to be 151mm square!
Using a 2mm grout line, it looked as though this was going to work our perfectly on the solid wall. Again, with the 3mm clearance beneath the bottom row.
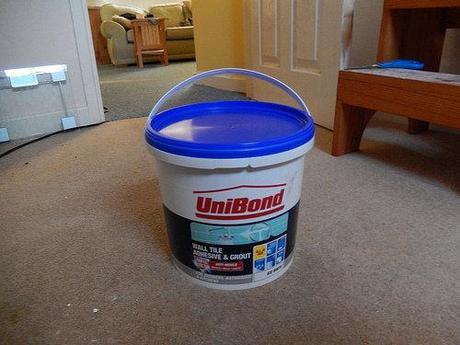
I also bought some fresh tile adhesive, as the first tub was practically empty. This was £10 dearer than I’d expected as the labels on B&Q’s shelves lack clarity (it took me 3 minutes to find a price for the tiles). I can read what it says on the tub but I’m not even taking it with a pinch of salt. 2 in 1 isn’t always the best way to go and I’d heard lots of negatives about using this stuff for grouting. It’ll hold stuff on the wall just find for me. My grout resides elsewhere and is probably feeling quite lonely by now.
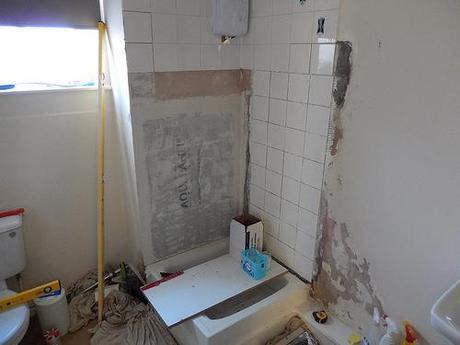
I think it took about an hour to get the first wall complete, from the moment I first started to apply the adhesive.
But I wonder how many of you could spot what I’m about to reveal???
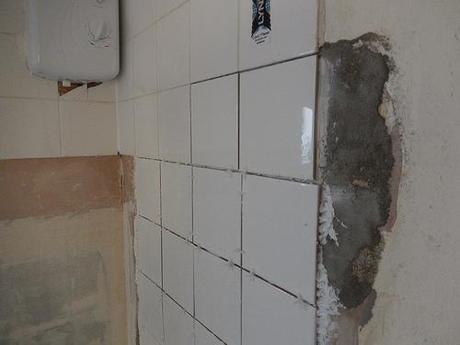
I’m very grateful if you said you couldn’t see it as it’s staying this way for now. I don’t have enough adhesive, tiles or time leading up to Christmas to warrant ripping them all off again. Honestly, if you think this is bad, you should take a virtual tour around my kitchen!
I basically worked from the wrong line. Straight away, I drew two plumb lines down – one on the left of this wall and one on the right. Rushing ahead, I wrongly decided to work from the inside-out…
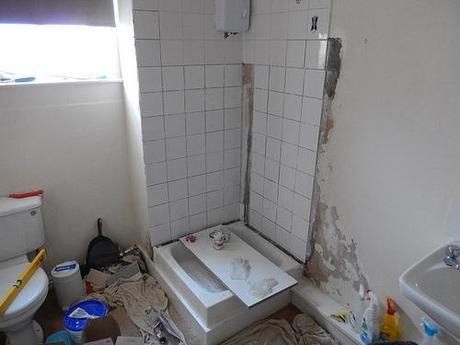
Using a 2mm spacing between tiles (smaller than my first attempt) it worked out quite well on both walls and I was soon able to sit back and tuck in to my late lunch.
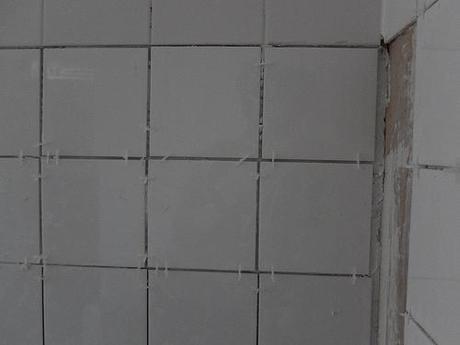
There is an inevitable discrepancy where these 151mm tiles attempt to meet up with the old 150mm tiles and, for the final two ‘filler rows’, I did increase the top and bottom spacings to 3mm to even things out. But, this is only a repair job. As someone rightly said to me before I started; it would’ve been easier (and neater) had I just ripped every tile off and started from fresh. You have to look quite carefully at the photo above to see it.
Tomorrow morning, I’ll be scribing and filling in the left-hand edge on the right-hand wall and I also intend to replace the badly cracked tile that’s almost underneath the shower unit.
Before I go; a quick note on my using of tile spacers:
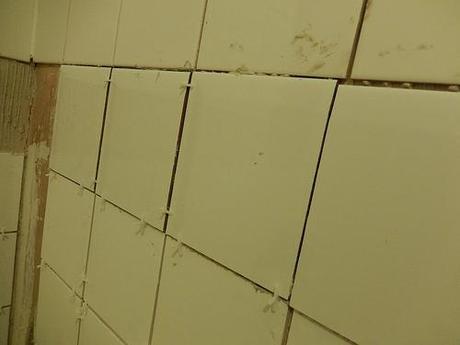
Rest assured – this is a photo from Thursday night’s suffering!
You might have noticed that it is, perhaps, unconventional. Right or wrong, I dislike the idea of leaving this spacers inside each joint. My thinking is that, if a piece of plastic is in there then there’s less room for the grouting, which might result in a weaker joint. I can be a real penny-pincher but I don’t intend to save all of these crosses or anything! If I was doing this on a regular basis, I’d invest in those larger tile spacers that do fit in the corners but can then also be easily removed.
Thanks for reading. Here’s to hoping I’ll have this done in time for Christmas! Cold weather is certainly taking its toll on the adhesive drying times, even with a heater running intermittently.
