Taking care of your own home repairs can be a welcome proposal but at the same time, it’s very hard to escape from the mess you’re constantly living in (at least, until the job is done). That’s why I try to end each day (however short the actual session of work may’ve been) with a reasonable tidy up. In a bathroom situation like mine, you don’t want to be running for the loo at 3am only to stumble over an upended trowel…
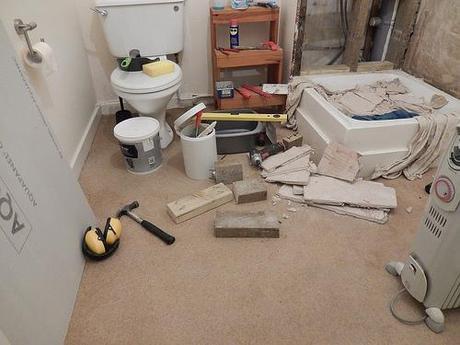
Continuing on from the end of Part 1 then…
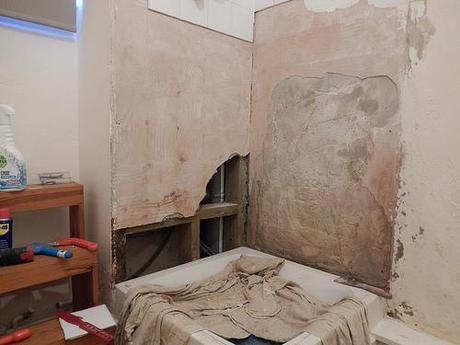
This was just over a week ago and before I could press on much further, I knew I’d have to go out and buy some more materials. Thus far, I’d only purchased a tub of tile adhesive, grout and silicone – yet I was a long way off from using any of those!
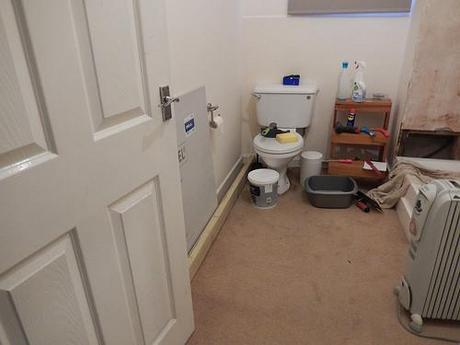
One evening after work, I popped out before returning with a tub of ready-mixed plaster, a length of tanalised softwood, a sheet to replace the damaged plasterboard and probably a couple of other bits you may not be able to see in the photo above.
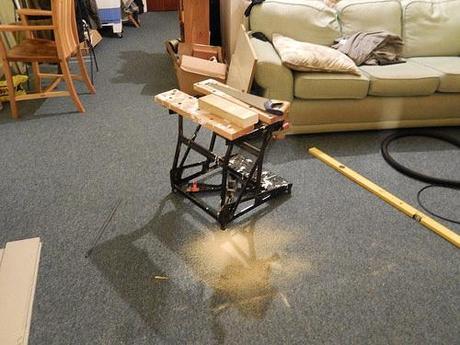
My kind of DIY!
Having worked with only MDF, paint and plaster here and during the summer months, I was delighted to have a proper length of solid wood to work with (albeit relatively cheap and low in quality).
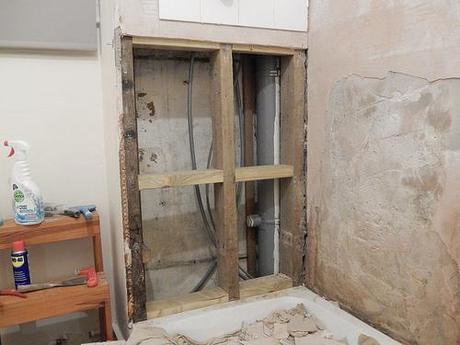
I bought this length to reinforce the hollow wall with a series of extra noggings, as you don’t want any flex or movement in a wall that’s been tiled and from my own opinion, what was already there was not sufficient, given a lack of horizontal support for the bottom 6in-8in of the plasterboard sheet (in any case, I needed to reinforce the join between the old and new sheets). All of the existing timber was sound, dry and rot-free, I might add.
This meant a lot light (but noisy) work with the impact driver; firing long screws through and in to the studs in a pocket-hole fashion. Typically, you’d find stud walls are fitted with noggins offset or staggered over a centreline (one above, one below and so on) but I didn’t want to nail these in for fear of disturbing the tiles above. I also vacuumed out all the long-standing crap from inside this cavity.
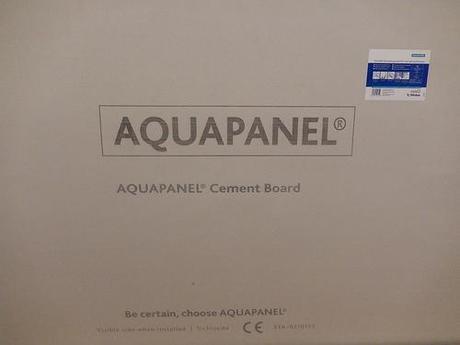
To cover this fresh void, I’ve gone for a cement-based alternative to plasterboard sold in the UK under one brand-name of Aquapanel. Neither plaster or gypsum are renown for having water-resistant properties… Even if it’s still commonly used in bathrooms today. Cement boards have a thin reinforcing mesh on each face.
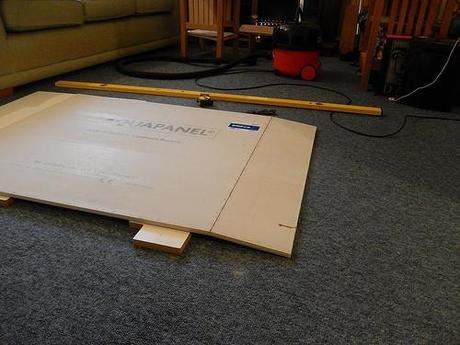
While the manufacturer’s claim that you can cut and snap them as easily and cleanly as plasterboard, my own findings were a little different, as that mesh stripped the edge from my (cheap) Stanley blade and it I had to score the sheet about 8 times (per cut) before it could be flipped over and snapped.
With that cut to size, I offered it in to position and used it as a template to cut through the old plasterboard and remove the waste below the line.
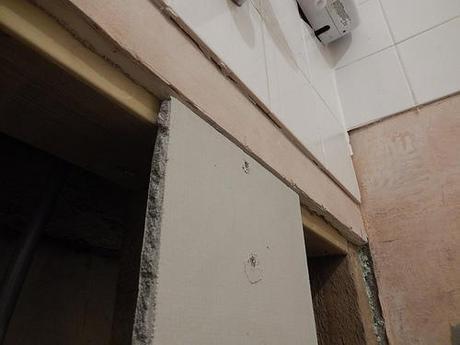
What I also found was that my new sheet was sitting a couple of millimetres behind the line of the remained wall above and this was simply because the plasterboard had been skim coated. Aquapanel is highly recommended as a backer board for tiling. But if you’re going to skim over it, you may as well just use drywall and cross your fingers tightly!
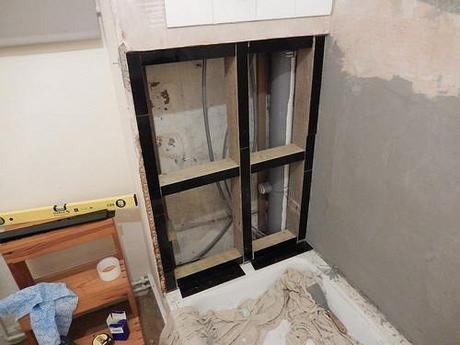
Shim it, don’t skim it.
To overcome this, my solution was to cover the front edges of the timber framework with a series of shims (scraps of 2mm plastic rescued from the bin at work) and then the panel was screwed through on top. You can of course buy plastic packers but I wanted full lengths for maximum support without deflection. If I had access to a workshop, I’d have probably bandsawn some thin strips of wood.
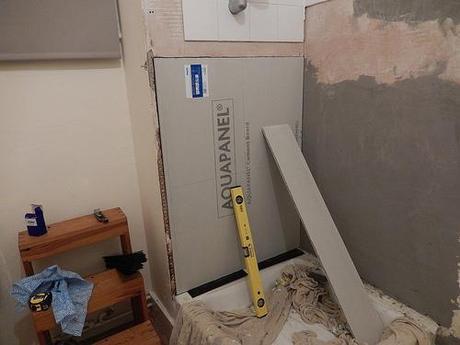
I fixed the board on with stainless steel wood screws, as drywall screws, in my opinion, aren’t coated adequately for use in such a wet environment. You can buy corrosion-resistant fixings specifically for Aquapanel but I could only find packs of quantities far greater than I required (not to mention the expense for this small repair job).
Before any of that though, I filled in some of the gaps around the edges with expanding foam (making a right old mess in the process). It may not have been necessary but I thought it would tidy things up a little.
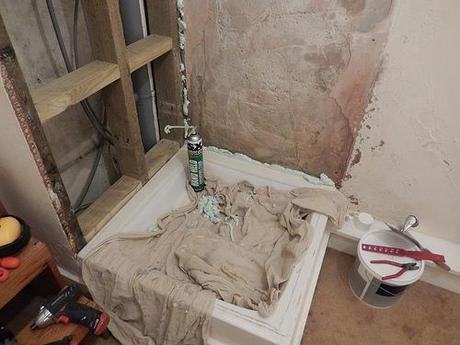
Now, I made a couple of mistakes on Wednesday night…
One you won’t be able to see is that I broke my camera. I had it sent on a tripod, capturing this work as it progressed and, somehow, all in the flash of a moment, I manage to upend it, sending the camera (with its lens fully open) down towards the floor where it connected firmly with a sheet of melamine-faced MDF. I’ve been left with a permanent “Lens Error” message and a constant failure of the lens in its attempts to retract. This is already my second camera of 2014 and I doubt my in-date warranty will cover it. It’s been sent back to Nikon and I await to hear from them on the cost of repairs/lens replacement [lesson learned from my last camera – I will not be attempting a camera lens replacement again!]
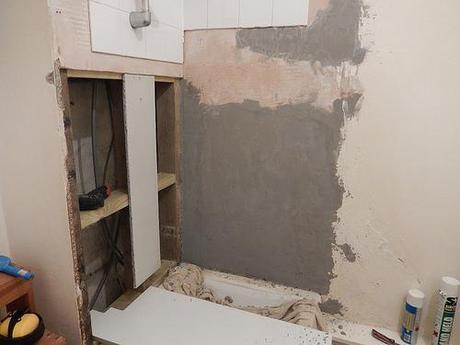
Now, return to the photo just above the last paragraph and you’ll see that I’ve plastered over the other wall…
Taking everything in to account that I said about cement-based panelling, how do you now feel about the repair you can see above?
Last night, I was reading the reverse of the 6lt tub for some advice on drying and curing times so that I could begin to estimate a date for the next stages of waterproofing and then tiling… That’s when I noticed the print stating that it should not be used behind a shower or bath and then, suddenly, I remembered the advice I was give a fortnight ago; to use a sand and cement-based render!
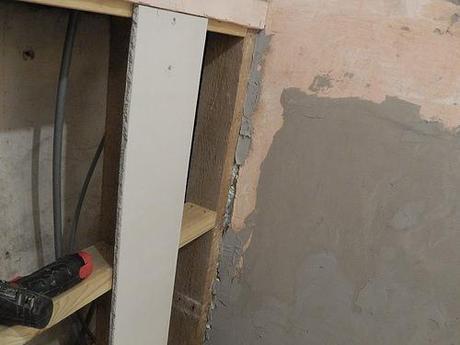
Well, if we don’t make these mistakes then we don’t always learn!
I’ve been out today to collect a (smaller) tub of cement render and I’m sat here writing this now so that I can continue to avoid chipping the fresh plaster away! I’m hoping I can get the majority off with my scraper (it hasn’t bonded too well in many places) and without the risk of further damage. I must have the best part of 4lt left and it’s supposed to be good to use for 12 months. I may be able to apply it in the bedroom, where I did notice some hollow-sounding stuff in one corner when I was painting there/
They say that things like this commonly happens in threes…
First, my camera broke. Next, I became aware of the plaster issue and thirdly, I’m having to push-down extra hard on the left button of my mouse. Let’s hope that’s all for the rest of November!
But the quality of my final photos is likely to descend greatly, not that I’m having to revert to using my smart phone. But I’ll keep you posted, all the same.
Thanks for reading.
