For the past two months, everyone in the Asian food blogging world seems to be baking ji dan gao and five thousand dollar bread. I wanted to bake these cakes and breads too but was busy baking orange bakes for Little Thumbs Up (Orange) and Cook like a Star and then went away for my Singapore holidays.
Oh well... It is better late than never. I have decided to bake ji dan gao first and these are my two variations...
One: zebra ji dan gao inspired by Esther (Copycake Kitchen) and May (Mayck-Law)
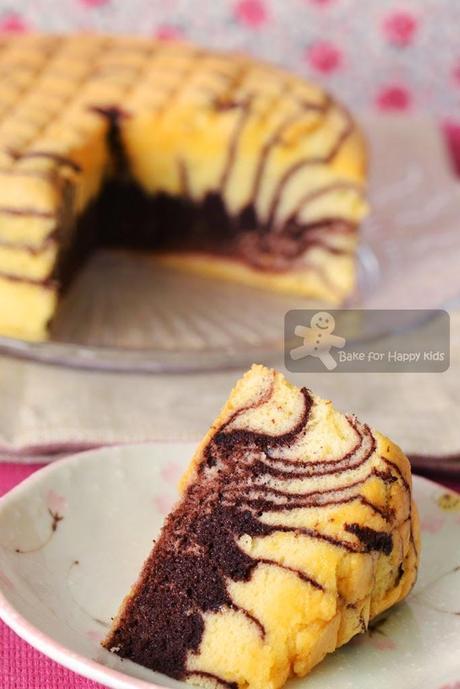
烤鸡蛋糕 / baked ji dan gao with zebra strips
Two: chocolate ji dan gao. My son loves this nice and soft chocolate cake and have been asking me to bake more...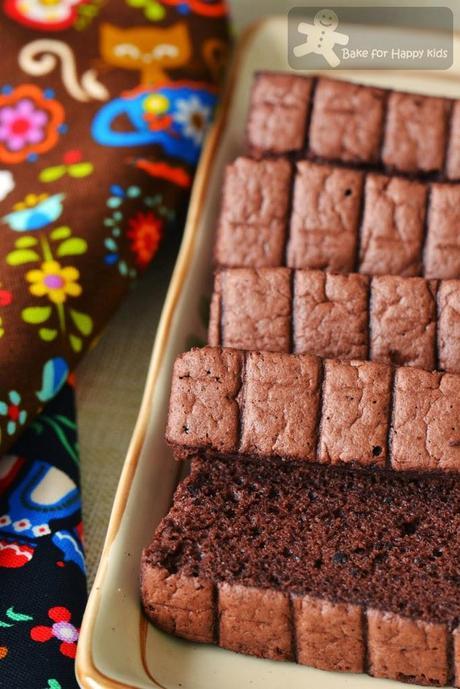
chocolate 烤鸡蛋糕 / baked ji dan gao
鸡蛋糕? Or ji dan gao? What is that? If you copy these Chinese characters and do a Google translate, you will see that it means chicken cake! - LOL!
Chicken cake? Nay! I promise that there is no chicken harmed in these bakes. Mainly, these cakes contain just eggs, flour, sugar and oil. It is a pretty basic sponge cake but amazingly good with soft and fluffy texture. Personally, I think this recipe is brilliant! It is easy to bake and the cake texture is more stable than xiang si. Texture-wise, I think it is much more better than xiang si cake with an extra hint of QQ-ness (meaning bounciness). On the other hand and also on the safe side, I like to emphasize that this opinion is purely accordingly to how I feel and can be subjected to each individual's preference.
Accordingly to Anncoo Journal, this recipe is originally used to make old fashion steamed cakes. Baking enthusiasts have changed this recipe by baking it instead creating a baking trend in Facebook and subsequently, the blogging world too. Besides Ann, Esther and May, Eileen, Jeannie and Jozelyn are my baking friends that have baked this recipe too. Do hop over to their blogs to check different variations of ji dan gao.And this is how I baked mine...
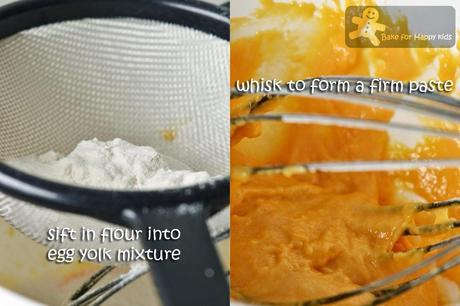
First, I whisked the egg yolk-flour mixture.
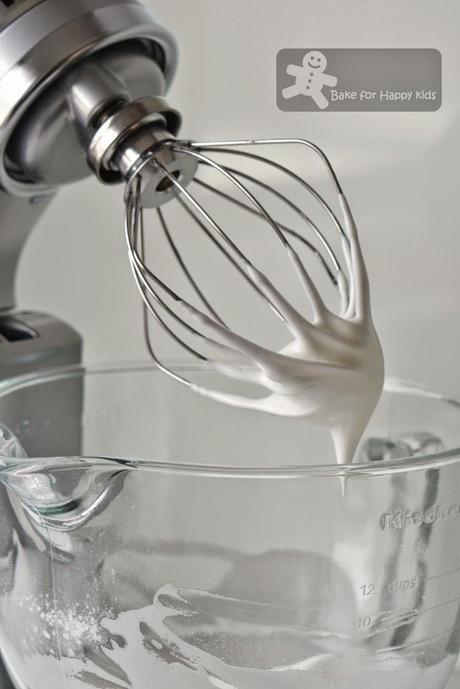
Then, I beat the egg whites to stiff peaks.
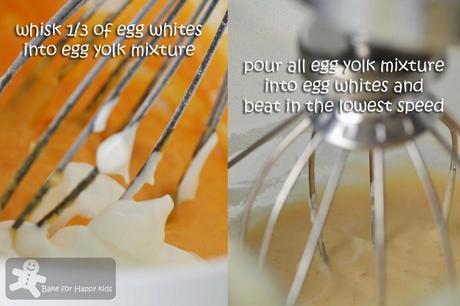
Combine both mixture together...
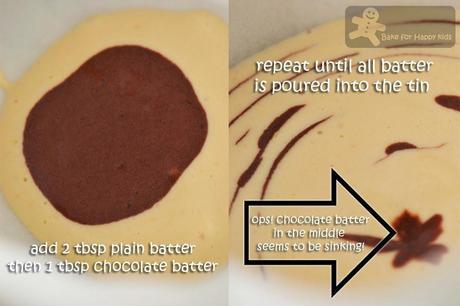
Making the cake with zebra strips: Ops! ...that I didn't do a good layering job as the last bit of chocolate batter sunk!!! Ai ya!!!
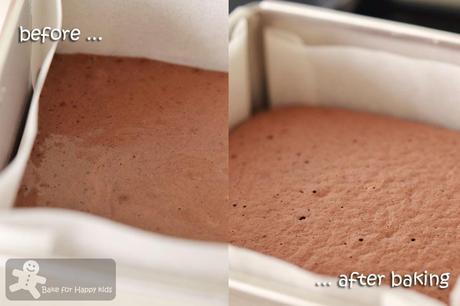
I have used this recipe to bake a chocolate cake too.
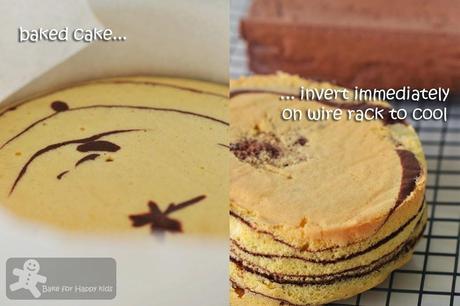
Can't wait to try these cakes!
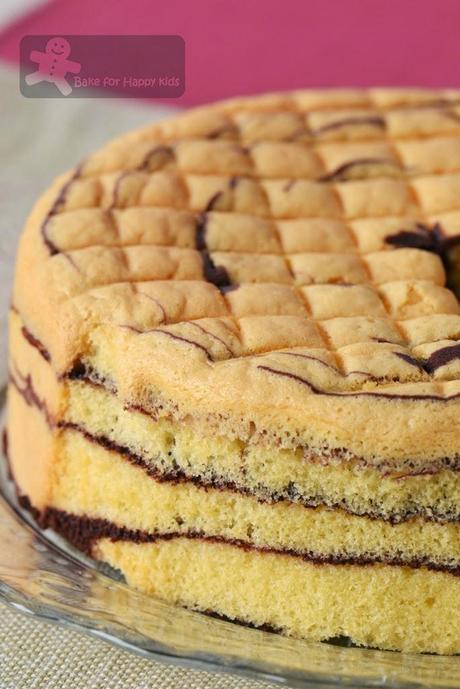
From its outside, I can see that the cake is very spongy!
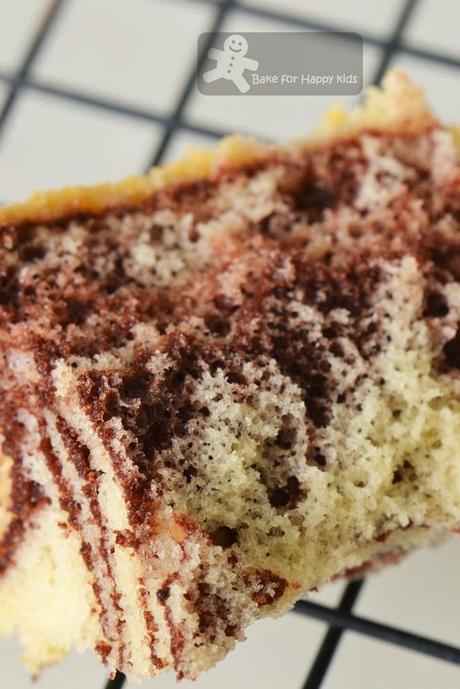
Here's the inside... Wow!
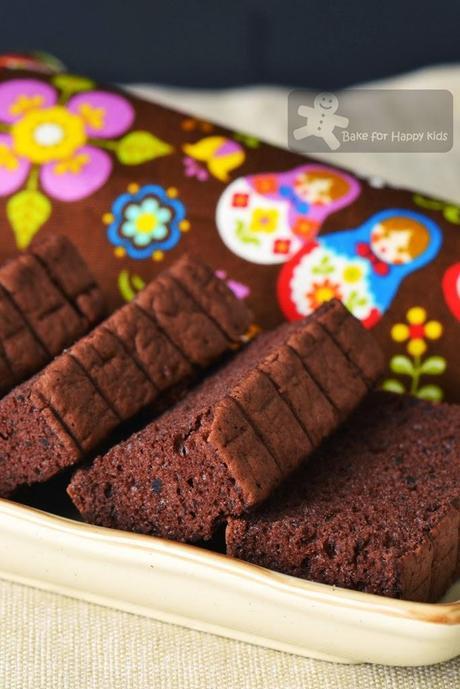
I have made these chocolate ones with sifted cocoa powder without dissolving it into paste.
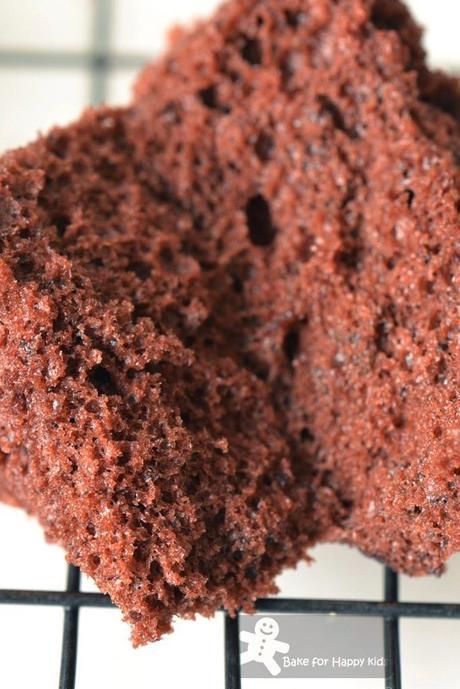
Texture is equally good but has specks of chocolate in them.
Even with the specks of chocolate in the chocolate ji dan gao, my son told me that he is loving every slice of this cake... Me too :)
Here is my adapted recipe mainly from Copycake Kitchen and Anncoo Journal
Makes one 14 cm round or 15 cm square cake
3 egg whites65g icing sugar
3 egg yolks
1 egg
50g neutral tasting oil (can be corn oil or rice bran oil)
65g self raising flour (preferably with 7- 9% low protein content)
For zebra cake:
8 cocoa powder + 2 tbsp hot waterStir to form a smooth paste
For chocolate cake:
Use 55g self raising flour instead of 65gplus 10g cocoa powder
Note: (1) The sweetness of chocolate cake is just right and I would not recommend anyone to reduce the sugar content further. (2) I have noticed that there will be specks of cocoa powder in this cake if the cocoa is sifted into the batter with the flour. If you like a smoother texture, you can dissolve the cocoa powder with 2 tbsp hot water before incorporating it into the batter and if you are doing that, please use 65g of self-raising flour instead of 55g. I reckon that both methods have been working well for me.
Preheat oven to 170°C or 150°C fan forced. Line the bottom and the sides of the cake tins with baking paper.
Using a hand whisk, whisk egg yolks and whole egg together in a mixing bowl. Add oil and whisk until combined. Sift in self raising flour (plus cocoa powder if you are making the chocolate variation) and mix to incorporate. Set aside.
Using an electric mixer, beat egg whites with medium low mixing speed until foamy. Increase mixing speed to medium high. While beating, add icing sugar gradually in 3-4 batches. Continue to beat until mixture form stiff peaks.
Add one third of meringue into egg yolk mixture and mix it gently until the mixture is combined. Transfer the batter back into the rest of the meringue and continue to whisk mixture using the electric mixer with a low speed until it is well combined.
For the chocolate cake:
Pour batter into the prepared tin.For the zebra cake:
Divide the batter into 2 portion, two third as plain cake batter and one third as chocolate cake batter. Add cocoa paste into one-third of the cake batter and fold it gently to mix.Pour 2 tbsp of plain batter into the middle of the prepared cake tin. Pour 1 tbsp of chocolate batter on top of plain batter. Continue to pour the plain and chocolate batter alternately until both batters are completely poured into the tin.
Tap the tin slightly on the tabletop to remove air bubbles. Bake for 35-45 mins or until the inserted skewer comes out clean.
Note: I know that my fan forced oven generate too strong heat for the initial 20 mins of baking. To avoid that, I have covered my cakes with foil loosely for the initial 20 mins of baking. After that, I removed the foil and baked the cake for another 20-25 mins. The total baking time of square cake which is shallower is 40 mins and the round cake is 45 mins.
Invert the cake immediately when it is removed from the cover. Remove the cake from the tin and leave it to cool down completely before cutting into slices to serve.
Happy Baking
