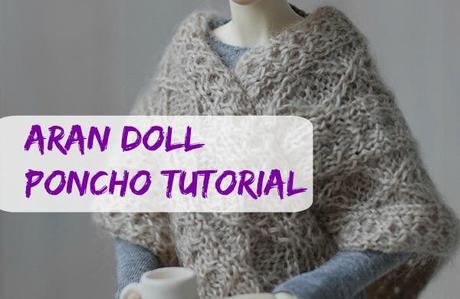
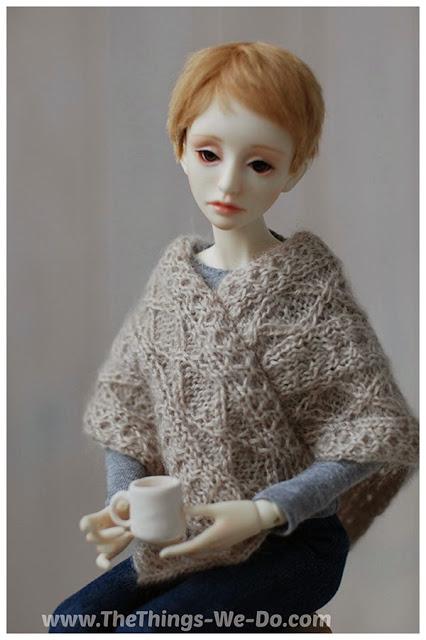
Did I mention that my sister Mari has opened up a shop on Etsy and sells knitted and sewn accessories for BJD dolls? She has designed a very lovely aran poncho lately. It is made from two knitted rectangles, which are then joined together.
Mary sent me the chart for this sleeveless sweater, so that I could share it with you and add some written pattern instructions. This can make a great training project, if you want to try knitting cables but don’t want to start something big. Also, you can adjust this pattern and knit a human-size poncho by usin
Materials
– 2mm/0 US size knitting needles
– 2mm/0 US cable neeedle
– 1 Skein (50 gr./1.75 oz) of lightweight wool yarn
Size
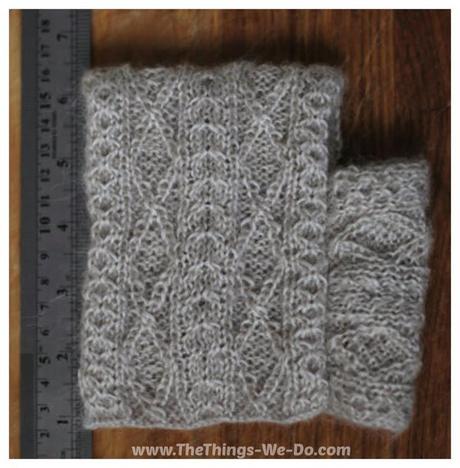
The poncho is made up from two similar rectangle pieces. Each piece is 7×4in/18×10cm large.
If you would like to adjust the poncho to human size, I will write about this at the end of this post, so keep reading

Two Rectangle Poncho
The two rectangle poncho is made up of two knitted rectangles which are then joined together. After the two rectangles are knitted, the pieces are sewn together and form the poncho.
Gauge
18 sts and 23 rows = 2×2in or 5×5cm in
Abbreviations:
K – Knit
P – Purl
CO – cast on
CL1 – Slip one stitch to cable needle and hold to front of work, knit one, knit one from cable needle. ! Knit the knit stitches and purl the purl stitches
CR1 – Slip on stitch to cable needle and hold to back of work, knit one, knit one from cable needle. ! Knit the knit stitches and purl the purl stitches
RS – right side
WS – wrong side
Instructions:
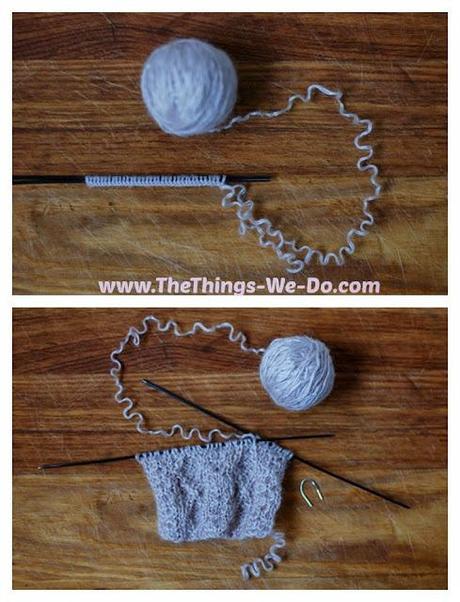
CO 36 sts. Slip the first stitch and knit the last stitch, in order to form the nice edge.
Row 1 (RS): K, CR1, CL1, K, P3, CR1. P3, K, CR1, CL1, K, P3, CR1. P3, K, CR1, CL1, K
Row 2 and all even rows: (WS) Knit the knit stitches and purl the purl stitches.
Row 3: K, CL1, CR1, K, P2, CR1, CL1, P2, K6, P2, CR1, CL1, P2, K, CL1, CR1, K,
Row 5: K, CR1, CL1, K, P, CR1, P2, CL1,P, K, CR1, CL1, K, P, CR1, P2, CL1, P, K, CR1, CL1, K
Row 7: K, CL1, CR1, K, CL1, P4, CR1, K6, CL1, P4, CR1, K, CL1, CR1, K
Row 9: K, CR1, CL1, K, P,CL1, P2, CR2, P, K, CR1, CL1, K, P,CL1, P2, CR2, P, K, CR1, CL1, K
Row 11: K, CL1, CR1, K, P2, CL1, CR1, P2, K6, P2, CL1, CR1, P2, K, CL1, CR1, K
Repeat rows 1-12 to form a pattern
Notes to the chart:
– chart is worked from right to left and bottom to top
– 1st and last stitch form the edge of the knitting and therefore are not shown on the scheme.

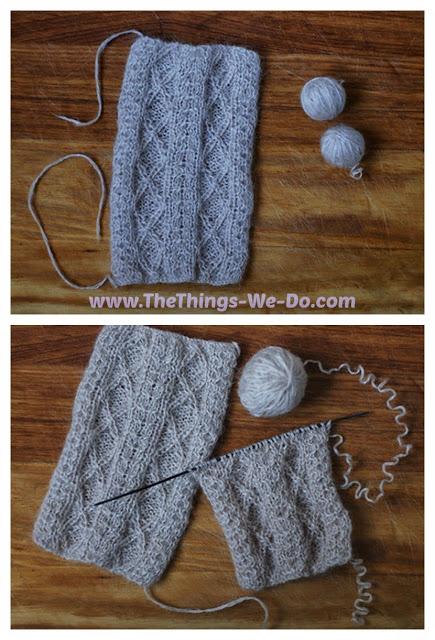
Knit until you reach the 7in/18cm length. Bind off and weave all ends. One rectangle is ready.
Cast on 36 sts. and repeat the whole process.
Assembling the Poncho
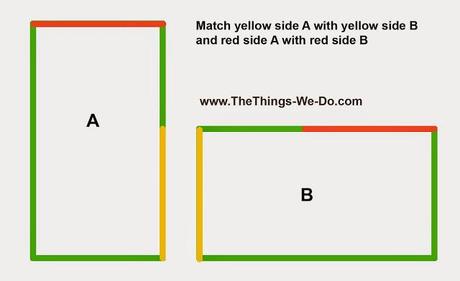
To assemble the poncho seam a narrow side to a long side, fold into poncho shape and seam the other narrow side to the other long side.
Follow the scheme: Match yellow red side of rectangle A with red side of rectangle B, then match yellow side of rectangle A with yellow side of rectangle B.
You are done! Here is how the assembled poncho looks like.
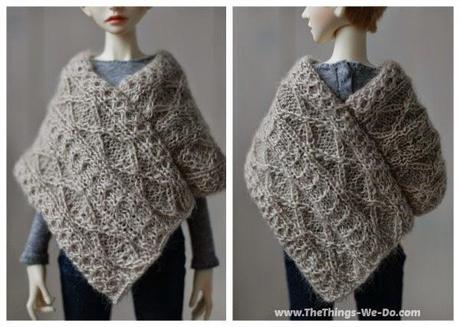
If you’d like to knit a poncho for yourself instead of your child’s doll, here are few tips on how to find the right rectangle size.
1) Measure the length from your wrist to your shoulder – this will be the size of the short side of the rectangle;
2) Double the length from your wrist to your shoulder and add 10in/25cm to this number – this will be the size of the longer side of the rectangle.
That’s it. Happy knitting!
And here’s Mari’s Etsy shop once again, in case you’d like to check out her other designs: https://www.etsy.com/shop/GreyeyedsDolls
Comments
comments
