OK. I’m just going to get right in to it. Because I know there are hundreds, nay thousands, of people out there who are hungry for extremely detailed and helpful step-by-step instructions on installing flooring—the right way—in their homes*. So here it is, in a nutshell. You’re welcome.
1. Rip up the old carpet as recklessly as possible. Don’t even think about the best method for removal or what you will do with the carpet once it’s gone. Just get equal parts frustrated with current carpet and excited about the prospect of new flooring and rip that old garbage up as fast as humanely possible. If you really want to go the way of the doodle, don’t even bother taking all the furniture out of the room first. Work around it. There is no time for that. Planet Earth is depending on you to install these floors and install them fast.
2. Watch a lot of YouTube videos. When you’re obnoxiously impatient and overly enthused about a lofty renovation project, it means you don’t need to consult an expert beforehand. Don’t talk to anyone at Home Depot or call up your contractor relatives. Mathematically it works out: eagerness + materials = perfect DIY project. That’s all you need. Just 20 minutes of YouTubing and you’re good to go.
3. Choose the right playlist. One DH reader suggested we get a good playlist going before installing the floors, as dance breaks can be a crucial component to a happy flooring project. Since Handyman Heath was going to be the one doing most of the dirty work (with me as his trusty sidekick), I suggested he be the driver of our audio experience—which meant we were in for about 12 straight hours of listening to The Ticket, a Dallas-based sports radio network. So much for dance breaks. At least now I know as much about the Dallas Cowboys and the Texas Rangers as I do about laminate flooring. I’ll miss seeing you on the field Nelly Cruz.
4. Seriously consider selling your soul for an “undo” button. About 18 hours into the project, when you’re about halfway through, think seriously about not finishing it. We were really good at this step. When Heath had just started transitioning from laying the planks out in the living room to the hallway, he looked up and me with the saddest, most pathetic puppy dog eyes, and said “I’m so over this.” Ah yes, we have arrived at that terrible, terrible moment in every major DIY project where you wish you never started it. The living room planks were all down, but the narrow hallway, which required way more meticulous measuring and cutting than the large living room did, was only just then getting underway. Even when that was finished, there would be many, many feet of trim to measure and cut and nail and paint. Damn. Was the carpet really so bad? Who said hallways need flooring anyway? Those aren’t even real rooms. No one will notice.
5. Blog about it. Much like that riddle about the tree that falls in a forest, did the project truly happen if you don’t blog about it? Probably not. So now, I submit my evidence. The best damned laminate flooring this house has ever seen.
Living room before…
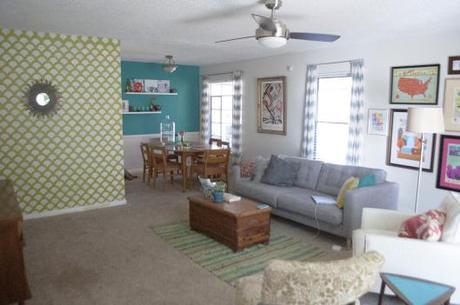
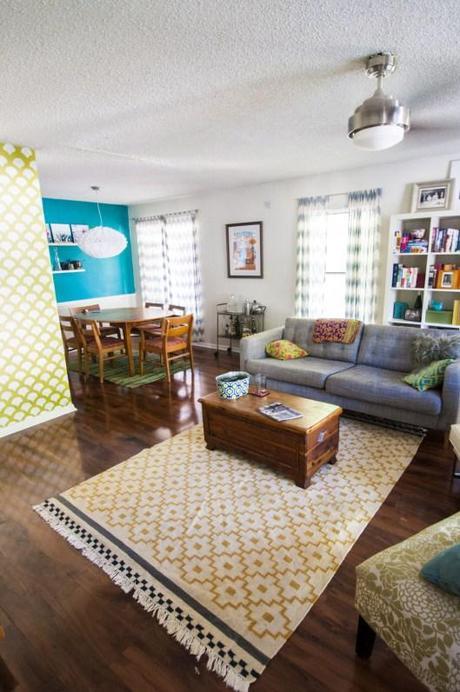
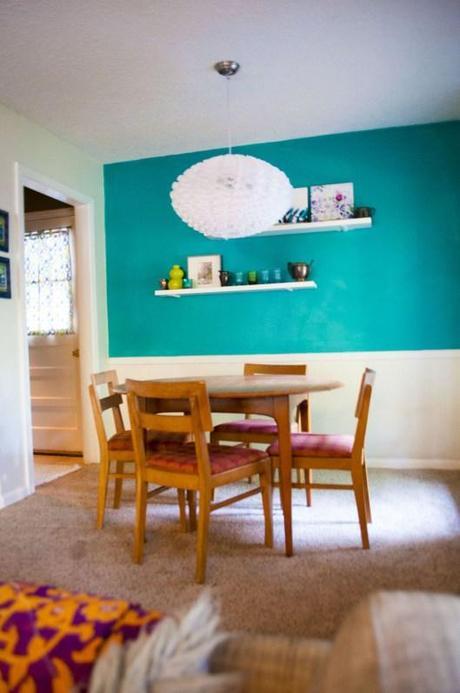
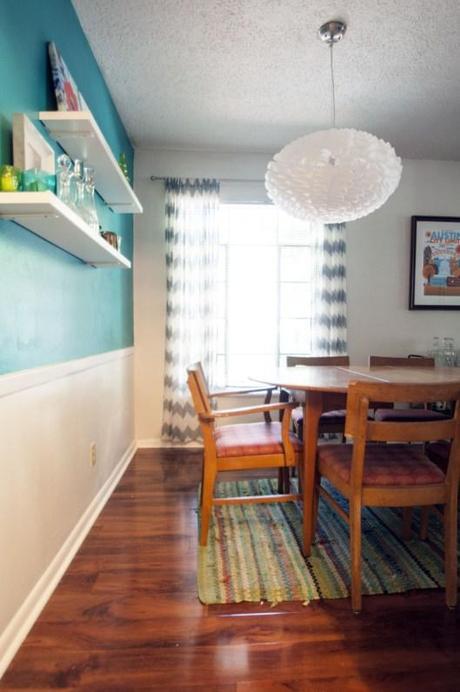
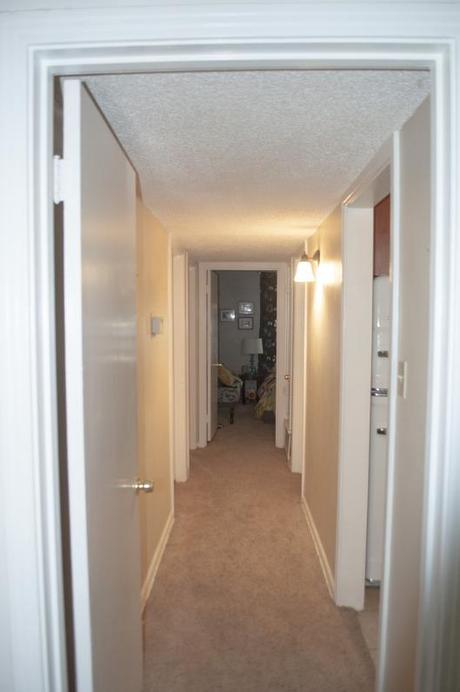
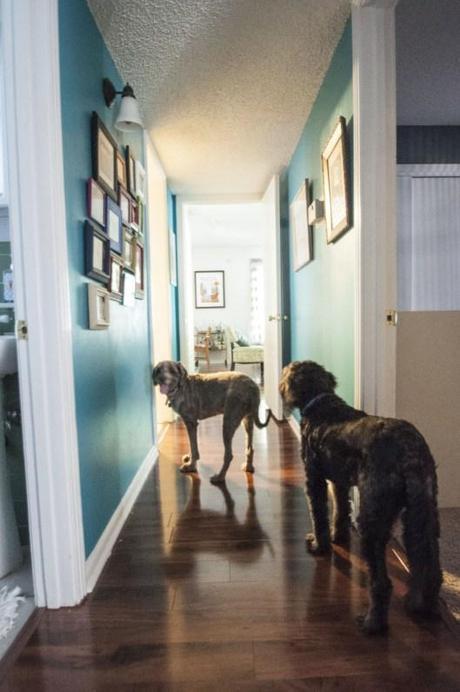
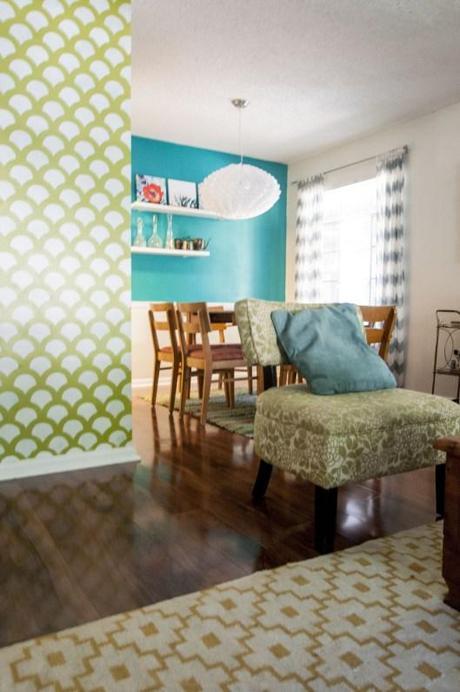
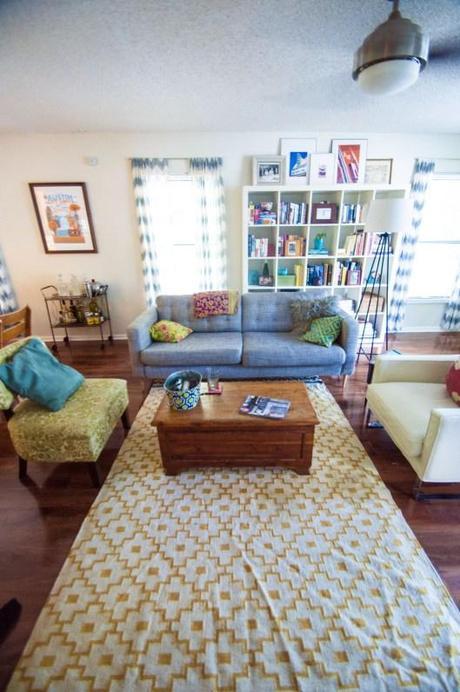
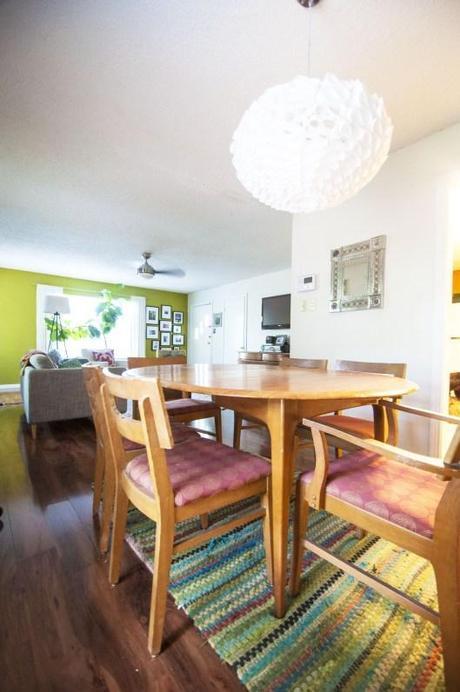
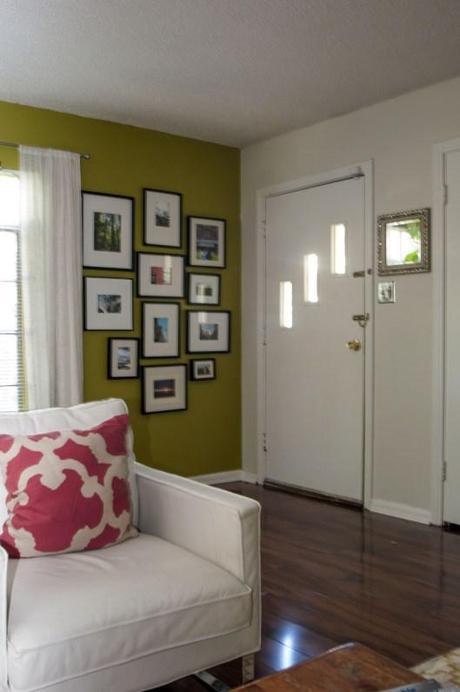
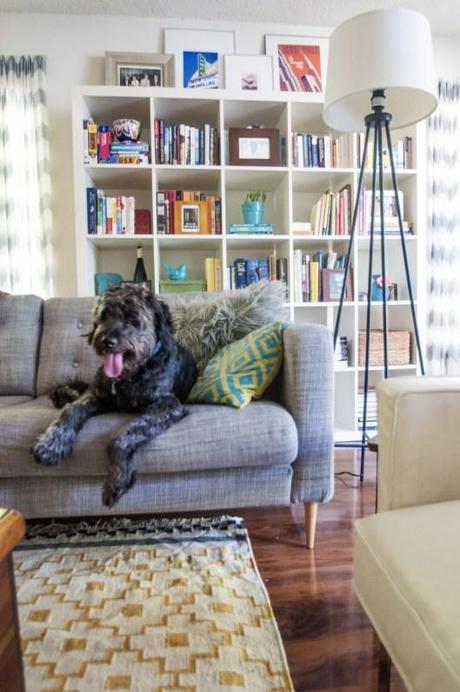
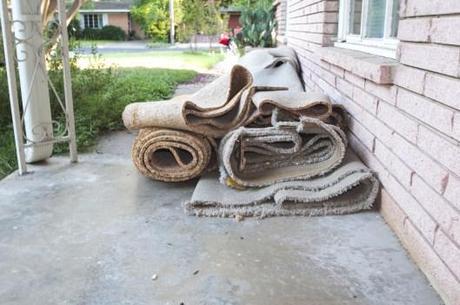
The only thing I regret about this project is that I didn’t do it sooner. Obviously, you have to work within the constraints of your budget, but for whatever reason I didn’t consider the ReStore as a flooring source before we accidentally stumbled upon it when in search for something completely different (more on that later). It was a fluke, but I’m very grateful for it. I encourage any DIY home improvement junkie to go to their local Habitat for Humanity ReStore as soon as humanely possible to discover what amazing projects you can check off your list at a fraction of the cost. To break it down in real numbers, if we performed this same makeover with resources from our usual go-to, Home Depot, it would have cost us more than $1,000. But with the help of the ReStore, we did it for just a little more than $600. That’s a deal if I’ve ever heard one. Go to there. You must.
*If you’re in to doing floors yourself, I suggest looking at the following links which are actually much more instructional, eloquent and useful than anything I have ever produced. Especially this one. Though, full disclosure, we did not use the second, sound proof layer of padding when we did our floors, nor did we use painter’s tape to stick our spacers to the wall. I also suggest this post from Young House Love for a good recap on installing real wood floors.

