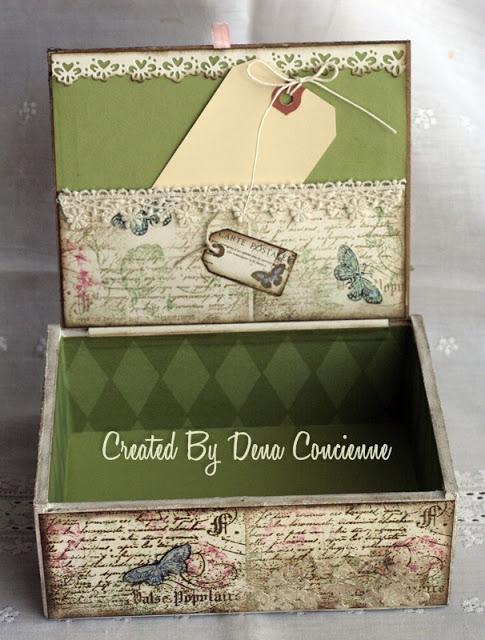
 The only printed paper is the green on the inside and it is by Close To My Heart.
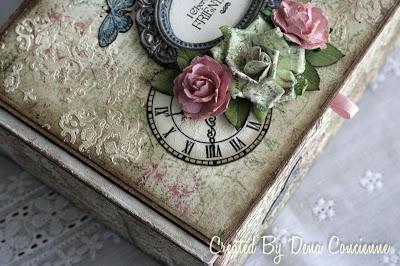
 Crackle accents on the clock and stickles on the butterflies.
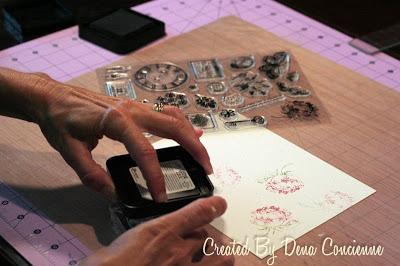
Here is how I made the paper. First, I inked the rose from the Grunge Elements set with Victorian Velvet and the stem with Bundled Sage Distress Inks and randomly stamp onto cream cardstock.
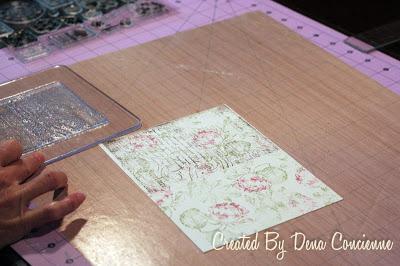
 After that, I ink the Vintage Backs - Script with Walnut Stain Distress Inks and stamped directly over the roses. The stamp would only fit halfway, so I stamped them side by side to cover the cardstock.
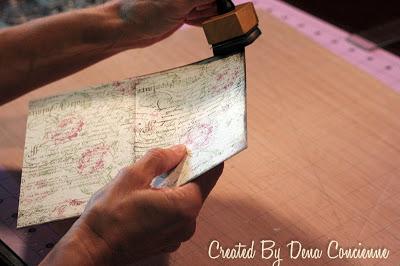
 After stamping the entire piece of cardstock I distress inked the edges with Walnut Stain.
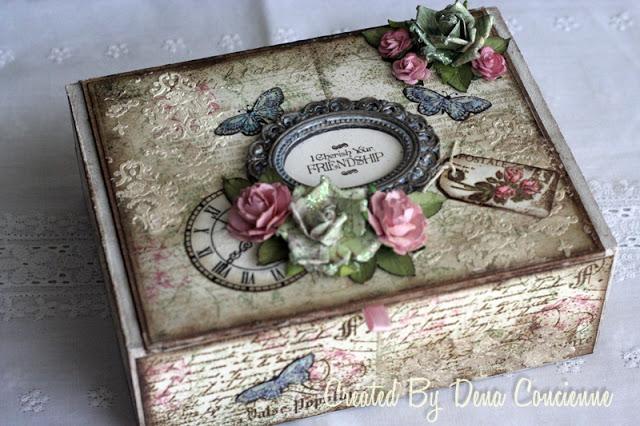
 Now it was time to cover the box with the papers that I cut to fit all the sides. I glued them down with Modge Podge only gluing the underside.
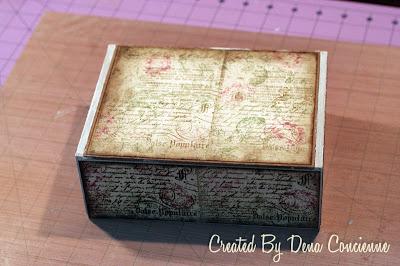 Next, I used Modeling paste that I added cream paint to and used a stencil to apply a textured design.
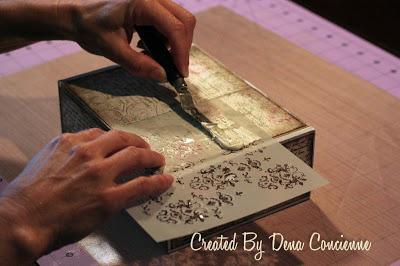
After all was added, I sponged Claudine Hellmuth Studio Medium over the entire box to seal the distress inks and modeling paste. If you tap up and down and don't use a swiping motion, it won't bleed, but seal the design. Also, use very little, just enough to cover the surface.
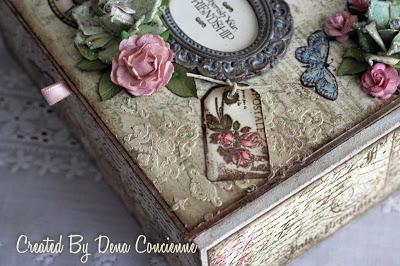
Tada!! Add some flowers and some tags from the Tags Le Jardin and that's it! I adore these new stamps and have had a ton of fun doing something a little different!
I hope you like my project! Thank you so much for stopping by!
Hugs, Dena
