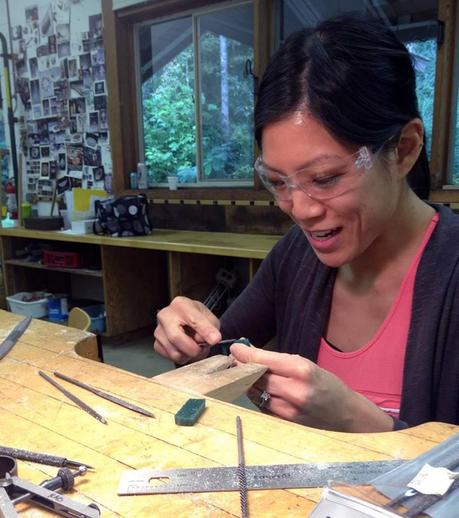
The majority of my time at Arrowmont was spent in the classroom. Same with the other students. It was pretty awesome to see how dedicated everyone was to their craft. I was at my bench in the metalsmithing studio for 40+ hours that week, working on rings. We had formal instruction for a couple hours each day, followed by free time to practice what we had just learned. I was definitely deluged with information, but in a good way. I’m a slow worker, and so I loved having all day to work on my metal pieces, without feeling rushed.
I also loved how we started each class by flipping through several slides of rings. Some were your typical bands; others were crazy sculptural things that looked more fit for a museum than for everyday wear. It was inspiring, and helped us think outside the box of what a ring should be. During the course of the week, we learned how to form rings by several methods, including soldering, cold connections, and casting. At the end of the week, I came away with three pieces, along with a library of information and skills.
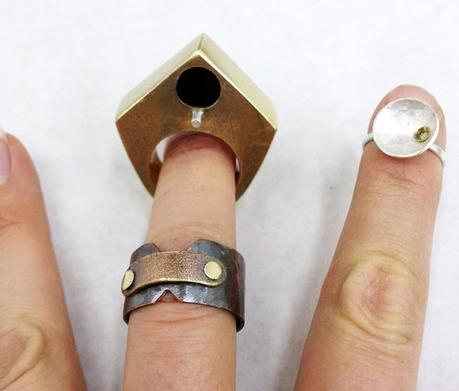
This is the first ring I made.
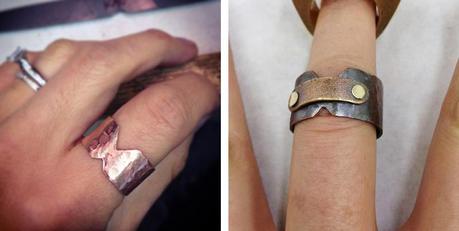
The picture on the left shows what it looked like on day one. It was originally intended to be a simple band, but then decided I wanted to get fancy by adding a little metal ball to make it more visually interesting. Too bad the balls looked like a bad zit on my ring. So I heated it up and added a ‘belt’ accent, using a technique called riveting (that’s what is shown in the second picture, on the right). Riveting is cool because it allows you to connect pieces together without using heat.
My second ring is a tiny little piece, and also has a little tube rivet in it. I like how the tube is off center and almost looks like a gem.
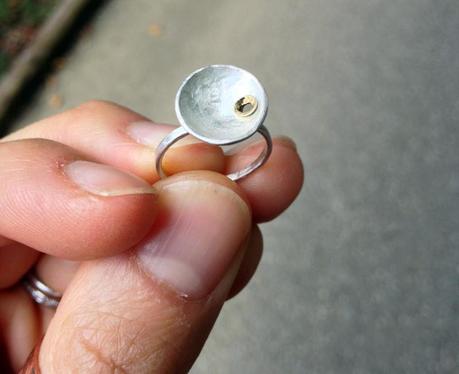
My last ring is called a hollow form ring.
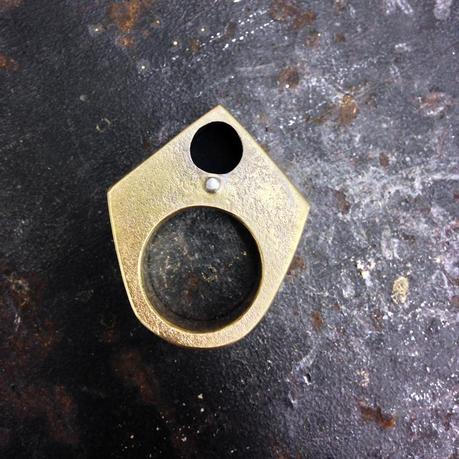
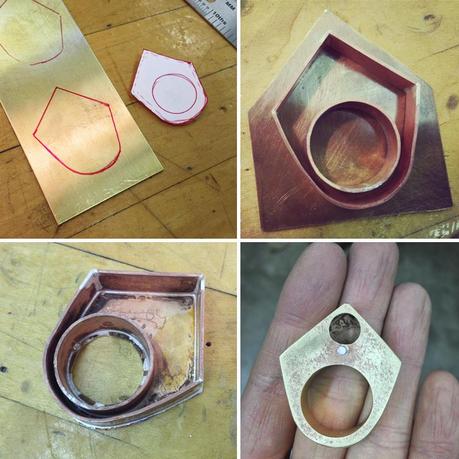
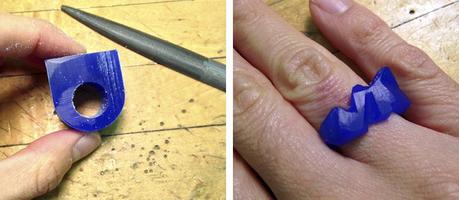
We had also learned the basics of casting a ring, where you carve out a piece of wax and that shape essentially gets replaced by metal and therefore turned into a metal ring.
Overall, I really learned a ton. And I’m excited to use my newfound skills at my metalsmithing classes in Dallas!
If anyone has any questions about the metalsmithing processes I learned, let me know! I tried to keep this real basic, just in case anyone got bored!

