In an continued effort to further reduce the clutter on the floor of my living room, I came up with the idea of setting my TV on to a wall-mounted bracket. My only caveat was that I live in rented accommodation and that I'm not allowed to fix anything to the walls, anywhere... Having recently moved an Ikea Hejne shelving unit in from the bathroom, I realised that I could happily mount it on to this.
Let's first look at the item I purchased:
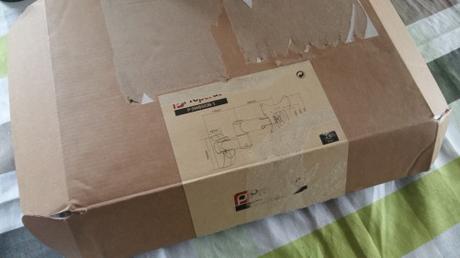
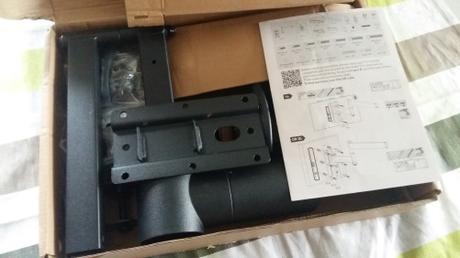
This one will apparently handle a TV measuring up to 42in across the diagonals (my nine-year-old unit is only around half that size). I don't imagine myself ever owning anything much bigger - possibly 32in as a maximum - so, there's plenty of room and physical scope (weight and load capacity) to one-day upgrade.
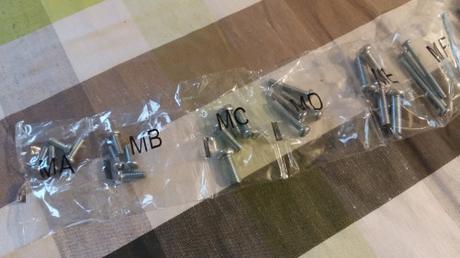
Neatly packed inside the box, you have the instructions, of course and a selection of labelled screw sets that can be used to fix the bracket to the back of your TV.
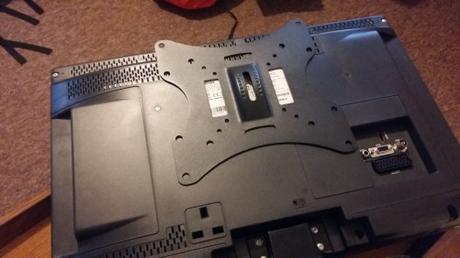
Unfortunately, none of the screws were of the correct gauge and length combination for my old Toshiba telly. Four of the holes in the bracket did line up perfectly with the threads but I had to buy four pan-head machine screws and turned to eBay (from memory, they were M4 x 12mm).
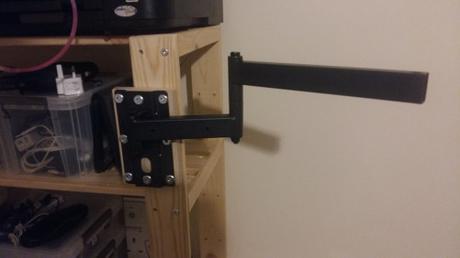
I used what random bolts I had on hand (long, M6 bed bolts and nuts) to fix this swing arm to one of the vertical legs of the Hejne shelving unit. As it wouldn't have been a perfect match, I sandwiched a piece of 18mm thick ply in between, which also offered greater support to the holes down one side (ie. the metal bracket was wider than the legs of the shelving unit).
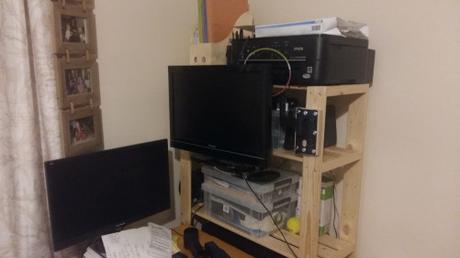
Now, I have a TV that folds (almost flat) against the front face of my shelving unit and can then swing out from in front of my PC to a clearing close to the centre of the room!
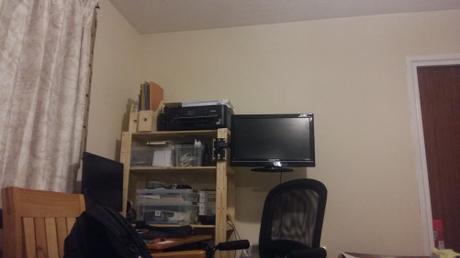
In practise, this movement is not fluid and may be helped by slackening off the bolts that allow the arm to pivot in several places. Also, while you probably can't see it above, my TV does 'sag' slightly down to the right. It's something I get used to quickly while watching a DVD. But it could mean that my bracket is not mounted perfectly plumb. I may look at repositioning the bracket so that it sits underneath the shelf to its left and I would make other corrections at the same time.
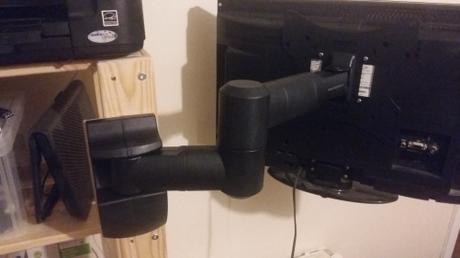
I'm not overly impressed with the plastic sleeves that clip over and conceal the metal workings of the arm. For one, they feel very lightweight and tacky. Some parts are as likely to clip together as a chocolate Easter Egg that arrives in two halves. One pair, in fact, fell off under its own accord (after taking these photos) and I've not bothered to reattach it since.
It seems to be very well made for its purpose, overall. Fixed to a sturdy wall rather than a lightweight, wobbly shelving unit and I imagine the pivoting actions would perform even better. It's also easy to adjust the tilt, tool-free, using a finger-knob between the bracket and the arm.
I hope you've found this useful.
Thanks for reading.

I live in Weston-super-Mare, close to the Mendip Hills and I enjoy spending time outdoors. This inclues long day walks, camping trips and backpacking trails. I have two blogs: Olly Writes (woodworking, DIY, baking) Olly Outdoors (walking, camping and kit) You can also find me on YouTube, Twitter and Facebook. My second YouTube channel is titled 'Walks with Olly'. View all posts by Olly Parry-Jones
