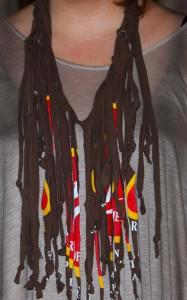
 November brings blustery weather, which means scarf season is officially upon us! There’s nothing that I love better than piling on a lovely, fluffy scarfie to keep me fashionably cute – and more importantly – warm. There are times, though, when I don’t quite need the extra layer because I live in Alabama. My home state is notorious for mild winters and I can recall more than one holiday where a t-shirt and shorts would have been completely appropriate attire.
This DIY accessory project is the epitome of the perfect light-weight scarf. Think of it as more of a wardrobe enhancer than a buffer from nature’s bitter winter wrath. All you need is a cotton t-shirt, a pair of sharp scissors, a fabric marker, measuring tape, and a good music playlist in the background. I actually made my scarf while watching reruns of 30 Rock (for the first time). No, I have never seen it before. Yes, I own a television. No, I don’t live under a bridge, but I digress…
This is the perfect DIY project for an eco-friendly (and budget-friendly) Holiday gift. You could solicit your friends for favorite t-shirts from their own wardrobe, or visit the local thrift store to find your material. Whichever option you choose, you can be sure that everyone will love it. It’s not only personal, but it’s comfortable, familiar and 100% rock-star.
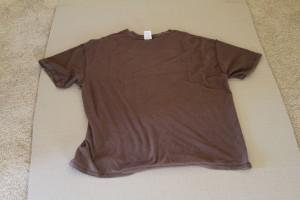
Step 1: Choose Your Shirt
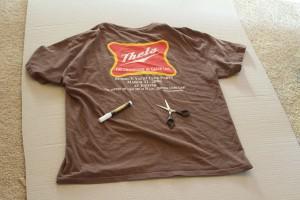
Step 2: Prepare Your Area
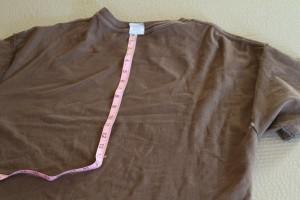
Step 3: Measure Your Length
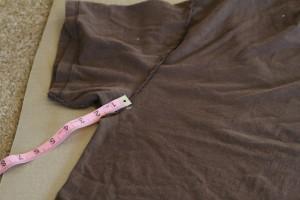
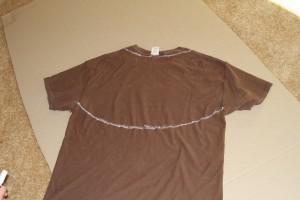
Step 3: Cut Your Pattern
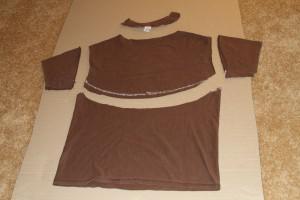
Note: If you have chosen to cut in an arch rather than a V, you can save the bottom portion of the shirt and use it to create a super-simple tube scarf. They’re everywhere this season and versatile enough to wear to with almost any outfit. More importantly, why pay $40 for one when in less than three minutes you can make one of your own…for free? Please see the bottom of the post for instructions on how to construct a tube scarf.
Step 4: Gettin’ Fringy with It
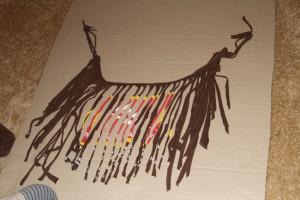
Step 5: Cut It Loose
Now comes the part where your scarf begins to come alive. On the back side (or front side of the shirt, depending on what part of the pattern you want to show) find a bit of fringe that is closest to the middle and cut one of the lines upward until you snip through the 2-inch gap. This now creates a scarf that can be tied in the back, bandanna style.
Step 6: Knot Yet…
I like the look of a good knot, so I decided to tie them onto the end of every piece of fringe. You could also purchase some big wooden or plastic beads to add some texture and interest to your almost-scarf. Just tie a knot a few inches from the free end of the fringe, slip on a bead, and secure the bead with another knot. Voilà! Instant bangle jangle.
Step 7: Tie It All Together
Step 8: Rock It Like You Made It (‘Cause You Did)
Now comes the payoff for just a couple of hours (or less) of work. Wear your scarf to the grocery. Wear it to school. Wear it to work. Wear it while you’re walking the dog. Reap the compliments from your fellow fashionistas and smile as you explain just how easy (and free) it was. Basque in the glow of DIY success: now you’re a rock-and-roll star and everyone will want to be your cowbell player. The world always needs more cowbell.
Instructions for Tube Scarf:
To create a tube scarf, simply cut off the pointed ends of the reserved bottom portion of the t-shirt. This should create a straight line across the cut end of the shirt. On the end with the hem, cut the hem away and discard. You can also choose to cut the tube into several strips, which would create many tiny tube scarves that can be worn together for a fun, casual look. Stretch the tube(s) to lengthen them and also turn them in on themselves, giving a rolled “tube” effect.

