Anyway, I've finished my Dark Butterfly. I think she turned out very well. But, as always, I must add the disclaimer that the camera just doesn't capture her. Her colors are much more subtle that these photos suggest. The camera inordinately pulls out certain colors. Oh well.
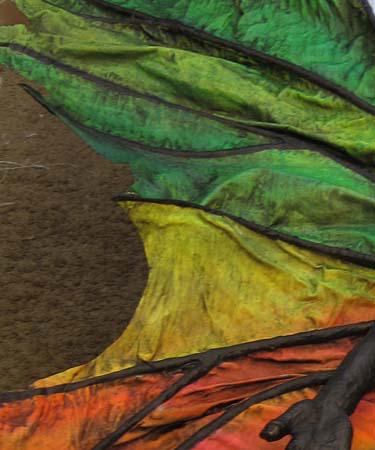
I don't often do this, but this time I used spray paint for my base coat. On the left I just blasted her wings with some bright colors. And I blasted her hair and face with some flat black paint. I did that so that I would be committed to using very dark colors. Then, I used masking tape to mask off parts of the wings.
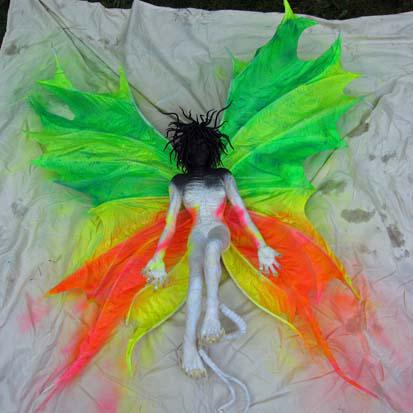
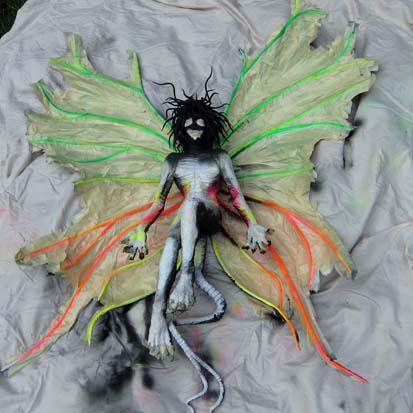
Then I finished spraying the black paint over her entire body. Then I peeled off the tape leaving nice, crisp black stripes on the wings.
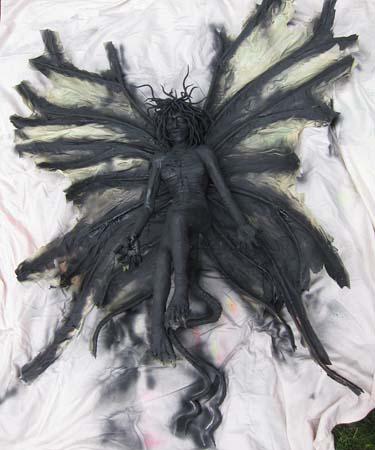
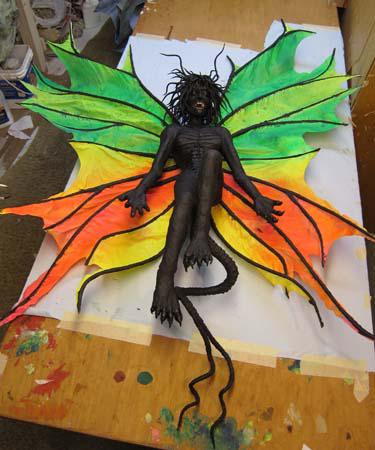
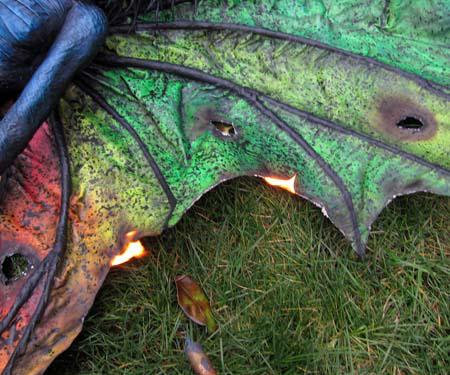
There is always a tendency at this point to want to resist blackwashing, to preserve the bright colors. Many people who use my paper mache techniques simply can't bring themselves to add black paint at this point. They get severely attached to how pretty the colors are. But it's necessary. The black brings out the colors. On the left you can see part of a wing after I blackwashed. It looks so much better! Now I did something kind of fun on this project. Not only did I blackwash the project, but I also splattered it with black paint afterwards. Then I used a blow torch to burn holes in the wings and to singe the edges. It was fun until I almost lost the project. I didn't realize that the underside of the left wing was still burning when I lit the right side. Luckily where there is fire, there is smoke. I caught the extra fire just in time and was able to extinguish it. That would have been a real bummer (as I used to say in the 60s)(okay, so I still say it all the time) if I'd done all that work only to watch her go up in smoke, literally.
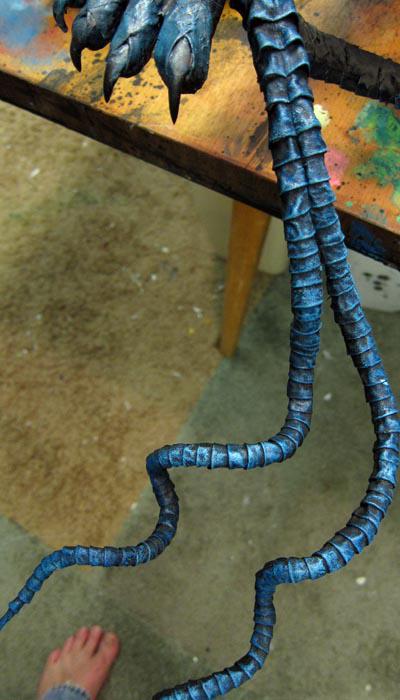
Finally I added some highlights. In this case it was various shades of blue. Below is a close up of the bifurcated tail.
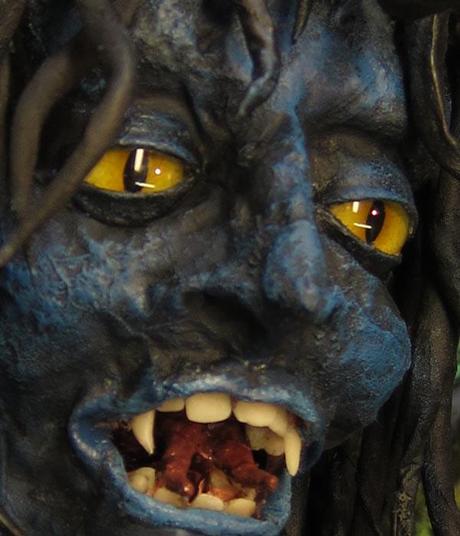
Finally, the thing I love the most. I scraped the paint off of her eyes and I cleaned up her teeth. I love these eyes with these colors. Nice, don't you think?
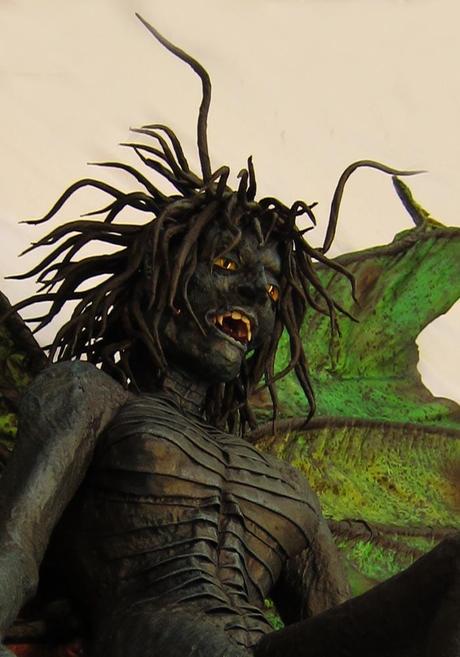
Here she is. Thank you for stopping by. I'm going to make one of my time-lapse videos of this paper mache project. Just need to find some time to edit the dillion hours of video I took.
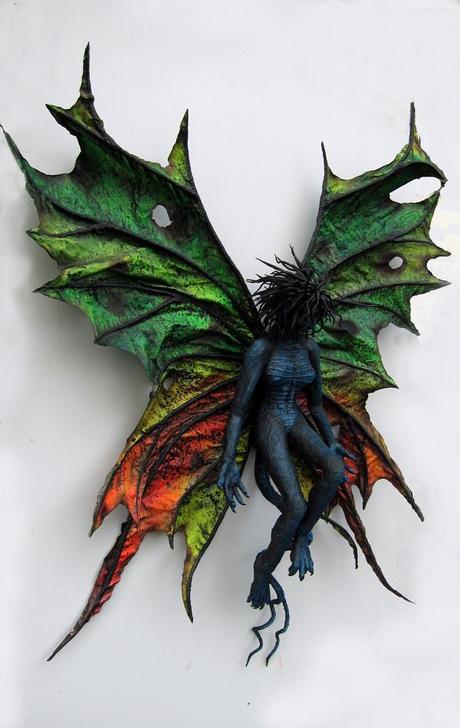
Dark Butterfly

