Hi all... I've been writing like a crazed woman for some time now. Wanted to take a break and catch up on some much needed blogging. Blogging is like working out. You love it when you do it, and you feel so much better, but once you miss a couple of visits to the gym, you can find yourself at home for a full month.
Today I want to talk about hand lettering and some tips I'd like to share. These are for everyone, whether you are dabbling in hand lettering, been writing for a while, and/or thinking of starting up your own studio. I feel like I learned (am learning) a lot this season in particular so here goes:
1. Mix a lot of ink for your lettering projects.
I made the mistake this year of mixing a modest amount of gold metallic ink for a project and ran thin towards the end of the job. I was forced to try to "stretch" the ink by adding water and more ink, but it just never quite looks the same (especially if you are pressed for time). The client was unhappy with the few that were "off" and I of course offered to re-do them at my cost. The lesson learner here though is to just mix a ton of ink so you don't have to worry about inconsistencies!

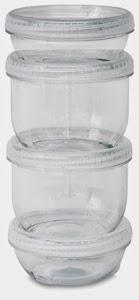
These interlocking jars from Dick Blick's come in different sizes and are great for ink mixing. They absolutely dwarf the smaller containers I used to use for this task. Be bold here.
2. Experiment with different mediums.
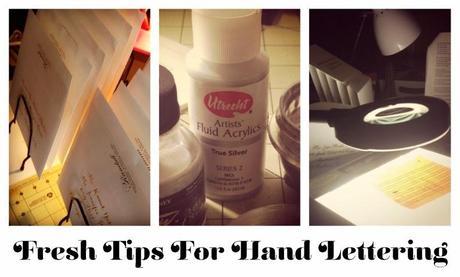
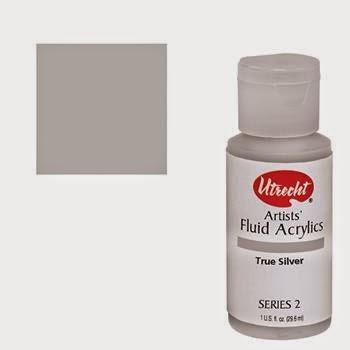
I am always looking for better inks. Waterproof vs. India vs. Black Magic vs. Speedball, etc. I've recently taken my search into paint as well. Especially for silver and gold. I recently found a very fluid acrylic silver and gold made by Utrecht that works fabulously for lettering.
Some of these other mediums may clog your pen or cause other issues so you need to spend time experimenting, but you can definitely get lucky. I like gouache as well. It lasts a little longer on the pen nib than ink sometimes. Your experience will vary depending on your paper's surface.

3. Do a little each day.
Do yourself a favor and peck at your orders or your D.I.Y. project. Lettering can be awfully time-consuming and you will do well to aim for 10-15 envelopes a day vs. attempting to execute in a few sittings. Kind of an overwhelming feeling for sure.
4. Use an egg timer.
Just to be more efficient, use a timer so that you know exactly how long its taking you to letter.
5. Rubber band stacks as they dry (this will be instrumental in ordering/alphabetizing/proofing later).
I like to re-purpose file folder holders for my envelopes. Very easy to just pop the flaps up vertically and allow them to dry to avoid smudges. I have found though that if you take the time to order the envelopes as you go, and rubber band stacks, your job as proof-reader is SO much easier later. The last thing I want to do after I finish the job is grab randomly ordered stacks of envelopes or place cards in order to put them in order according to the client's list. This process alone can take up to an hour and needlessly adds to your production time. Trust me, you'll thank yourself later for taking the time to order your stacks.
6. Work in public whenever you can.
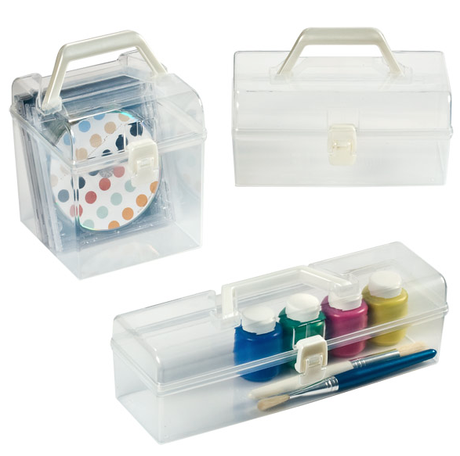
I like to take my show on the road whenever possible. People usually leave you alone (or will ask for my business card, be sure to bring plenty with you). Moving around is easier than you would think. You can take your pen nibs and ink in a plastic storage container (eliminating fears about spilling) and your envelopes/place cards, etc. in a larger plastic bin. Heck, I even take my file folder holders.
There are less distractions for me personally when I work publicly and you'll find yourself finished with your project in no time. Make sure the location you choose is fairly quiet (library is perfect), and if you like to nibble on snacks while you work, your local café is another great spot.

Cheap storage containers from The Container Store
Thanks for stopping by today and get out there and letter away!
--ct

