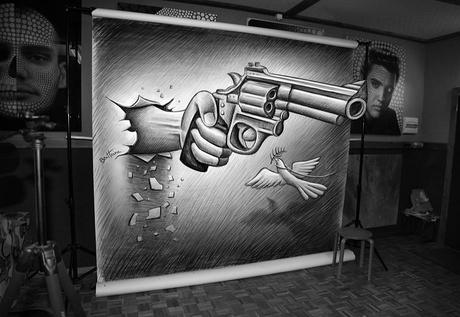
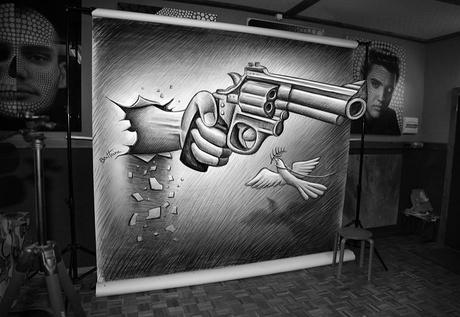
In this tutorial, you'll learn how to do a large 3D anamorphic drawing. The theme and message I want to express is "choose peace, not violence", so I've chosen a revolver as the main subject of the art work. What we want is to have some sketches large enough to pose with them and become part of the whole composition.
By the end of this tutorial, you'll understand my work flow from the first studies through to the final work. I'm also going to teach you all kinds of graphic tricks to help you work faster and draw difficult shapes such as guns and hands.
1. Work on the Concept
The image used for this tutorial is part of my "Pencil Vs Camera" series, a creative concept that is evolving constantly. It started in 2010 with minimalist sketches and photos. In 2011, I started making colored sketches on black paper and in 2013-2014 I decided to do the large drawings we're talking about now.
Step 1
 Be inspired and inspiring. Think of an idea or a strong message you really wish to express in the creation you're about to do. It's not the easiest part, but if you want your artwork to be seen as unique and attractive by others, you should really try to express something big. Personally, I think nice ideas come through living intense moments. But if you lack inspiration, you can travel, go to exhibitions, watch films, read books, or try new things. Ideas will come to you eventually.
Step 2
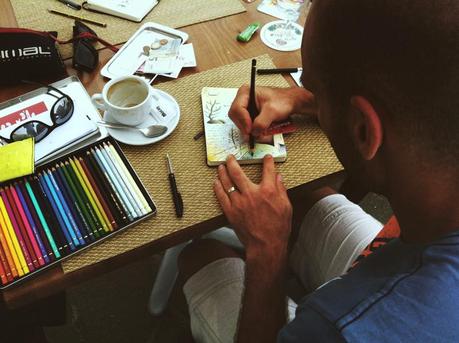 Discover and save your ideas. Wherever you go, take a notebook or a sketchbook with you. Each time you have an idea or feel inspired, put it down on paper. Whether in words or sketches, just keep some traces of your ideas. They might be useful later on. When you're back home, use your sketches and words to outline the message you're trying to convey. Do some quick studies to develop the direction you'll go with your idea. Also think about the creative tools and materials you'll need, the amount of work it will require, and other logistics.
2. Use References When Needed
The composition we want to do has several elements that are not easy to draw, including the hand and the gun. Using your own knowledge may not be sufficient for a fully accurate representation of these objects. You might then consider using references. It is better to use your own references to make sure the final work is 100% original. You'll then be able to build a completely new image that will help you do the giant sketch later.
Step 1
Gather all the images you need, either using your personal references (pictures of objects you have at home for instance), or creating images to use. I my case, I had made tons of gun sketches recently, seen in different perspectives from different angles. These were personal studies, so I had a lot of material to work with.
Step 2
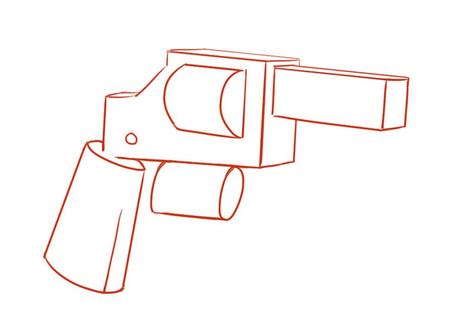
Drawing a gun from scratch can be difficult if you're not used to it. You must really think first about the angle you want the gun to be seen from, and do a quick sketch using basic geometric shapes such as simple cylinders, cubes, spheres and cuboids.
Step 3
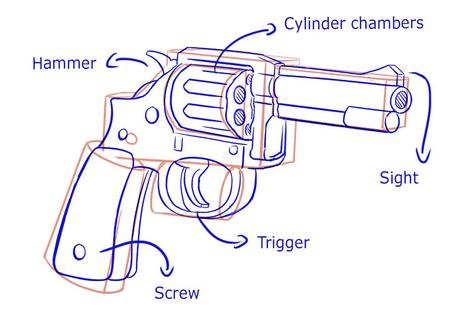
Then refine the shapes and add all the details of the gun, such as the cylinder chamber, the hammer, trigger, sight, and screws.
Step 4
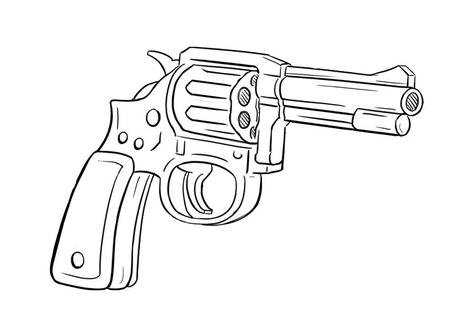
You now have your gun reference ready. Don't pay too much attention to small details or textures, as you'll be able to add these later on.
Step 5
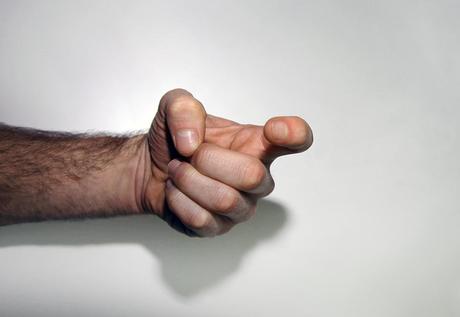
We must add a hand, seen from the same angle as the gun. In my case, I didn't have any original references of a hand in this specific perspective, so I just took a photo of my arm and hand in the desired position.
Step 6
When you have all the graphic material needed (hand and gun), assemble them in a rough photo-montage. This step is important because this will be your only guide during the next creative steps. You can either do this montage digitally or traditionally. Using Adobe Photoshop, I imported my gun drawing in a second layer just above the photo of my hand.
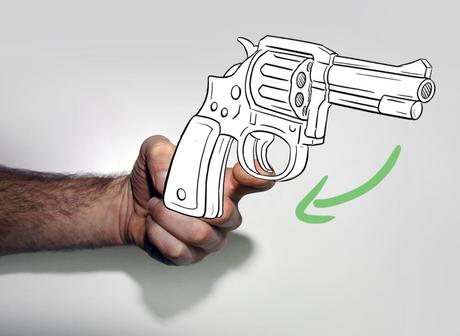
Step 7
Place the gun in the right zone. Reduce its Opacity so that you can see the parts you have to erase with the Eraser Tool to make it look like the hand is really holding the gun. Put the gun layer Opacity back to 100%.
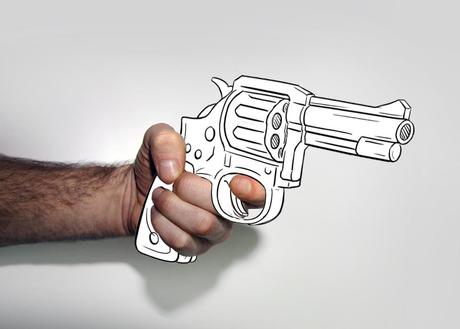
Step 8
Then reduce the Opacity of the layer with the photo of the hand, create a new empty layer and trace the hand and arm with the Brush Tool.
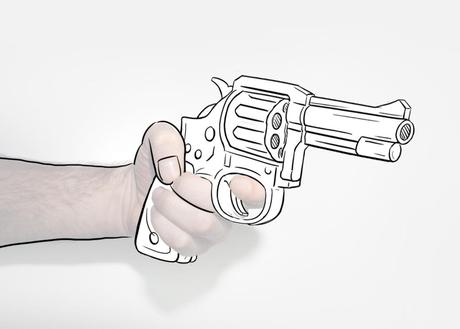
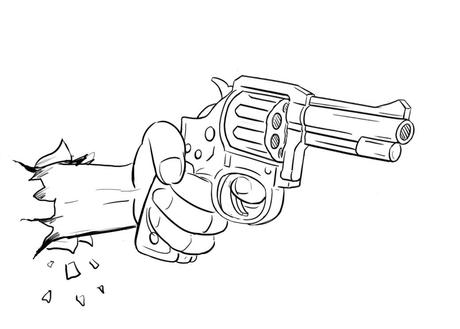
Step 9 Then draw on a new layer a "paper hole" as if the hand was reaching out of it. That's it. Merge all layers. Remember, all this doesn't need to be done with huge precision. Right now, you just need a quick, rough and homogeneous original source to start from. When it's completed, print it out.
3. Prepare Your Work Space
There are different techniques to do 3D sketches. It is both difficult and easy.
The sketches we want to do are "anamorphic illusions". Anamorphosis is a clever eye trick requiring the viewer to occupy a very specific angle or use a special instrument to reconstitute the image.
In our case, the sketches will appear slightly distorted if they are not viewed exactly from the same perspective in which they were created. Also, if some real objects interact with the 2D anamorphic drawing (such as a person), the viewer's brain will be confused and the anamorphic drawing will look even more 3D like.
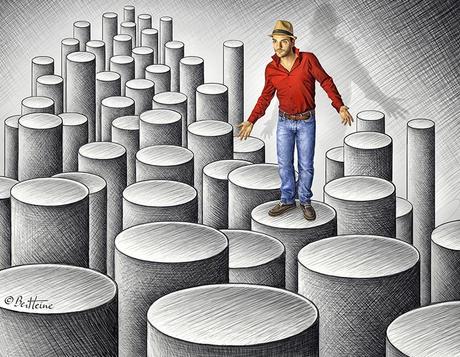
There are several techniques to create such effects such as image projection (with projectors), pre-measured stretched model or free hand drawing. All situations require a lot of work. Due to their large size, some sketches will take you anything between one and several days of intense work.
In this instance, we'll do a free hand drawing because there is not too much distortion.
Step 1
You will need a rather large space to work in. At least larger than the surface you'll use to draw on.
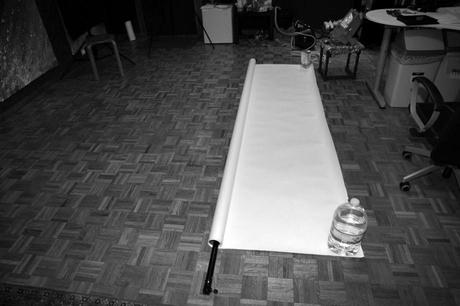
Step 2
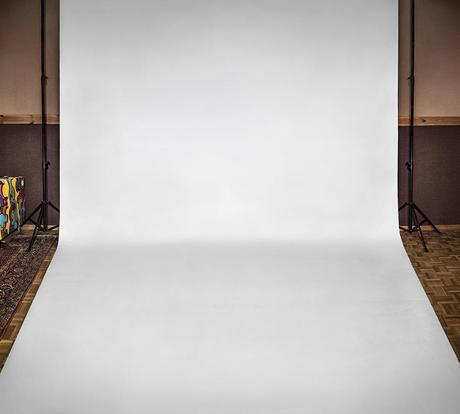
Make sure the surface you will be drawing on is big enough for you to stand in. You can simply use a white photo backdrop with a support stand. These backdrops are usually made of paper, so it's easy to draw on them. They are generally around 10 feet wide, but you can adapt this by adding or removing some paper pieces to meet the exact width you want.
4. Know Your Tools
Step 1
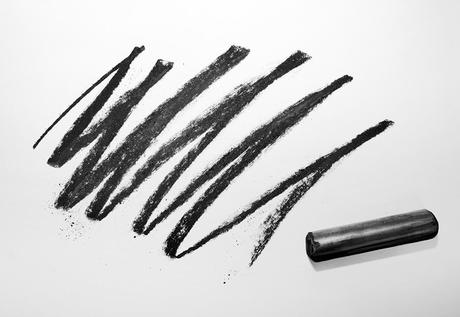
Prepare your drawing material. You will need several charcoal sticks. The charcoal sticks will allow you to make fast, thick, dark and expressive lines with stronger shadows.
Step 2
You will also need some soft graphite pencils to draw with. Both materials are carbon based. The pencils will be useful for more precise details and shadows. If there are large dark areas in the composition, you might end up using 15 graphite pencils and four charcoal sticks per giant drawing. For your info, pencils are usually available in different grades:

It is always a good idea to have a variety of drawing tools to choose from. So if you'd like to use your own sketching material, feel free to do so.
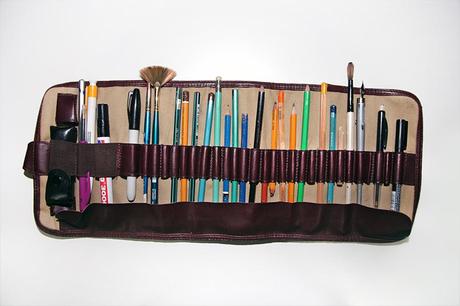
Step 3
I generally prefer charcoal sticks for the largest surfaces because it goes much faster. Different thicknesses are available in most art shops. Using a very thick charcoal stick to draw with can be useful because it will be easier to sharpen later or to obtain a diversity of thicknesses.
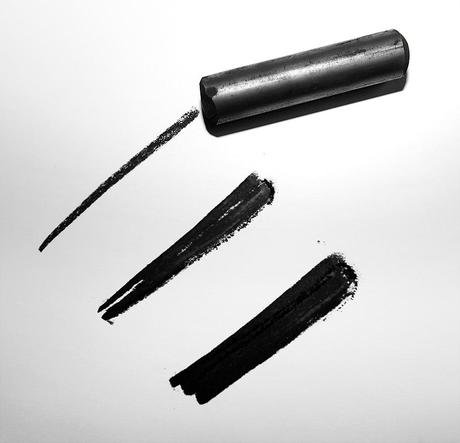
Step 4
Charcoal and pencils are both made for the same purposes: drawing, shading and blending. Here are some drawing techniques you can use to make your own large masterpiece.
Always keep in mind that when drawing in black and white, you must make sure that the value (lightness or darkness) is accurate. There are different techniques to add shadings to your sketch on paper. These are the three ones I'm using. They work well for both graphite pencils and charcoal sticks.
A. Line Thickness, Length and Spacing
Simply draw thicker lines for the dark areas and thinner ones for the light areas.
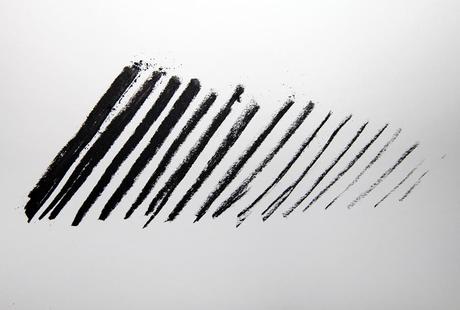
You can also apply a different pressure with your hand according to the results you want to obtain.
B. Cross-Hatching
Cross-hatching means shading with two or more sets of intersecting parallel lines. It is a very simple and efficient technique: you just apply the charcoal or pencil strokes in different directions, one over the other. Each layer and direction adds more tone to the shading and makes it gradually darker.
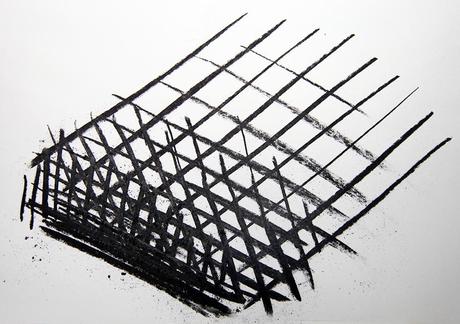
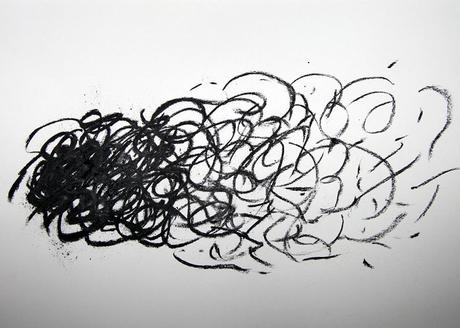
C. Free Style
Free style shading can be useful to simulate specific effects and textures. It's similar to cross-hatching but it's an easier and more intuitive way of drawing. Simply draw squiggles or scrawls with different curls and loops in an irregular way. Add thicker squiggles and more density for the darker areas. Draw thinner squiggles and leave more space between the lines for lighter areas.
D. Smear or Smudge
Before smearing, you must first create your basic shading (again, using charcoal sticks or soft graphite pencils). Then, using your fingers, simply smudge or smear (rub) the charcoal or graphite grainy substance on the paper.
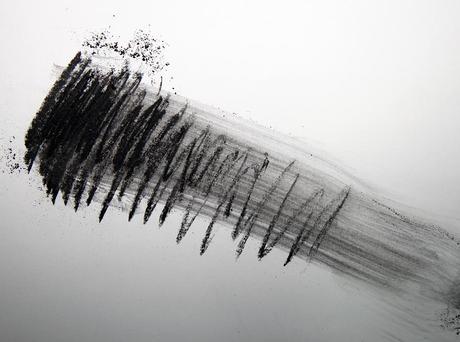
This will generate smoother shading and blur the lines, making them less crisp and blending the shadow values together. Basically, this action will reduce the contrast of your drawing.
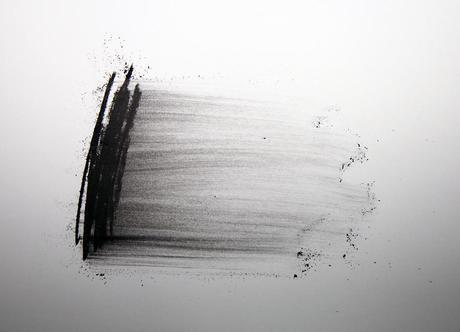
If you don't want to get dirty fingers, you can simply get a blending stump or smudge stick. With these you can get more precise results, reach all of the corners and smallest details and create softer shadows, but this is most useful for small size works.
5. Render Your Drawing
Step 1
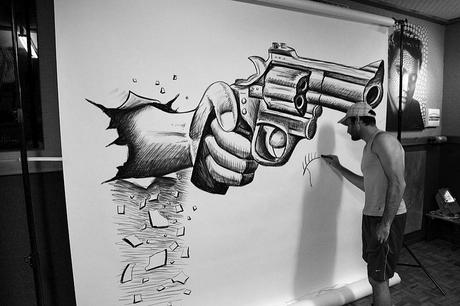
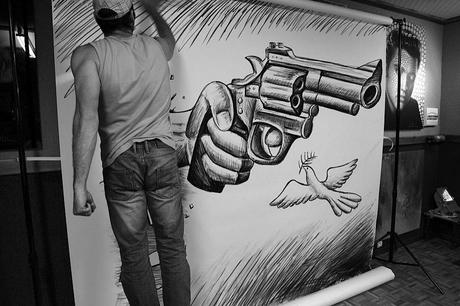
Now that you have all your drawing material and paper surface ready, you can finally start drawing using the original referenced montage to guide you to do an accurate and realistic sketch.
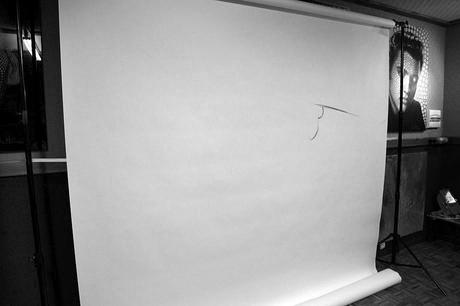
Make sure to start your sketch with soft strokes, using small thin lines. It will then be easier to mask them if they are incorrectly drawn.
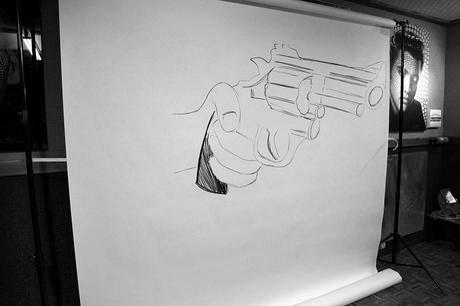
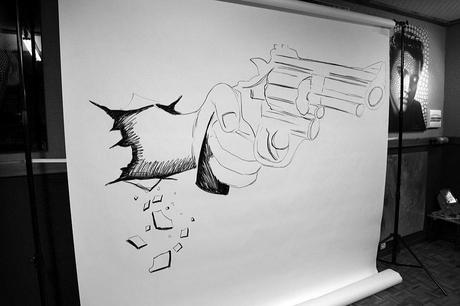
Note: If it is really difficult for you to start a drawing like this, you can use a projector to help you trace the first main lines. It will be a bit faster, but you will still need drawing skills to apply the shadows and shadings later on.
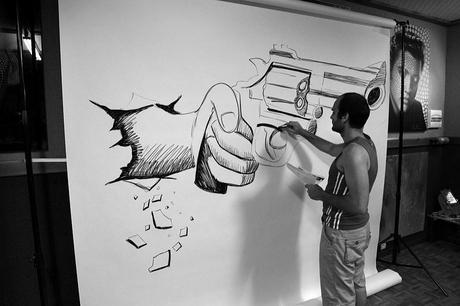
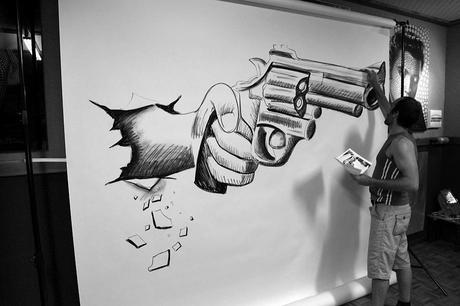
Don't be too stressed about rendering the smallest details. The drawing is huge so focus on the main and largest shapes first, then on the smaller elements. The smallest elements won't be very visible in the end result.
Step 2
This is very important: while drawing, stand back every five minutes, but always from the same angle, so that you make sure you don't make mistakes with the proportions and perspective of your sketch. If you look at the work from the opposite angle, you'll notice that it looks completely stretched.
6. Take the Final Photo
You'll have to use trial and error to make sure you have the correct point of view. Try different angles and viewpoints until the perspective on the photo you take looks OK.
Step 1
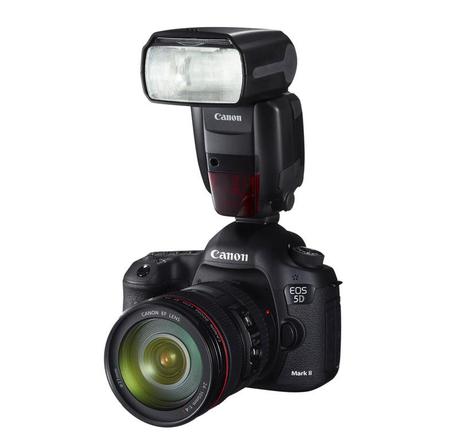 Use any high quality camera (I use a Canon 5D Mark II) so that your final photos will be in a decent resolution, and don't forget to use a flash. Also use a timer and put your camera on a tripod. 20 seconds should be enough time for you to get in front of the lens and do something to interact with your drawing. Try to be creative and expressive!
Step 2
You might also consider using additional lights (a powerful spot, for instance) as this is an indoor project and you'll need a lot of light to have an acceptable exposure and sharpness.
Step 3
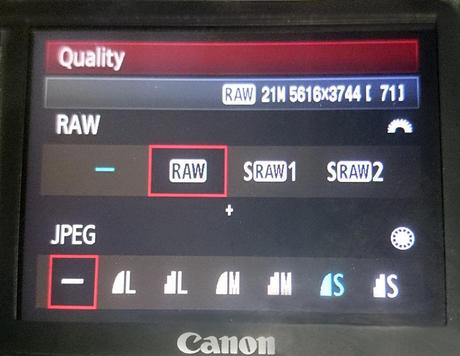 Shoot in traditional mode and opt for RAW, it will give you more freedom in your settings later in post-production. Use a tripod for more stability and sharpness. Save your best photos only or you'll end with hundreds of test shots. Delete all the bad photos straight away to avoid losing time later on in the selection.
7. Adjust in Post-Production
As the drawing was done in one take (free hand), there might be a few issues with the perspective or some proportion problems in the final sketch. Don't worry, you can correct all these little mistakes and edit your picture in post-production to make sure the final image works well and is exactly how you want it to be.
The following steps require some digital skills. I'm mainly using Adobe Photoshop CS6 to edit my pictures but you can use other image editing programs. When I retouch my images, I'm simply trying to remove all the little imperfections from the original picture and I also spend some time improving the lights, tones, colors and the general composition of the photo.
Step 1
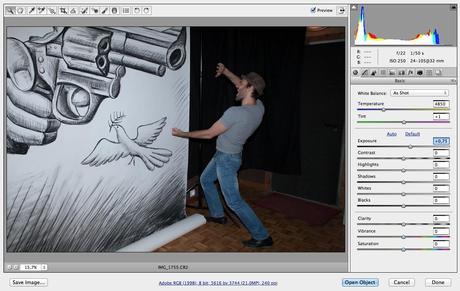
Open your RAW or JPG file into Adobe Photoshop. Make some basic edits in your RAW settings (saturation, temperature, tints, contrasts, clarity).
Step 2
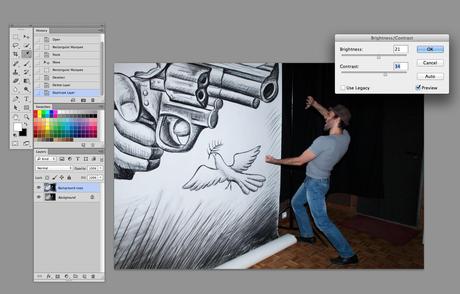
Then, do some more subtle and local edits. What you need to improve first is the exposure and color tones. Using Brightness and Contrast, adjust the exposure of the drawing and the exposure of the other graphic elements independently by creating two separate layers.
Use the top layer to edit the giant drawing (titled "background copy"). Make sure you have a good balance of light on the paper and drawing (you might need to underexpose a bit and increase the contrast). Use the other layer to edit the other elements (titled "background"), improve the exposure and contrasts of the darker objects such as the background wall, model, and floor. You might need to overexpose and decrease the contrasts so that some texture appears.
Using the Eraser Tool, you can then remove the unedited parts on the top layer ("background copy") so that you preserve only the parts you've edited and boosted on both layers.
Step 3
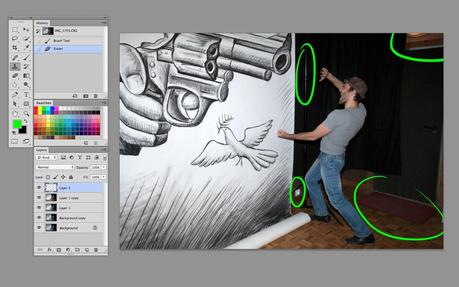
Now remove all the graphic issues on the photo using the Clone Stamp Tool (removing all the elements surrounded in green in the following screenshot) and do all the retouching you think are needed to improve and clean your final photo.
Step 4
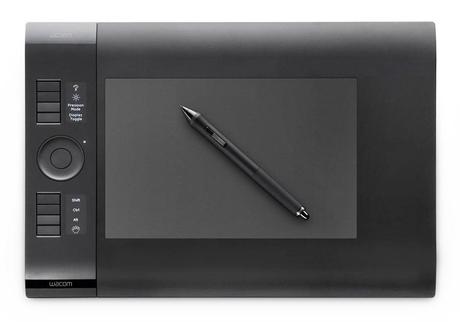
Re-frame/crop and improve your sketch digitally. It's not always needed, but if you see any mistakes, why not correct them now? It will be easy as you have a final and global view of the artwork you made. Use a graphic tablet (I have a Wacom Intuos 4) and the Brush Tool in Photoshop and simply draw or paint on your photo to improve it.
Step 5
I've cropped the image, added more textures, subtle tones and gentle shadings in the drawing. I also wanted the model to be 100% connected with the gun, so I added the leash on the dove being held by the living model and I made the gun a little longer so that the fingers of the model can touch it and so that it looks even more 3D like.
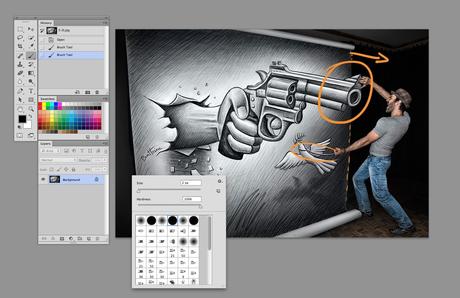
Step 6
Using the Dodge (brightening) and Burn (darkening) tools, strengthen the lighter and darker tones of the sketch in Photoshop. You can also do this simply with the Brush Tool, adding delicately some white strokes where the light is supposed to hit the objects first and black strokes to simulate stronger shadows. This will give more consistency and homogeneity to the whole composition.
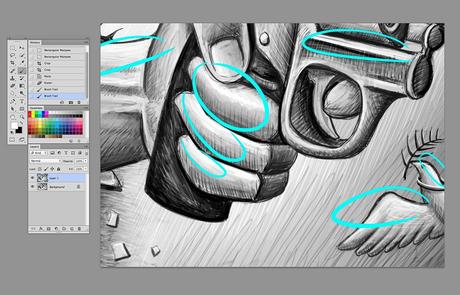
Step 7
Make sure the drawing area has a correct white balance. To do this, simply convert this specific part in black and white. This will just give you a perfect white balance as the white of the paper will have a perfect neutral bright gray tone) and then adjust/boost the color balance and saturation of the other elements such as the model's skin, the clothes, the floor.
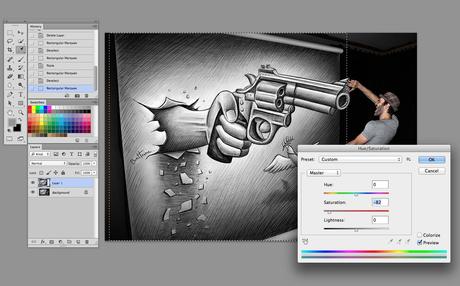
Awesome Work!
Now the work is complete. You can view both versions, with or without the model in the shot. Which do you prefer? Thanks for joining me in this tutorial.
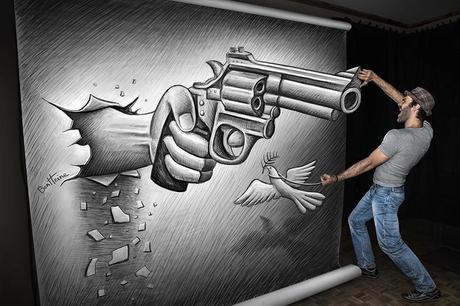
Note: This tutorial was initially published on Tuts+
