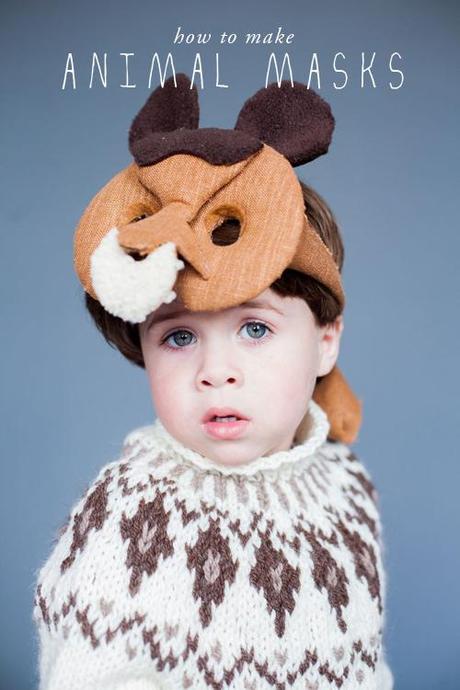
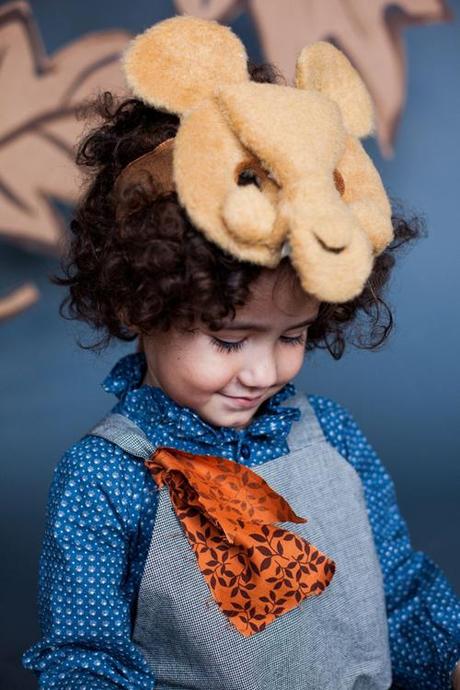
Part 2/2. See here for part 1 with instructions on how to create a play from the book Cheer Up Mouse and a chance to win the book giveaway. Photos above by Ashley Thalman
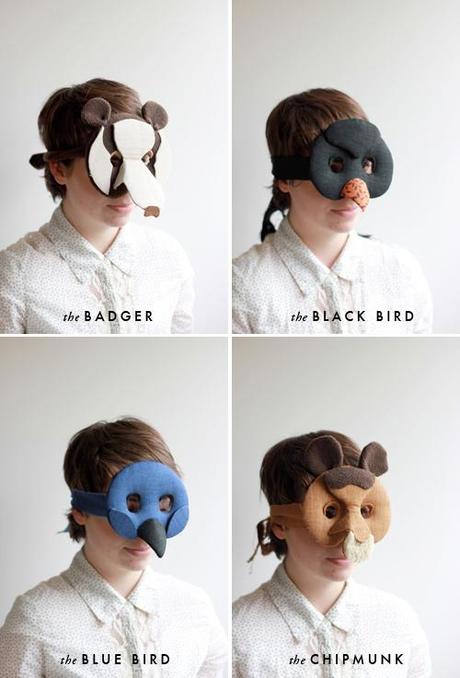
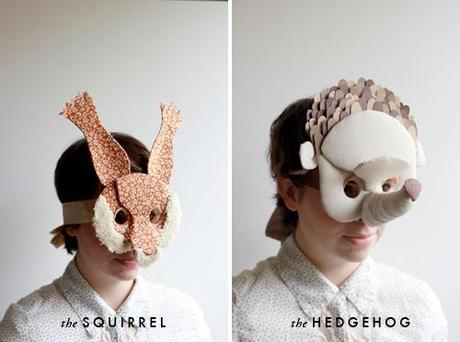
Ok, here they are! If you've been following along on Instagram I've been giving hints of these masks based on the book Cheer Up Mouse for the past few weeks and now you can finally make them yourself. Wouldn't these be the perfect activity for Easter/Spring Break? I'm no mother, but I'd think so. And they come in two different versions complete with FREE templates: one is a color in version for little kids and the other is the 3D version you see here for bigger kids. Here's the illustration from the book. Darling right? And if you missed the cute video from part one of this series, you MUST give it a watch here.
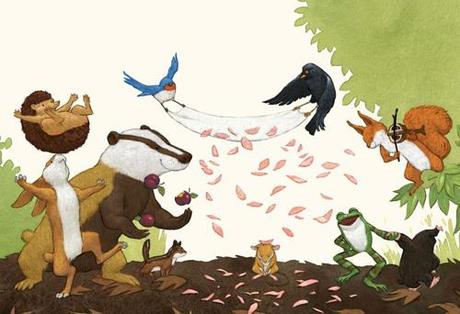 You get to choose from all 10 characters as seen here:
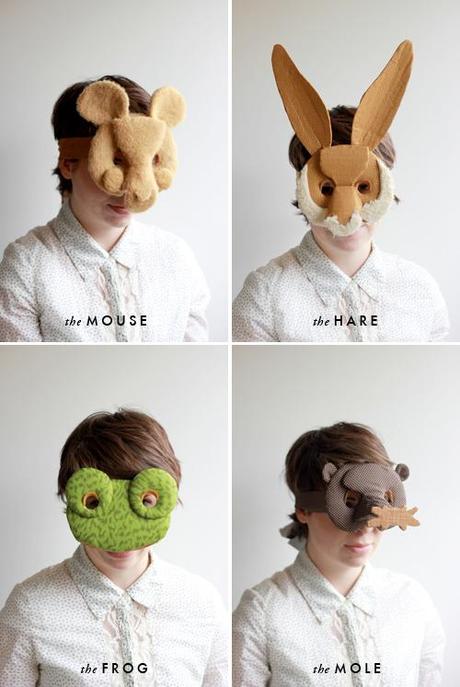
 For full instructions click below.
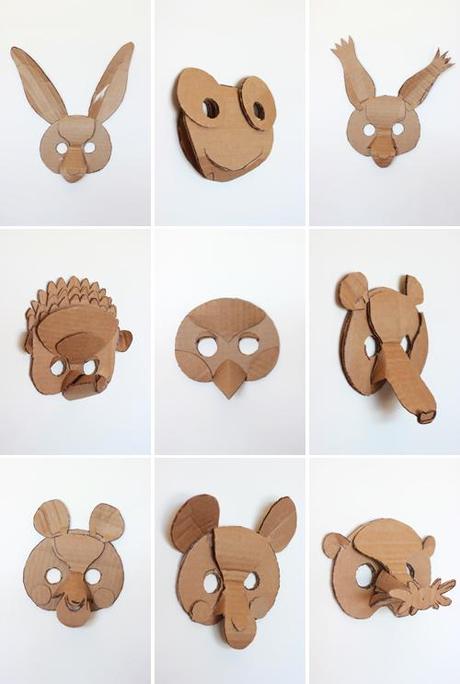
First, we constructed them out of cardboard to see how to engineer them. I think they are great fun in plain cardboard too.
MATERIALS: cardboard, sharpie, template for 3D masks (or for an easier project without all these steps download the color-in masks here, scissors, x-acto knife, quilting batting, glue gun, mod podge, brush for mod podge, your choice of fabrics (have fun with it. Use some textures and fuzzy fabrics and patterns. It's the best!), felt for the eyelids and backing
I'm making a chipmunk for this tutorial but hopefully depending on the mask you make you can use the same techniques and apply it to the respective animal.
Step 1: Cut out the template pieces and trace them onto the cardboard. Step 2: Cut out the shapes with scissors. For the eyes, use an x-acto knife. Step 3: Using a double layer of quilting batting, cut it out to the shape of the face Step 4: Glue the batting to the mask to keep it in place. Step 5: Cut your fabric to the shape of the face leaving about 1".
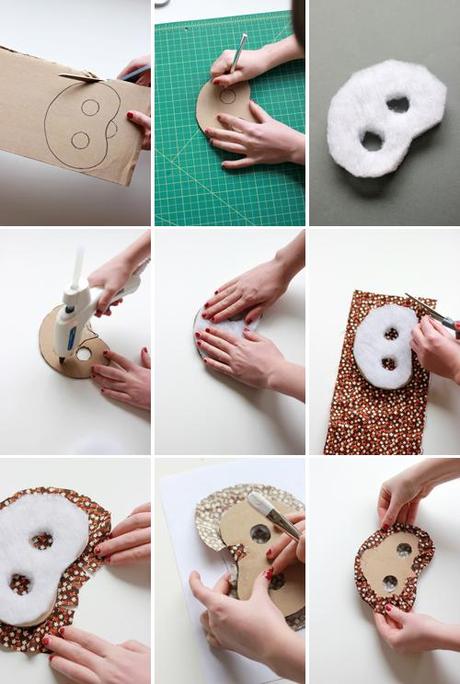 Step 6: Make incisions into the fabric around the rounded parts of the mask, particularly in the parts that go "in".
Step 7: Mod podge the fabric to the cardboard with a brush stretching it around the shape of the mask as you go so it's nice and taut.
Step 8: Use an e-xacto for the eyes and cut it into 8 different "pie slices".
Step 9: Mod podge or glue gun the slices to the back of the cardboard so they hold nice and tightly.
Step 10: Cut out the nosepiece and use an x-acto for the little nose semi-circle in the middle.
Step 11: Repeat the same process with the bunting. I used a single layer this time.
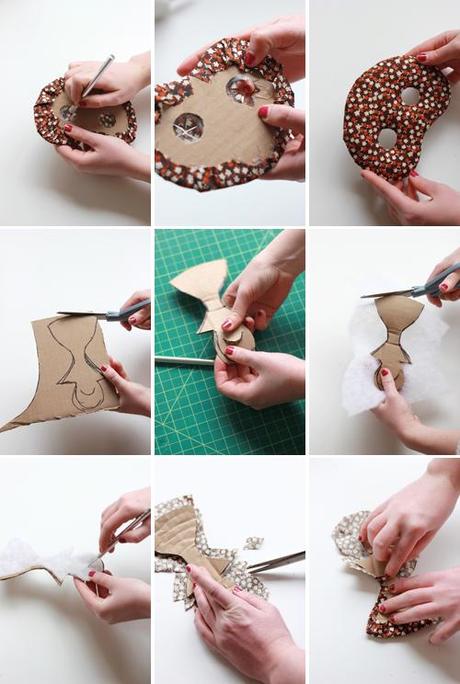 Step 12: Make incisions into the fabric where the template goes in and where the corners meet. You might have too much fabric and it might get bumpy so feel free to cut those parts off.
Step 13: Use your mod podge or glue gun to bring the fabric around to the cardboard. Make sure it's taut.
Step 14: Add any extra fabric for texture. I used a felt for the bottom part of the chin here.
Step 15: Repeat the process with the ears.
Step 16: Glue one side of the ear flaps to the front and glue the back to the other side. Hold with glue gun.
Step 17: Finish off the back side of the ears by cutting to the shape of the ear so that it looks good from the back too.
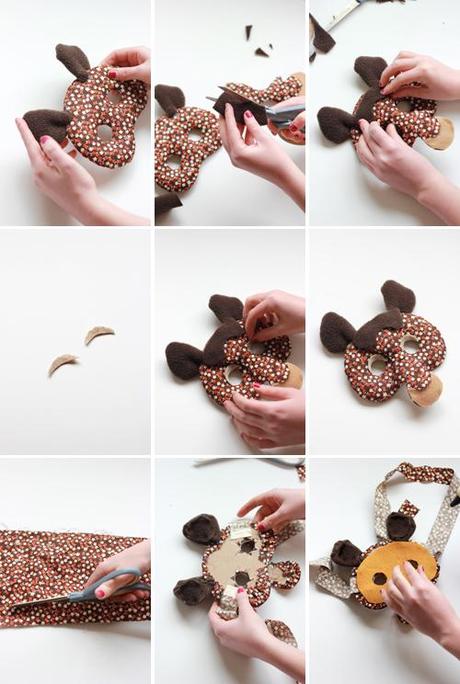
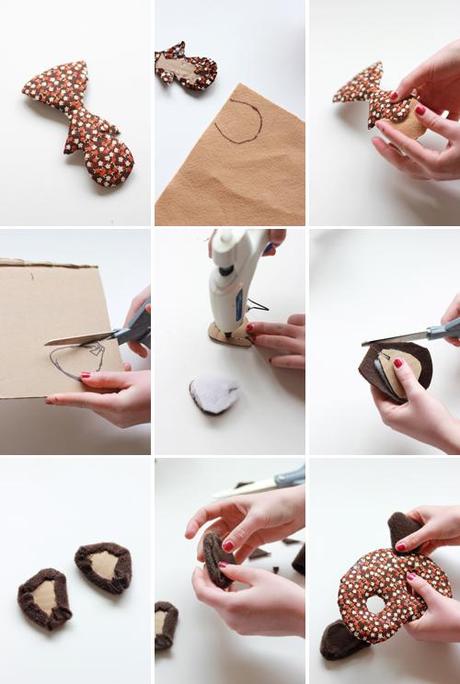 Step 18: I added a layer of fabric to the top of the forehead to give it a bit more dimension. Each animal has it's own characteristics. Get creative!
Step 19: Finish off the mask with eyelids made from felt (it's the best material for this)
Step 20: Make ties for the mask out of the fabric you use. I left mine unsewn because I liked the look. Mine are about 1" wide.
Step 21: Finish off the back of the mask with a piece of felt to the shape of the face.
 Phew! It's a bit time consuming, but it's worth it, isn't it? They're surprisingly sturdy too so they should be able to handle little kiddie's hands.
If you don't want to do all this work for the masks and play, here's the color-in version templates for little kids.
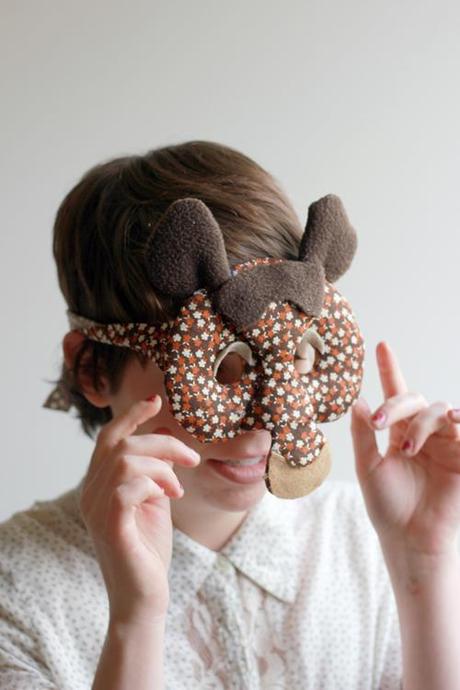 So cute, right?
Let me know if you have any questions. There's a lot going on here.
step-by-step photos and crafting by Brittany Watson Jepsen crafting assistants: Audrey Ellsworth and Lindsay Barlow illustrator and template maker: Jed Henry

