There are so many different eye makeup brushes, and it may be difficult to determine what to do with certain brushes, or even if you need them. Having the right brushes is the key to creating a beautiful eye look, but that doesn’t help if you don’t know how to use them. Let’s take a glance at the ten post popular eye brushes, and what exactly you’re supposed to use them for.
Angled Liner Brush
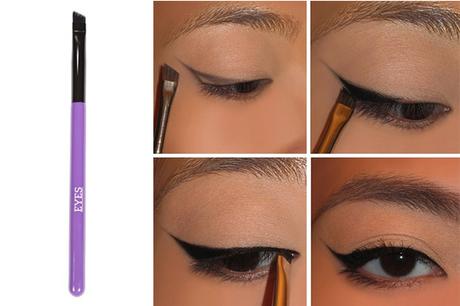
The angled liner brush has a lot of practical applications. This is the brush you’ll use to do any kind of complex eyeliner look. Arabic bridal makeup or dramatic cat eye looks rely heavily on this brush for the precision and sharpness of its cut. If you press the short end against your eyelid and gently drag out, you’ll create a very sharp and defined line. For subtle definition, use this brush with eyeshadow instead of eyeliner. You’ll get the same effect, but it will be more wearable and appropriate for more occasions.
Pointed Liner Brush
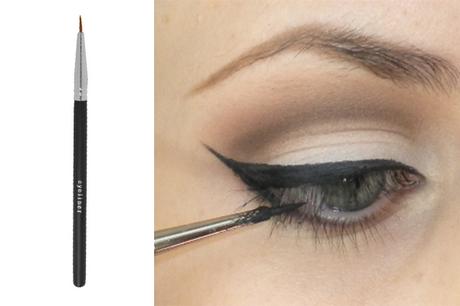
You should use a pointed liner brush the same way you would use an eyeliner pencil. Essentially, a pointer liner brush is what will allow you to use a gel liner as you would use a traditional eyeliner. This brush will apply liner to your waterline and tightline. The advantage of using this over a pencil is that you’ll be able to get the highest color intensity. If you don’t feel that your pencil liner is giving you enough drama, going this route is your best option.
Blending Brush
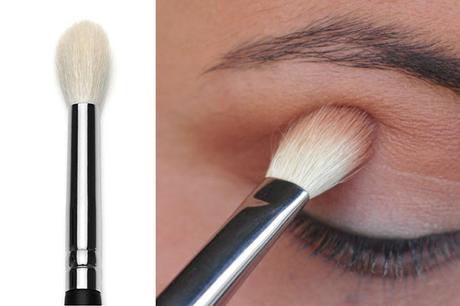
There’s no way you can do your makeup without this brush. It cannot be stressed enough: if you want your eyeshadow to look elegant and professional, you need a decent blending brush. If you’re trying to blend your eyeshadow with a flat brush, it’s not going to work. You’ll wind up with smudges of color in large round shapes, and you’ll be tempted to take your makeup off and start all over again. You need the density and round shape of the blending brush to diffuse your colors and create smooth transitions.
Tapered Blending Brush
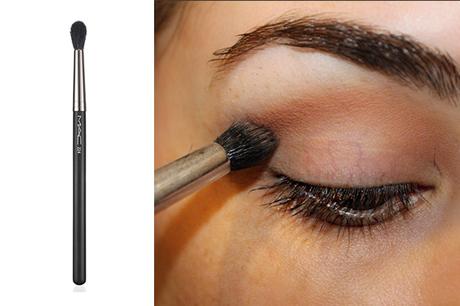
A tapered blending brush is simply a variation on the regular blending brush that’s used for specialized purposes. The taper at the end allows you a more controlled blend in smaller areas, and if you have small eyes or monolids, this may be your go-to blending brush. Everyone will be able to make good use of this one when creating a precise cut crease or adding definition beneath the eye, where you need a controlled blend in a small space.
Small Shader
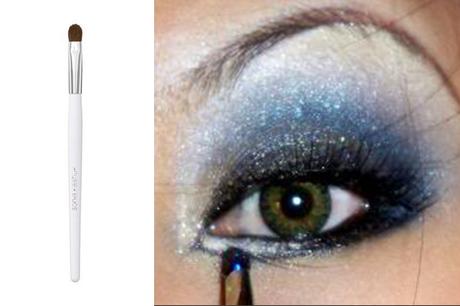
A small shader is excellent for people who are heavy handed. Its limited surface area allows you to pack on a dense concentration of color in a small space. If you like to highlight the inner corner of your eyes to make them appear more open and bright, this is the easiest brush to do it with. It’s also great for experimenting with multicolored looks. If you want to place several shades across your lid, using this brush to lay the color before you blend it will help you create a gradient effect in the cleanest way possible.
Regular Shader
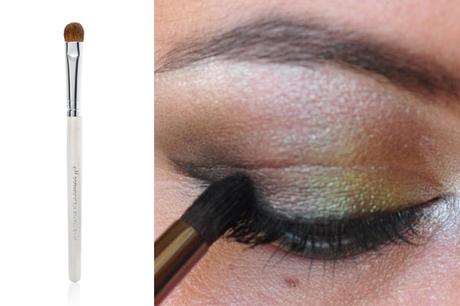
It’s safe to assume that everyone knows what this brush is for. It’s important to set it apart from other brushes for a multitude of reasons. Obviously, this is your standard eyeshadow brush. This is the brush you’ll use to apply one or two shades to your eyelid, and possibly to highlight beneath your brow bone. What you need to remember about this brush is that it won’t do everything. That’s why so many other brushes exist. It’s not possible to get a runway ready look using this brush alone.
Large Shader
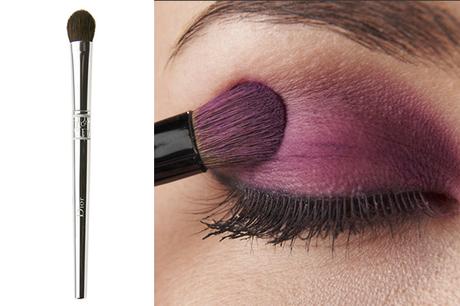
You may look at a large shader brush and wonder what the point is. To the untrained eye, it looks too big to do anything effectively. The truth is, not everyone will need this brush, but those who do won’t be able to live without it. If you have monolids or very hooded eyes, this brush is great for applying and diffusing your highlight shade. If you’re going to be blending out a very natural eye look and you want to prevent it from seeming boring, using this brush to apply a base color all over the lid will save you time. If you have trouble blending your eyeshadow in general, try applying your highlight shade from your eyelid to your brow bone as your first step in makeup application. This will make blending your colors easier.
Pencil Brush
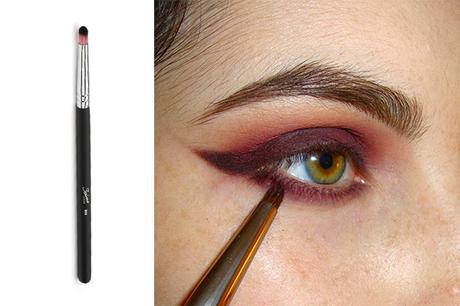
This brush is best suited to those who are more creative and daring with their eye makeup. If you want to densely pack color to the lower lash line, this brush is the right size and shape to get the job done. For cut crease looks, you’ll be able to use this brush to lay down your darkest color at the crease line. If you’re more into normal dramatic evening makeups, this is great for adding a little bit of darkness in the so called “outer V” area, the place where your upper and lower eye makeup connect at the outer corner of your eye. Don’t be fooled by the appearance of this brush – while it may resemble a blending brush, it’s far too dense to blend anything.
Crease Brush
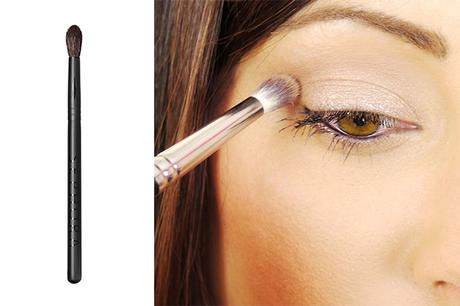
For softer, more casual looks, this brush is meant for adding definition that isn’t overwhelming. While there are plenty of other brushes you can use to do that with, this one is specifically intended to give you a light application. If you’re more natural than edgy, a crease brush is going to give you the ideal look for daytime or work appropriate looks.
Flat Definer
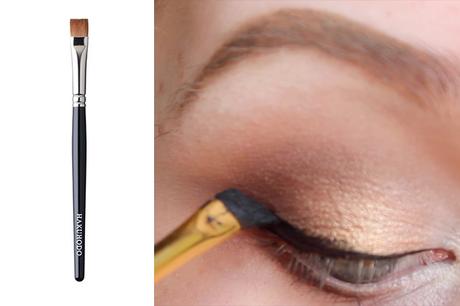
This one may be a little confusing to look at. Don’t be fooled. You aren’t supposed to use the flat side of this brush. You’re meant to use the flat edge of this brush instead of its surface. The flat edge is great for a simple makeup trick that everyone should try. If you load this brush up with black or brown eyeshadow, press the edge against the root of your eyelashes, and wiggle, it will make it appear as if your lashes are thicker and darker. If you’re not happy with your eyelashes, this is the simplest way to cheat what nature gave you.
