A PERSONAL INTRODUCTION: Hi! Mike here, from TimelessPaper.com. My wife, Emily, and I run a paper and design company (and blog), and were recently fortunate enough to run across DIYDriftwood’s products. I am by no means an expert on anything related to woodwork, but what follows is an account of my experience. Perhaps it will be of assistance to someone out there interested in desk refinishing with Driftwood Weathered Wood Finish.
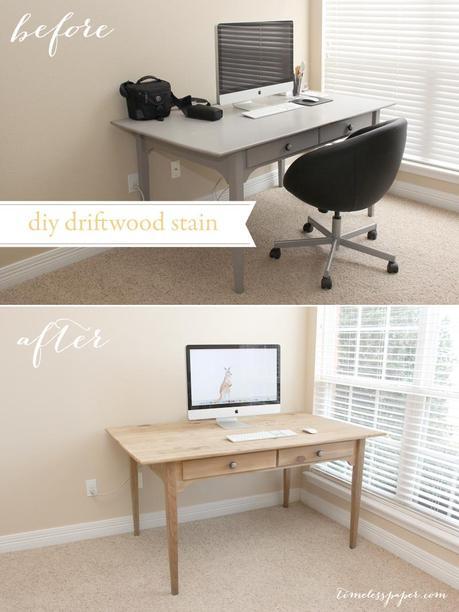
PROJECT INTRODUCTION: Refinishing furniture has always been one of the tasks that have scared the pants off me. In fact, forget RE-finishing, any finishing makes me nervous. There are highly skilled artisans out there who know how to enhance the natural beauty of wood. I am not one of those artisans.
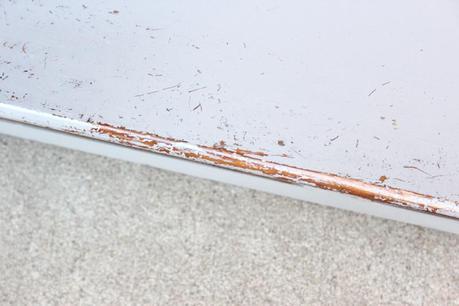
However, the time recently came for Emily’s desk to be spruced up. She oh-so-frugally found this desk for $10 at a yard sale a few years ago. The first solution was to cover it in gray latex paint. That began to chip and scratch pretty quickly under heavy use, and ended up looking like the picture below.
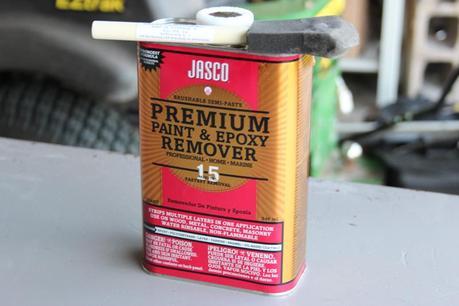
THE CHEMICALS: After some advice from the experts at our local home improvement store (I can’t even remember if it was Lowes or Home Depot), we were directed to a liquid paint remover called Jasco’s Paint & Epoxy Remover. It claims that a single application can remove several layers of paint at once in just fifteen minutes. Turns out – that’s the truth.
SAFETY: While wearing protective latex gloves and wielding a disposable foam paint brush, I slowly poured a glop of the Jasco on the desk. After 15 minutes, a stiff putty knife can remove the paint with absolutely no effort. In hind sight, I’m not sure it was wise to wear LATEX gloves to protect me from a product that chemically eats away at LATEX paint. However, I luckily escaped unscathed.
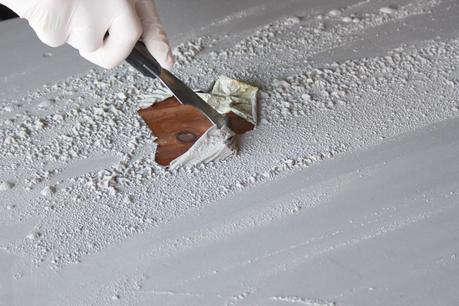
TIPS FOR NEXT TIME: The Jasco should be applied liberally. In the spots where it was spread too thinly, the paint did not come off with the putty knife. My trusty Black and Decker Sander, however, got off the remaining paint chips with ease. I also made the mistake of working in direct afternoon sun for awhile. The Jasco wound up evaporating before it could do its job. Work in a well ventilated shady spot, if possible.
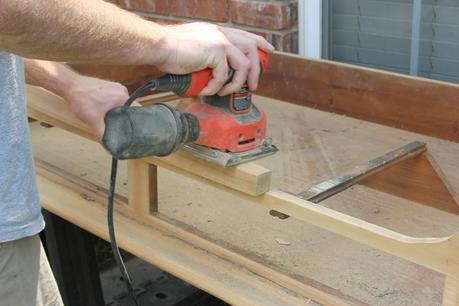
FINAL PREP FOR THE DESK REFINISHING: After the paint was stripped there was still an orange hued stain on the surface. I’m not sure if this was actual stain, or just a patina of age. Either way, a quick 60 grit sanding of the entire piece revealed the natural yellow wood. At this point, sawdust buried the desk and filled the air. Make sure to wipe the piece clean with a damp rag before continuing.
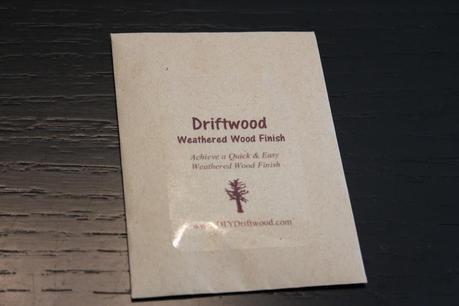
THE NEW FINISH: The fine folks over at DIYDriftwood.com have concocted a powder-based finish that gives wood a gorgeous weathered look. Imagine taking all of the yellow/orange hue out of wood and replacing them with a calming gray.
The powder is mixed with a cup of water to produce a liquid that can be applied with a foam brush. At first it looks like the wood is just getting wet, but as the minutes pass, the wood dries and a gray tone remains. After only a few minutes the result was great. Giving it several more hours in the sun made the desk even grayer.
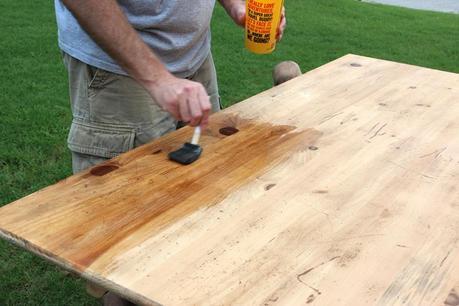
The picture below shows where we covered the entire top with one coat of the Driftwood Weathered Wood Finish product. You can see the top section starting to dry and gray. The middle section is still wet, and the bottom left corner is untreated.
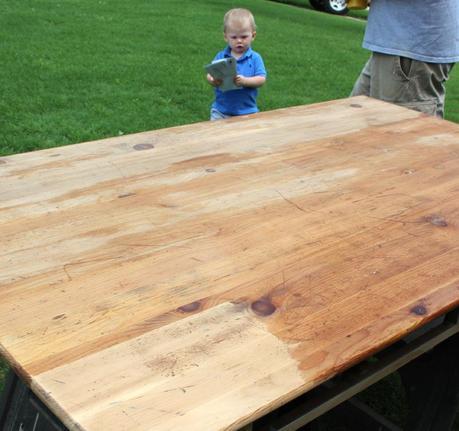
Below, the driftwood colorant has dried and continues to turn more gray as time passes.
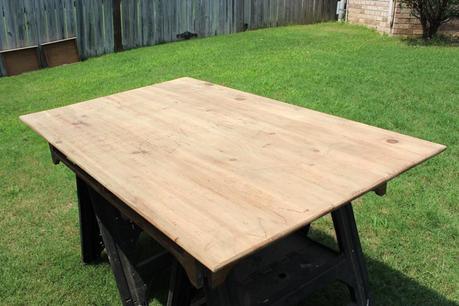
The color has grayed even more since Emily took these photos. It’s more gray in person than these photos show.
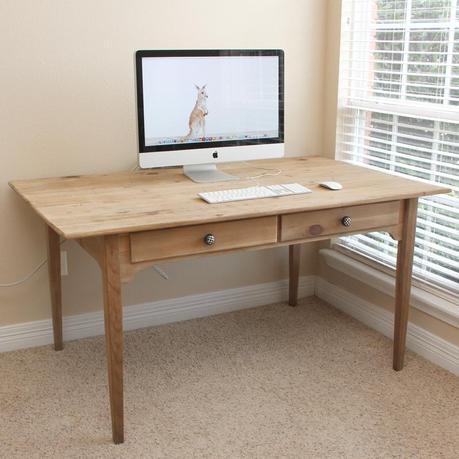
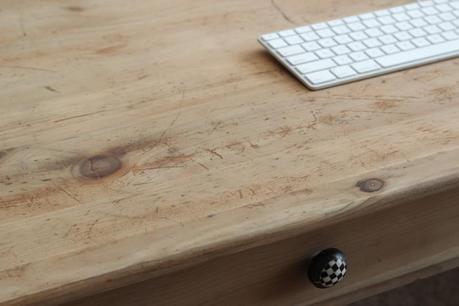
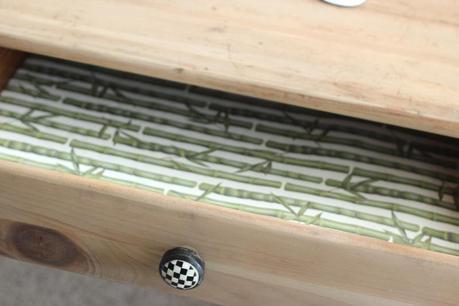
Emily used these inlay checker knobs from Anthropologie that she already had on hand, and lined the drawers with a bamboo print paper.
EMILY’S REACTION: I’m happy to have my desk back! An old table from Ikea just hasn’t been the same. I highly recommend the natural, muted, gray tones of this driftwood finish!
